
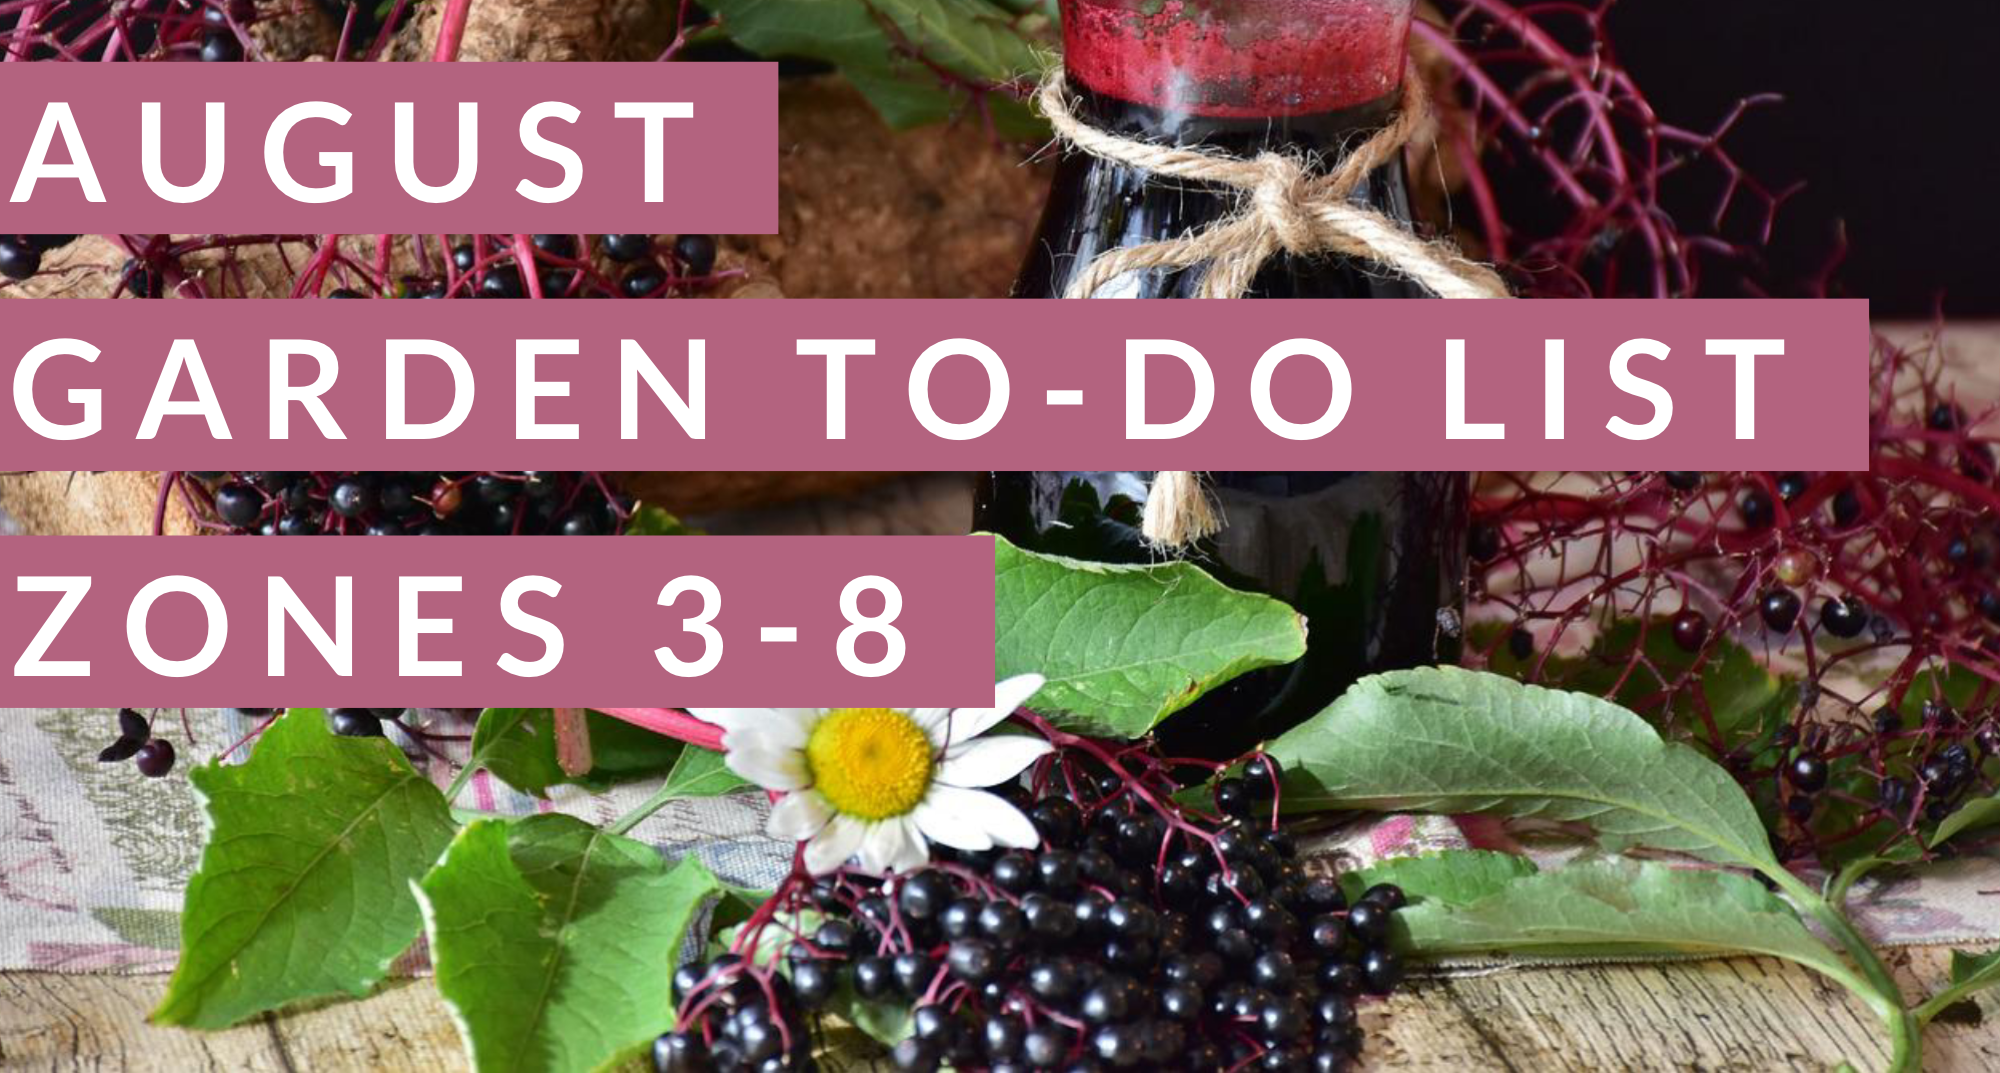
What to do on your Property in August – Cold Temperate Climates
It’s the peak of the summer heat and this is the time of year that our gardens (and we) are feeling it the most. However, there are still plenty of things to be doing around the property this month. To help keep organized, we hope this August Gardening To-Do List will be helpful to you and your homesteading friends.
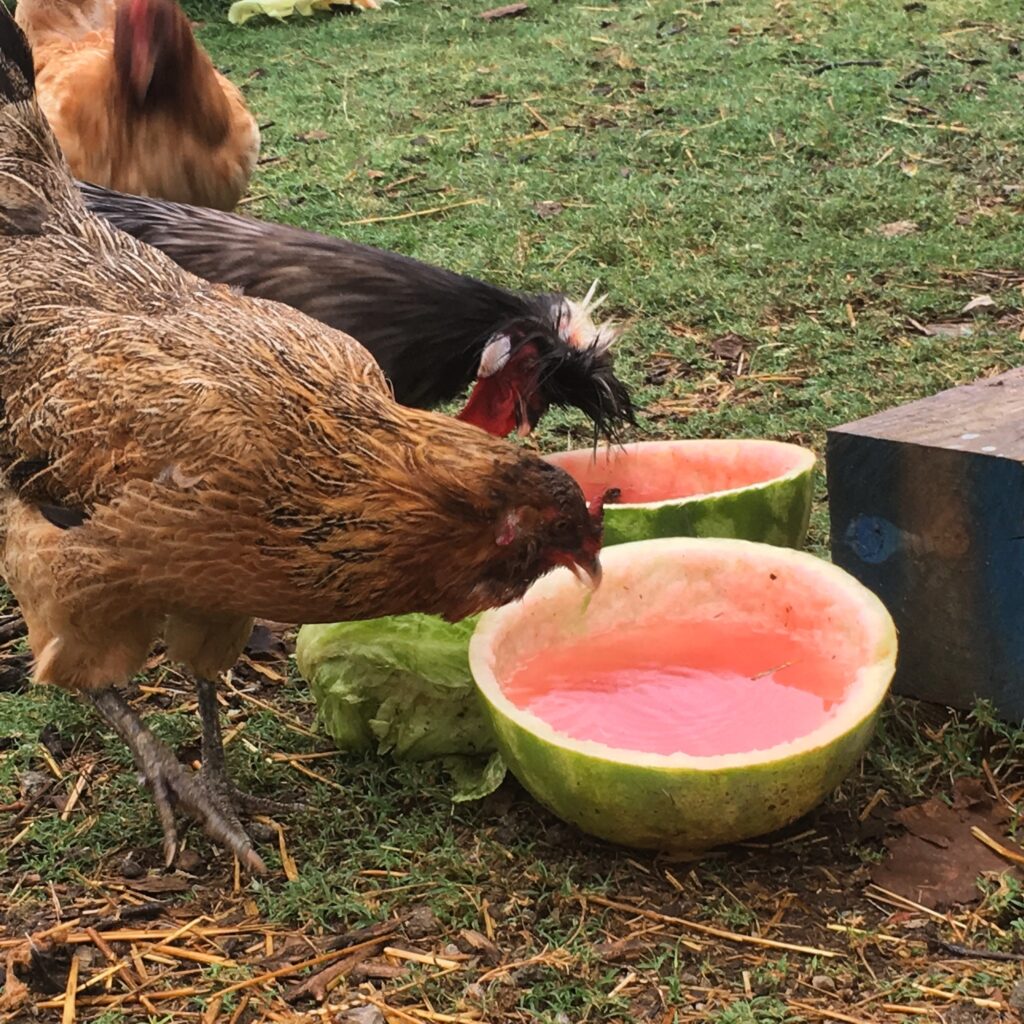
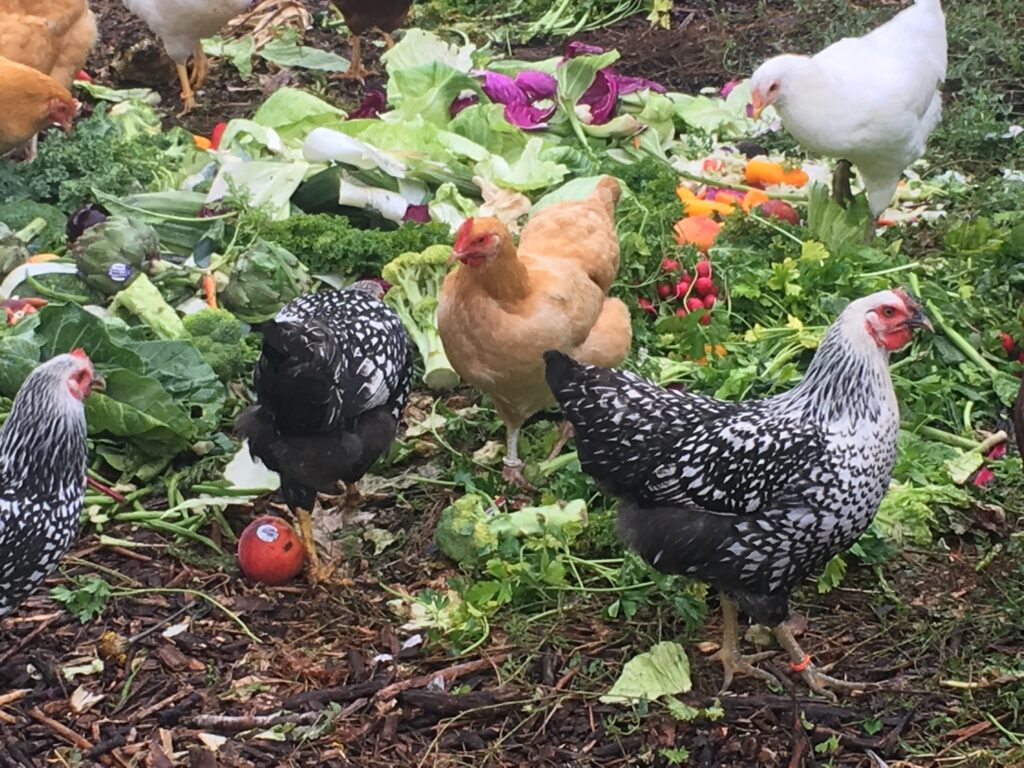
By this, we are harvesting tomatoes, peppers, and all sorts of treats from the garden. The food forest is beginning to pop and many folks are checking plums, pears, and apples every day. Chickens and ducks are beginning to ebb and flow a bit on their laying cycles, so it is important to keep up with an adequate supply of protein and fresh greens.
So, wherever you are gardening from this month, be sure to stay organized, hydrated, and take time to rest. Make sure your gardening experience remains a time of respite and rejuvenation by taking time for YOU and not just the task list.
This list is tailored for cold temperate climate growing zones, but if you are looking for warm temperate or sub-tropical growing zone lists CLICK HERE.
In the Garden
- Things to plant by seed: beets, carrots, radishes, and turnips.
- Fall greens: In order to stagger your harvest times later in the fall, consider planting smaller amounts of fall greens (salad mixes, kale, etc.) every other week this month. The same can be done with beets and radishes.
- Brassicas: Plant broccoli, cabbage, and cauliflower by seed or transplants for fall harvesting. Keep them well-watered (1″ per week) as they get established and mulch with straw around the base to cover the soil and prevent water evaporation.
- Harvest: tomatoes, eggplants, peppers, and other night shades. Prop up plants as needed to provide support.
- Mulch: Keep bare soil covered completely to prevent water evaporation and protect microorganisms. Add a little more compost and wood chips around fruit trees and berry bushes. Add another layer of straw (or grass clippings) around garden veggies.
- Compost application: Add fresh organic compost to strawberry patch (thin them while you apply compost). You can also add compost to bramble canes (blackberries and raspberries) to improve next years harvest.

It’s time to start making tinctures and drying herbs.
In the Greenhouse
- We are finished with the “greenhouse” season, but if you have a shade cloth, you can actually open up all the windows now and put the shade cloth over the top. This will allow you to start micro-greens and other later season veggie starts. If using a shade cloth, use the opened greenhouse for your indoor tropical plants to give them a season outdoors. Just be sure to pay attention to your watering!
- Clean and sterilize the plastic pots used this winter / spring
- Set mouse traps to control critters
- Hang fly traps to control aphids, flies, and other pests
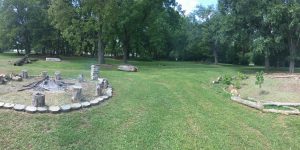
In the Food Forest
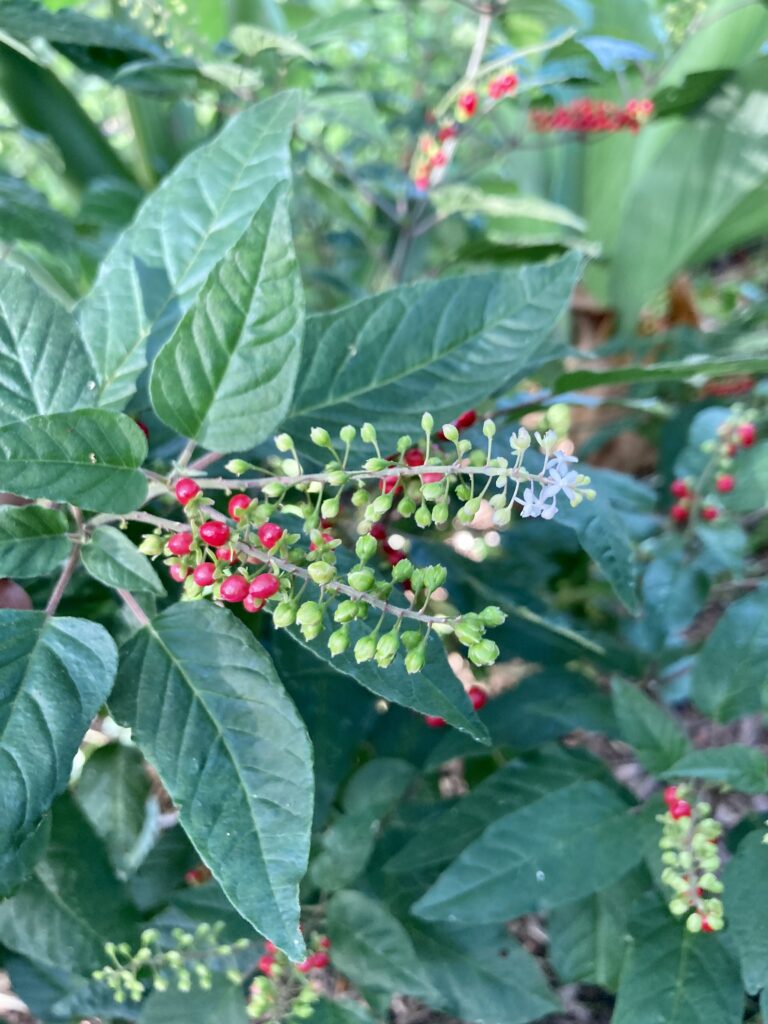
- Harvest: berries like goji, elderberry, blackberry, raspberry, haskap, gooseberry, and blueberry.
- Mulch: Apply mulch / wood-chips around the base of fruit trees. Keep the wood chips away from the base of the tree, because if they touch the trunk it can cause rot or bacterial issues. Wood chips will encourage mycorrhizal activity and strengthen the root system.
- Herbs around fruit trees: Start harvesting herbs to dry and make tinctures, harvest fruit as they are ripe and remove those that fall to the ground. Fallen fruit calls in the pests… So feed to chickens or add to the compost pile.
- Harvest elderberries: If you are making elderberry tinctures, teas, or wine – now is your time to harvest. Whatever you do not harvest, the birds will take care of for you. It is also a great time to harvest elderberry canes for cuttings and propagation.
- Watch for fungal issues on leaves and apply organic neem spray as needed.
- Plant late summer ground covers in any “bare spots” around the forest. Consider things like daikon radish or crimson clover. Water the first 10-12 days until established.
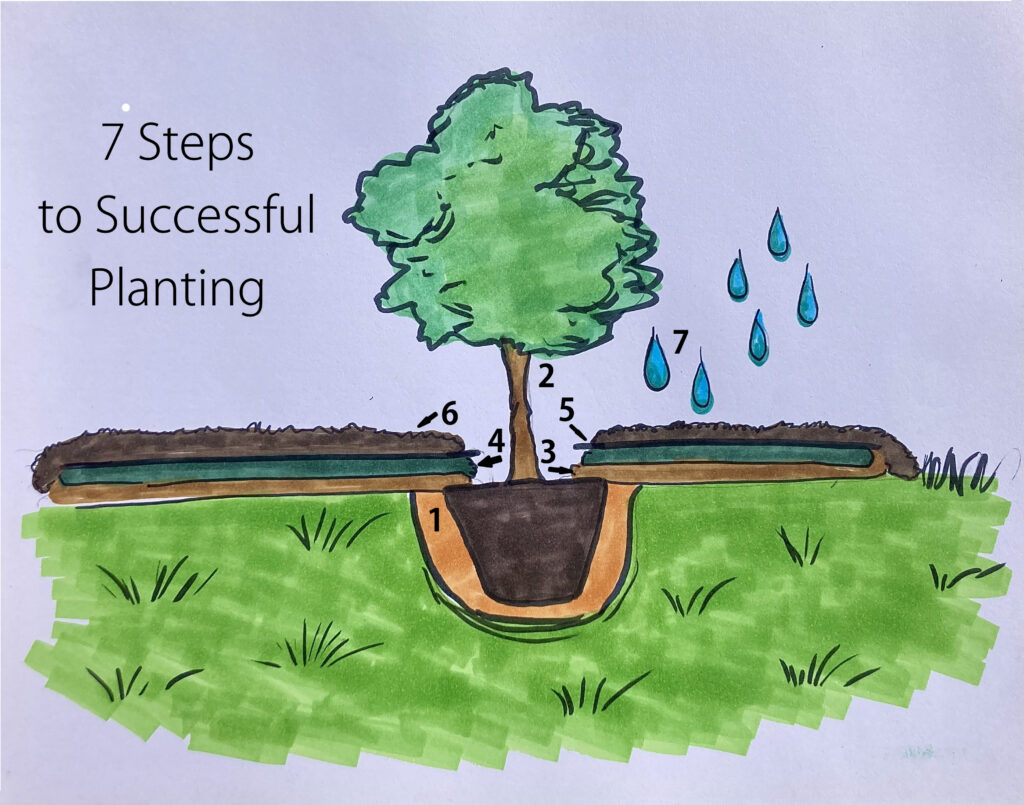
- Wait to plant new fruit trees and berry bushes until next month, when the heat dials down a few notches.

Reminder: Elderberry must be cooked before eating.
In the Shed
- After heavy spring and summer use, give power tools a quick check (oil, air filters, and clean off exteriors). For bonus points, add some Sea Foam to clean things out internally a bit.
- Check mouse traps and keep animal feed in sealed containers.
- Give cutting tools a good cleaning (using rubbing alcohol) and oil afterwards to prevent rust.
August Gardening To-Do List Continued…
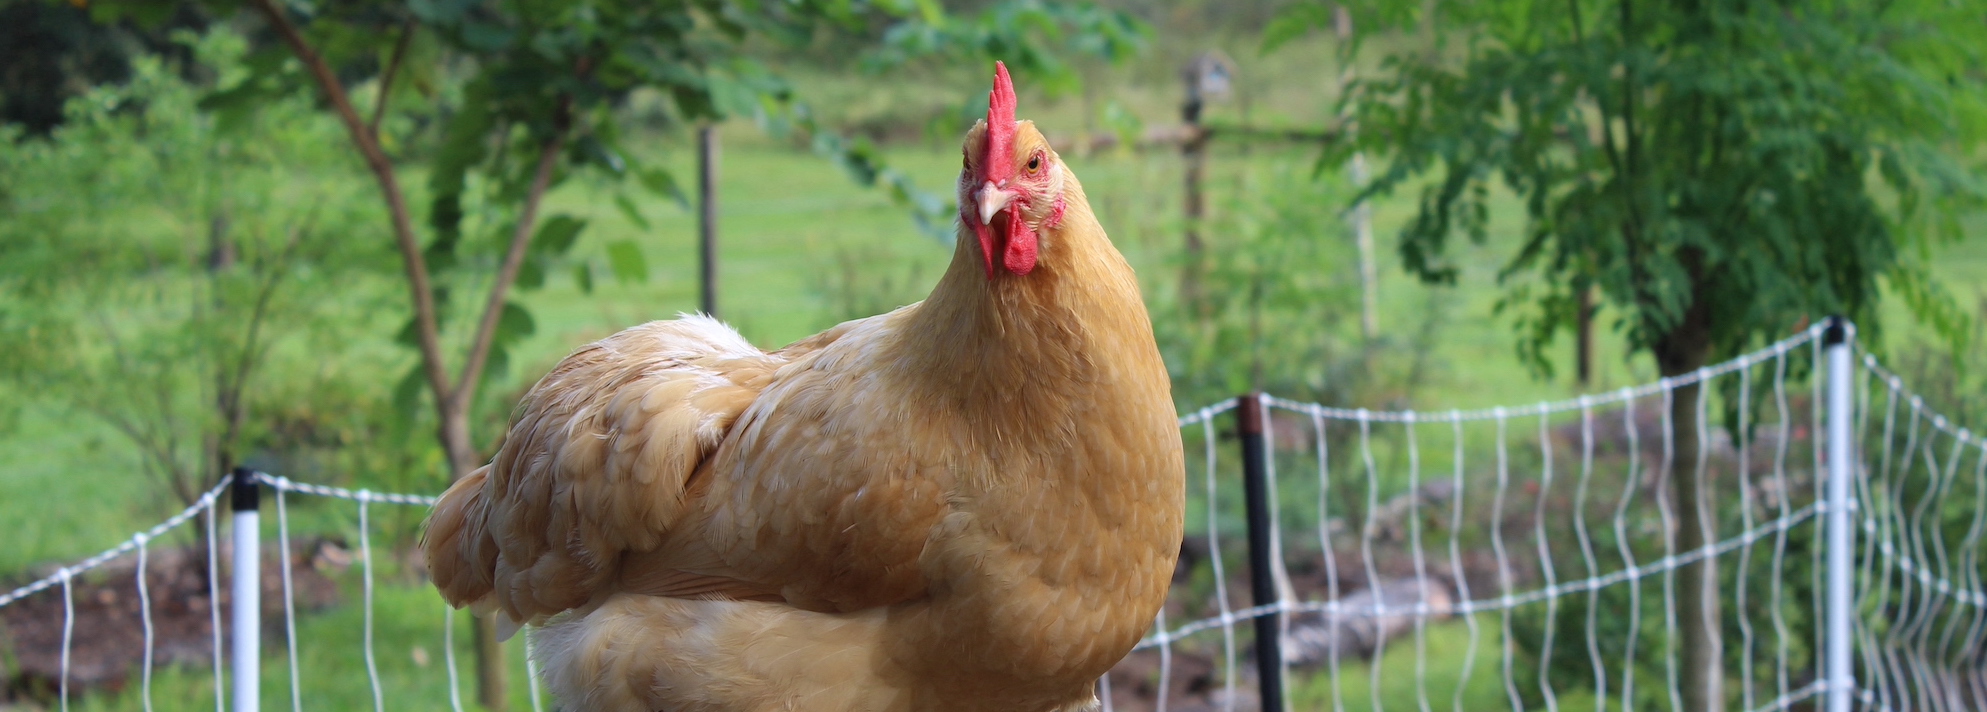
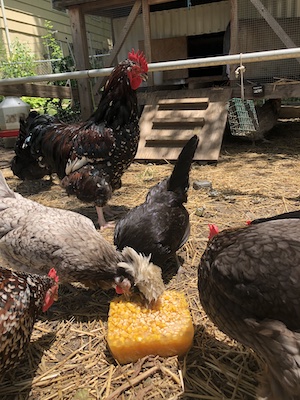
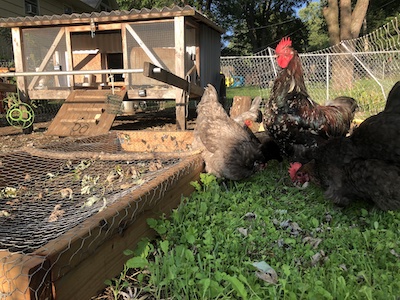
Livestock and Poultry
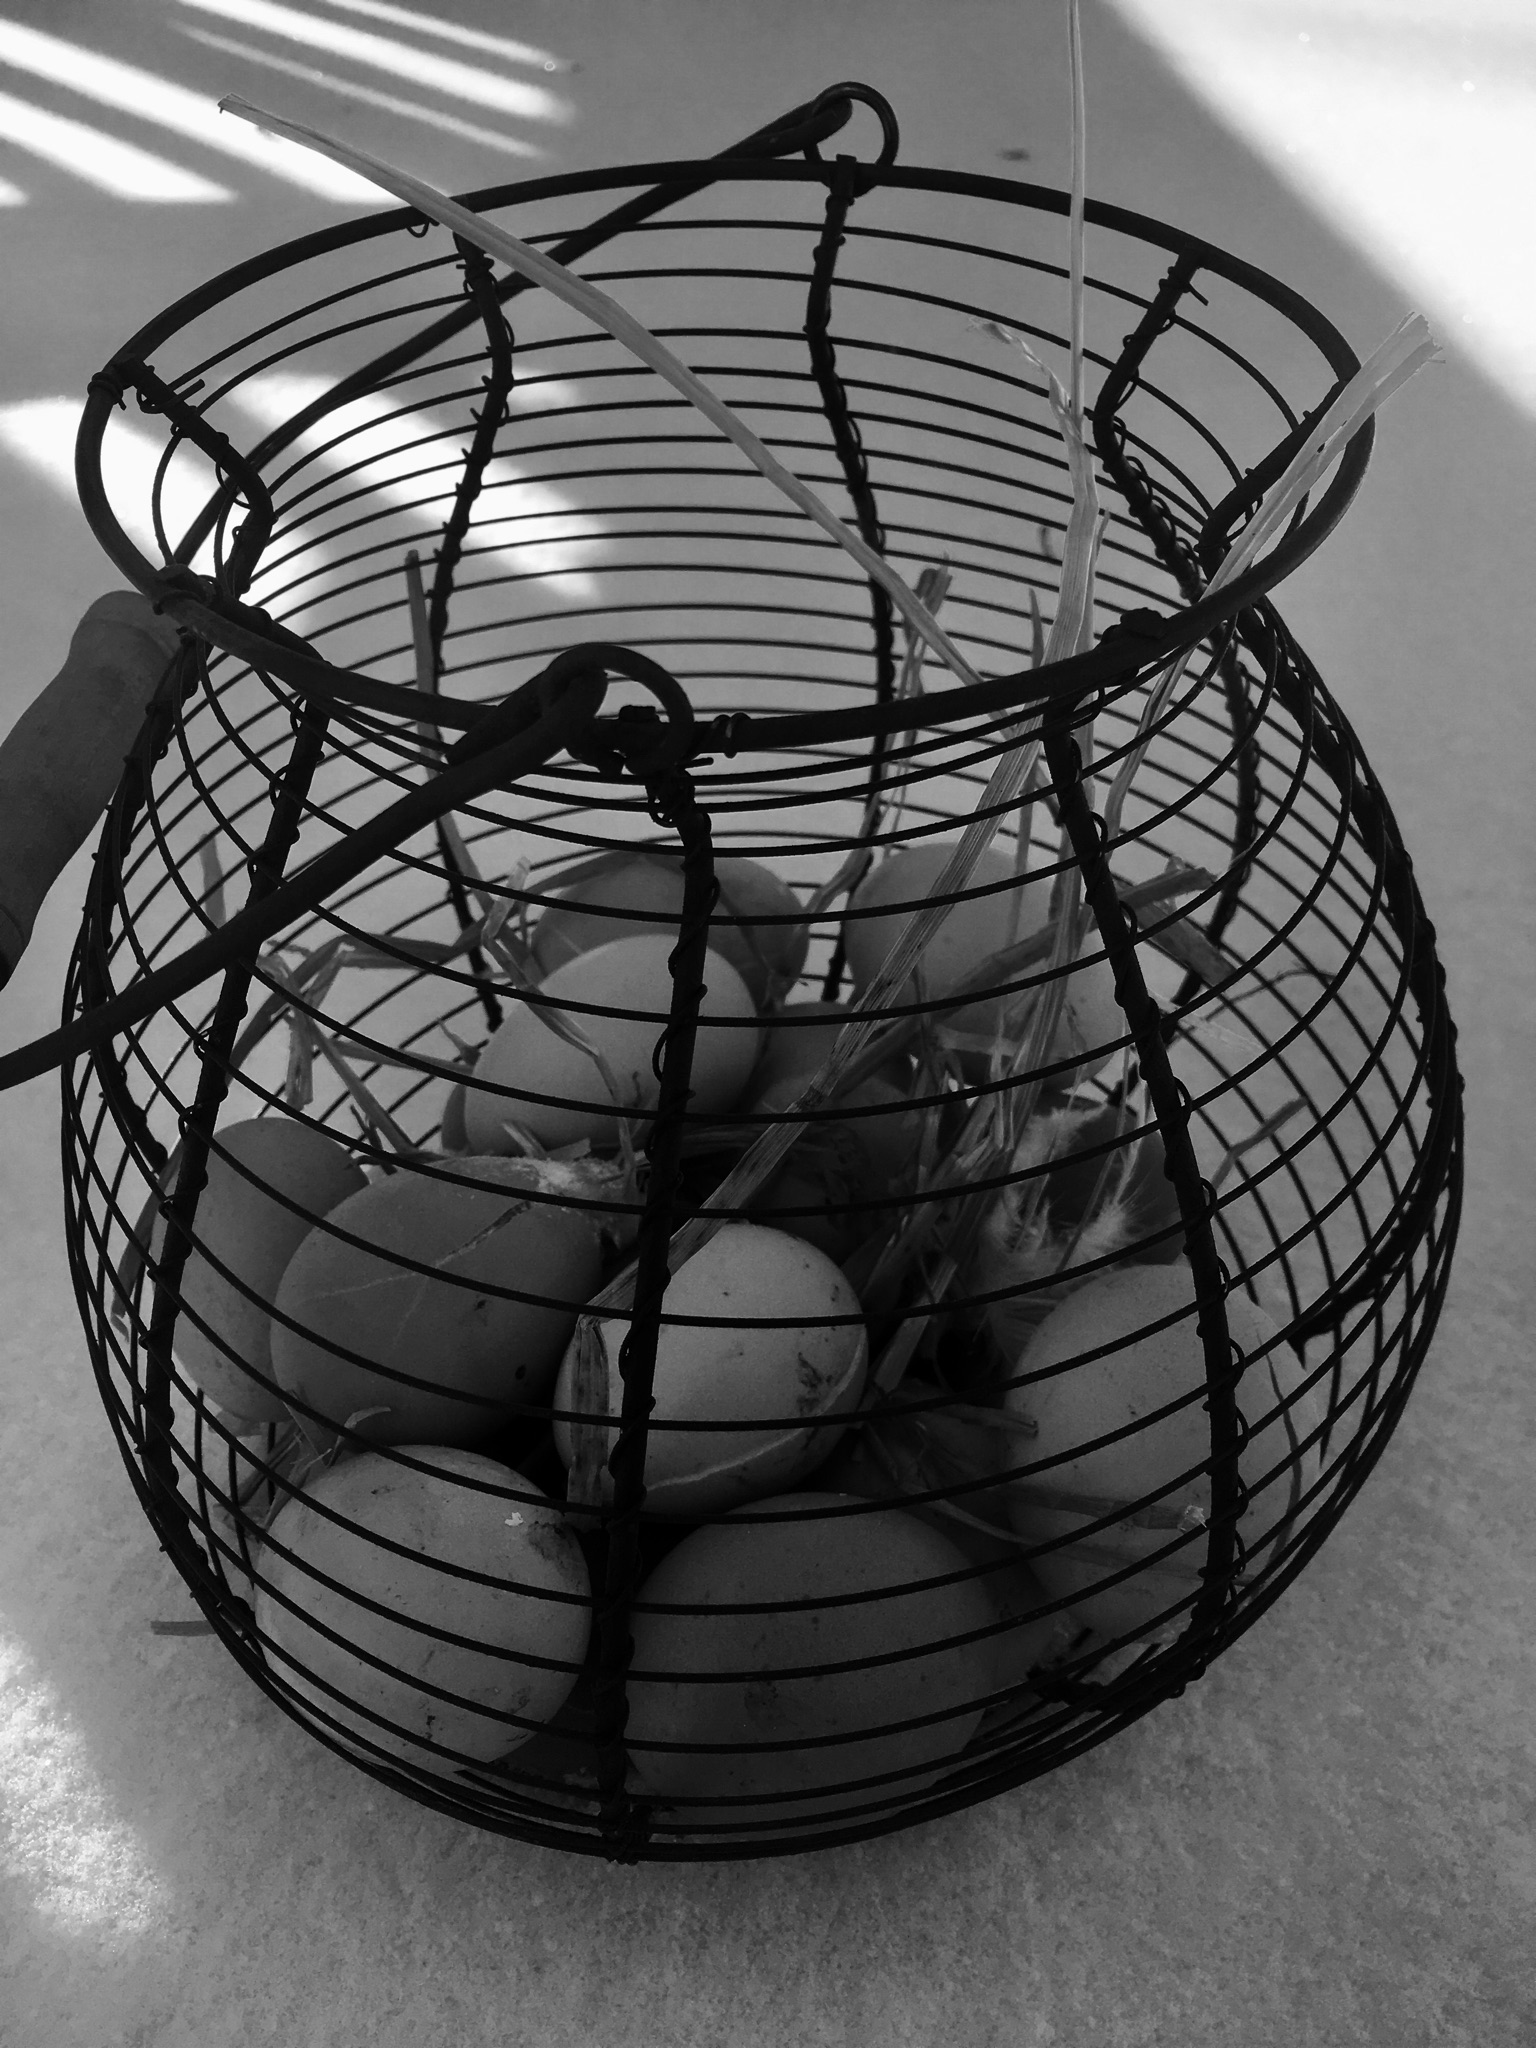
- Chickens: Some of the early spring chickens will start laying soon. Once the first egg has appeared, switch chickens over to a layer feed and/or provide supplemental calcium.
- Harvest comfrey and feed to chickens, horses, goats, and cattle.
- Quail: Mix apple cider vinegar and honey with their water once a week. Pick fresh flowers and grass seed heads to put inside their coop and nesting area. This is a great time to provide supplemental protein using meal worms and small crickets.
- Deworm (if you missed June / July): Use 1 tablespoon of Basic H in a 5 gallon waterer (1tsp per gal) for chickens (NOTE: Use the original formula of Basic H, which comes in a 5 gallon bucket OR 30 gallon drum). Add 1.5 cups to a 100gal waterer basin for cattle and horses. Available in bulk (much cheaper for farm use) This should be their only water source for two days.
- Coop clean out: On a sunny day with a breeze, clean out the coop in the morning. Use Basic H organic cleaner and spray everything out. Leave the coop open all day to dry it out with good airflow. Clean out all waterers and feeders using a bleach solution.
- Add wood ash to the dust bath to help prevent and treat lice and mites.
- CLICK HERE for extra tips on keeping chickens cool during hot summer months.
Around the House
- Keep South and West facing shades closed during the day time in order to block out the hot sun.
- Open up the windows on cooler nights to help air out the house and let in fresh air.
- Replace your HVAC filters
- Check batteries in smoke alarms and carbon monoxide detectors
- Wash windows (inside and out). Use a product like “Invisible Glass” to avoid streaks.
- Clean outdoor windows and doors (I use Basic H for this)
- Apply UV protectant to your recreational vehicles (boats, car interiors, RV’s, decals, etc.
- Spray tire shine and protectant on vehicle and trailer tires to prevent sun damage and cracking
- Fertilize house plants and give them a full shower to rinse leaves. If you do this outside, make sure it’s in a full shade area.

In the Perennial Flower Beds
- Dead-heading: Cut back spent flowers in order to get a second bloom. Spent flower heads can be fed to chickens or composted. If they are dried, you can save seeds or spread them in the far corners of the property (or in ditches).
- Plant seeds of biennials like larkspur, holly hocks, and poppies for next year
- Add extra wood chips to areas that are in full sun in order to protect soil health and microbial activity
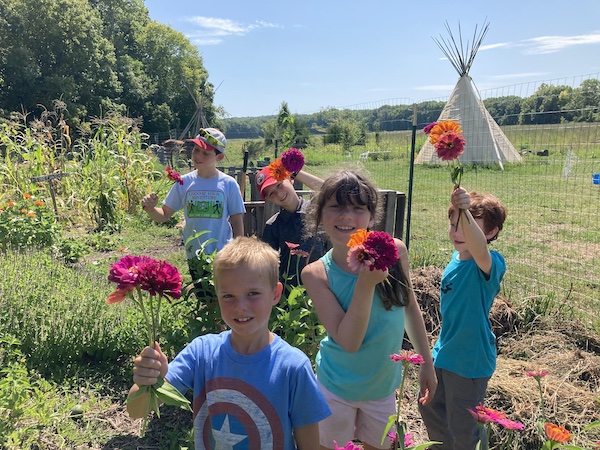
- Bring cut flowers indoors and share with neighbors, especially those who are shut-ins or elderly
Kids & Family Activities
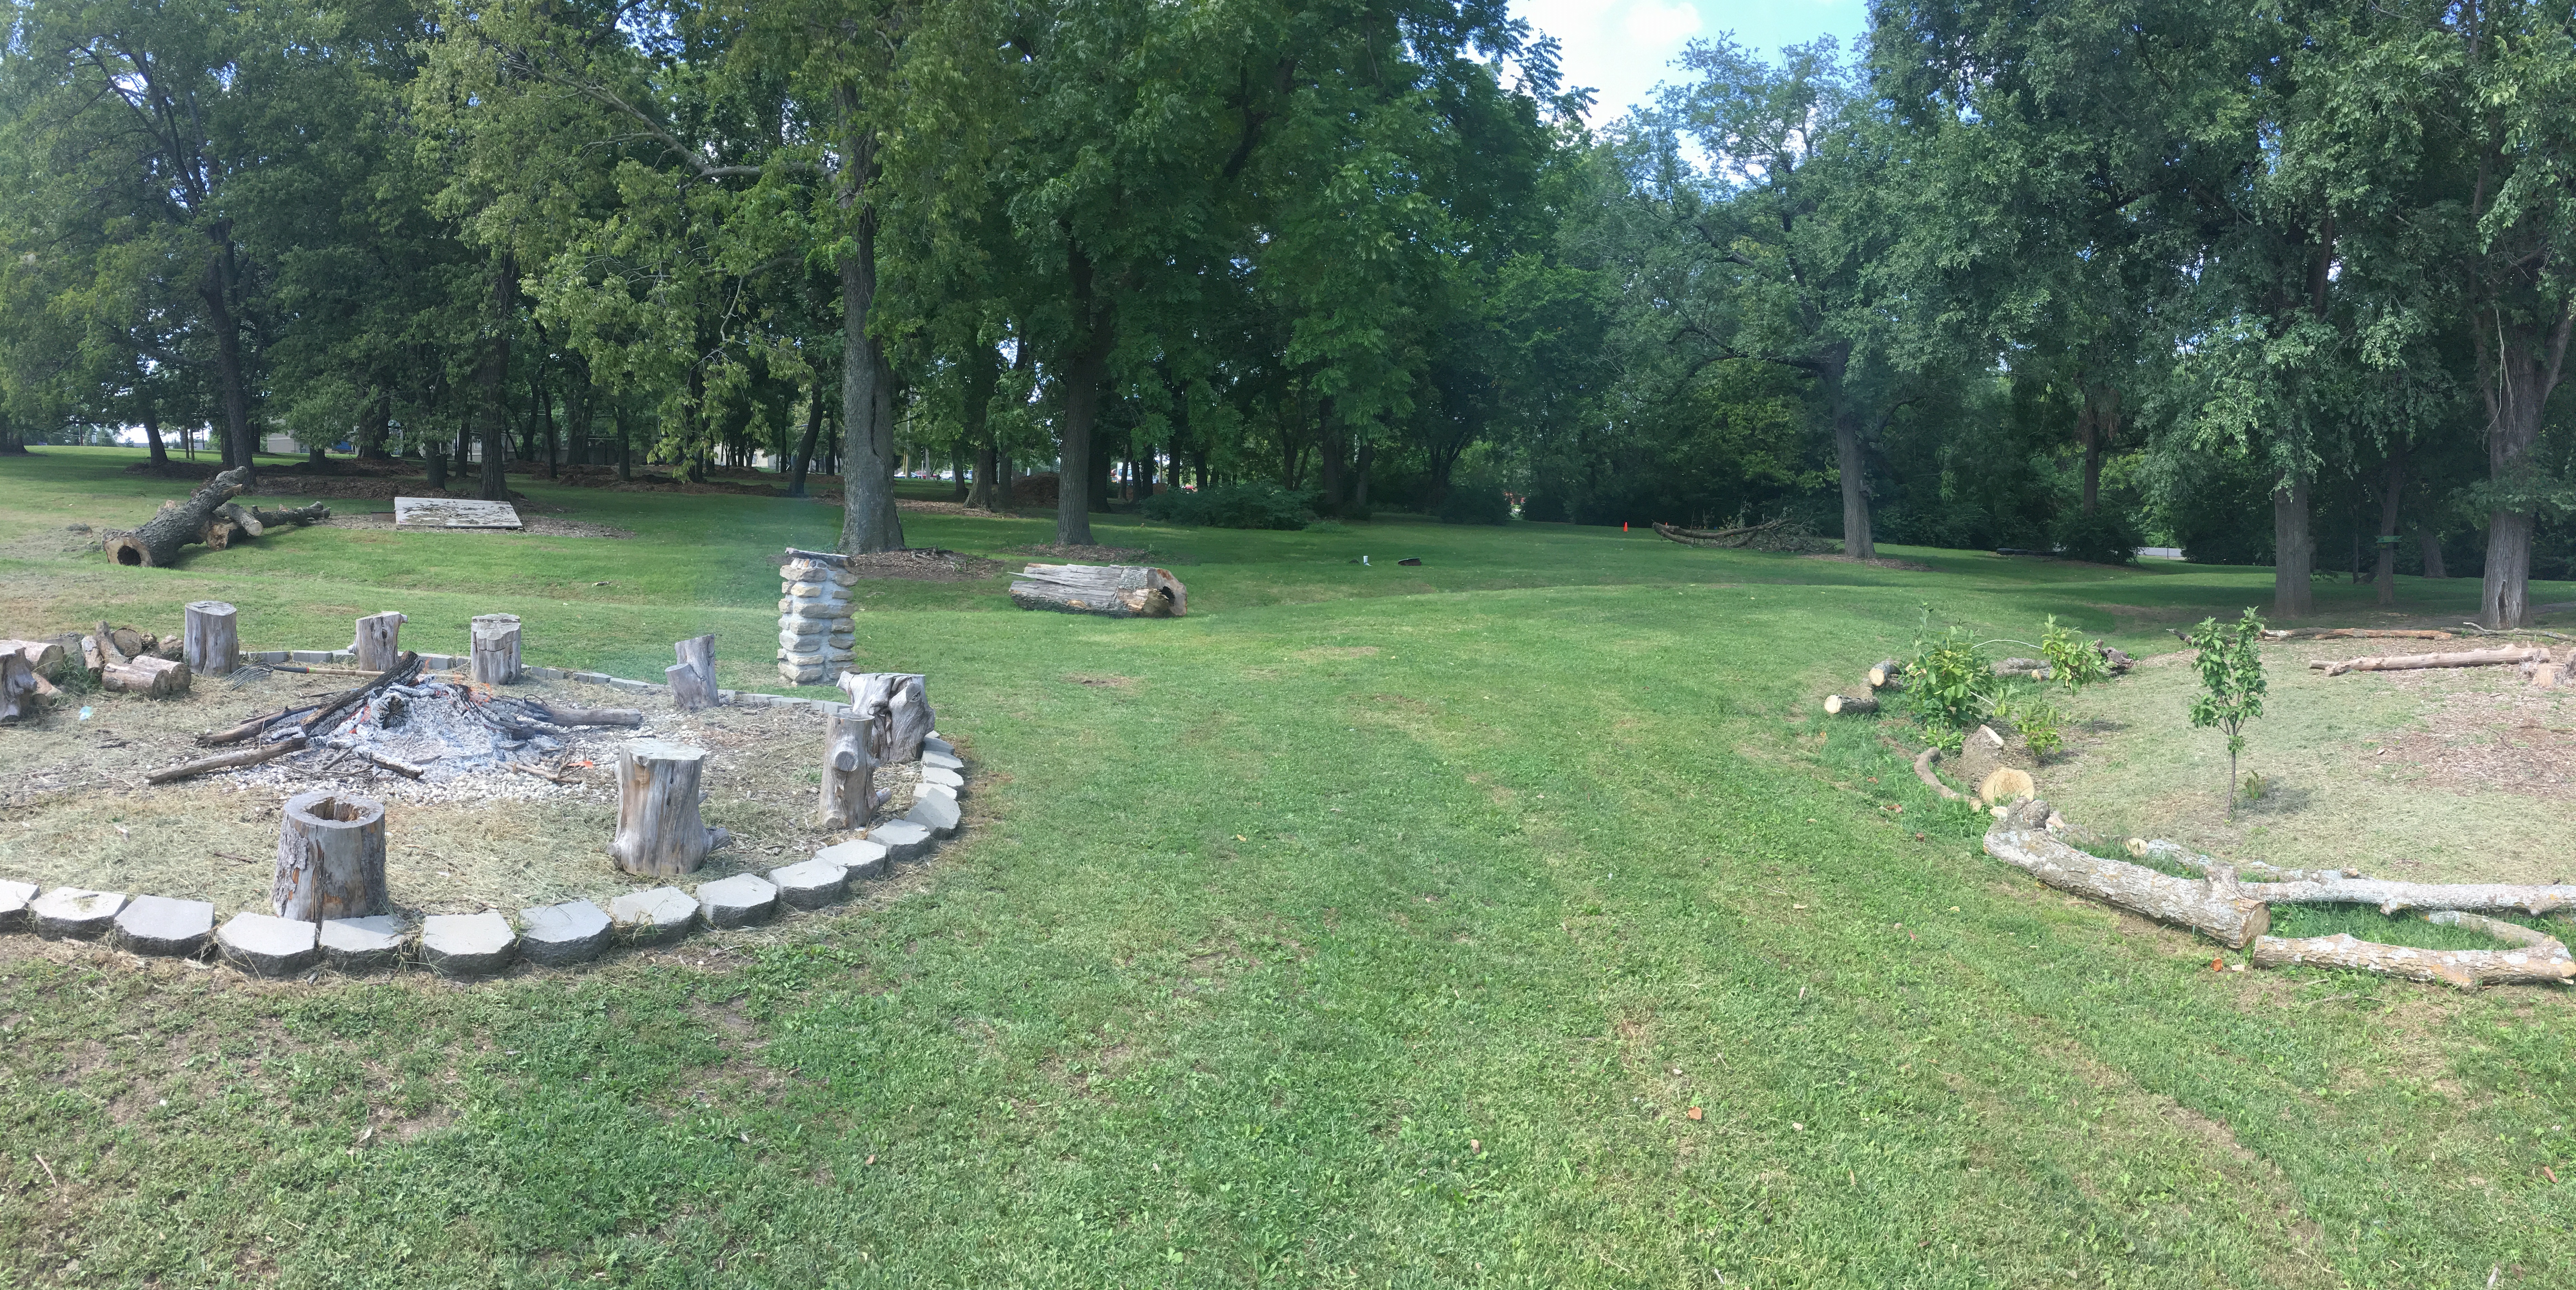
- Backyard Camping: If you live in a safe neighborhood, set up a tent outdoors so the kids can campout in the back yard. Think about activities from your childhood… s’mores, comic books or paper back stories, flashlights, sparklers (with supervision of course), campfire pie makers, etc.
- Sprinkler Games: It’s amazing what kids will do if we just provide a sprinkler, some new blow up toys, and a few buckets for water.
- Fort building: Help kids build a ground fort or play area with sticks, logs, bamboo, branches, etc. Provide them with string for tying things together, a few zip ties, and some old blankets for the ground inside.
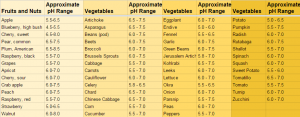
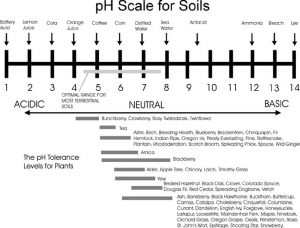
 When looking around a permaculture property, there are many uses for wood ash which can be a great source of nutrients for your soil. However, it’s important to know that with wood ash, your kindergarten teacher was right in saying, “A little dab will do ya.” Use only a small amount and increase after a few weeks to make sure your soil pH says in the safe zone. The reason for this is that