As permaculturists, we are often focused on food forests, regenerative agriculture, and organic gardening. Often, we focus our energy on what we can eat. At the same time, it’s important to recognize that if the local pollinating insects (mainly bees, moths, and butterflies) don’t eat – then we won’t either! If we are going to have successful kitchen gardens or food forests, having adequate sources of pollination throughout the growing season is imperative for fruit production.
Although most of the suggestions in these lists are native plants, there are a couple non-natives included that grow well and are excellent food sources for bees and butterflies. As much as possible though, it’s important to plants native to your area in order to help the local ecosystem thrive. Native plants are also proven to be tried and true to your area, often are the easiest to grow, and generally have the best blooms with the least maintenance.
So, here is the Top 10 Best Pollinating Plants for your Garden and Food Forest!
NOTE: This next section is divided into two separate lists, according to USDA Growing Zones.
Top 10 Best Pollinators for USDA Zones 3-8

1. Crocus
Crocus is one of the first signs of spring and an excellent early source of nectar for honeybees and local pollinators. It is best planted in the fall after the first frost and can even be planted through February between the snows. Click here to find out what else you can plant between snows.

2. Laitris
A mid-spring / early summer bloomer that has a flower which lasts over a month. Great for butterflies and also makes a good cut flower for the house.
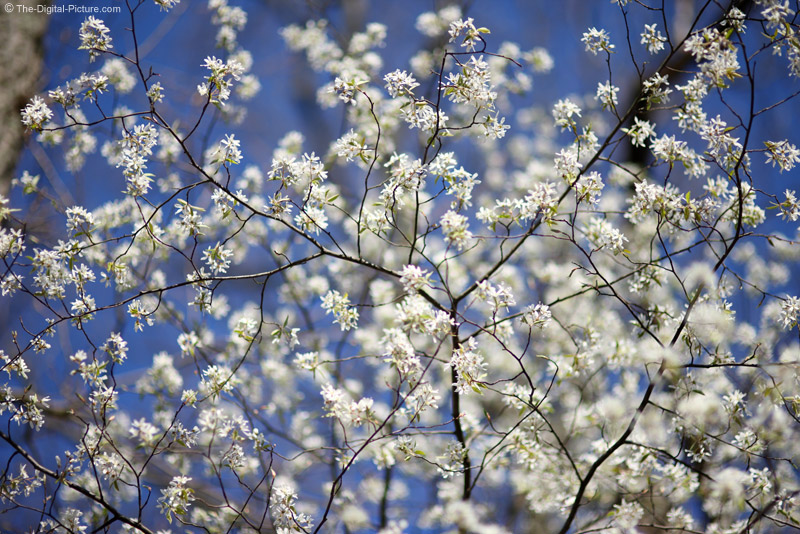
3. Serviceberry
Also known as Juneberry or Saskatoon berry, the flowers are like massive sweet smelling snowballs in the spring. In the summer, the ripe berries can be used for jams or preserves, or simply left for the birds.
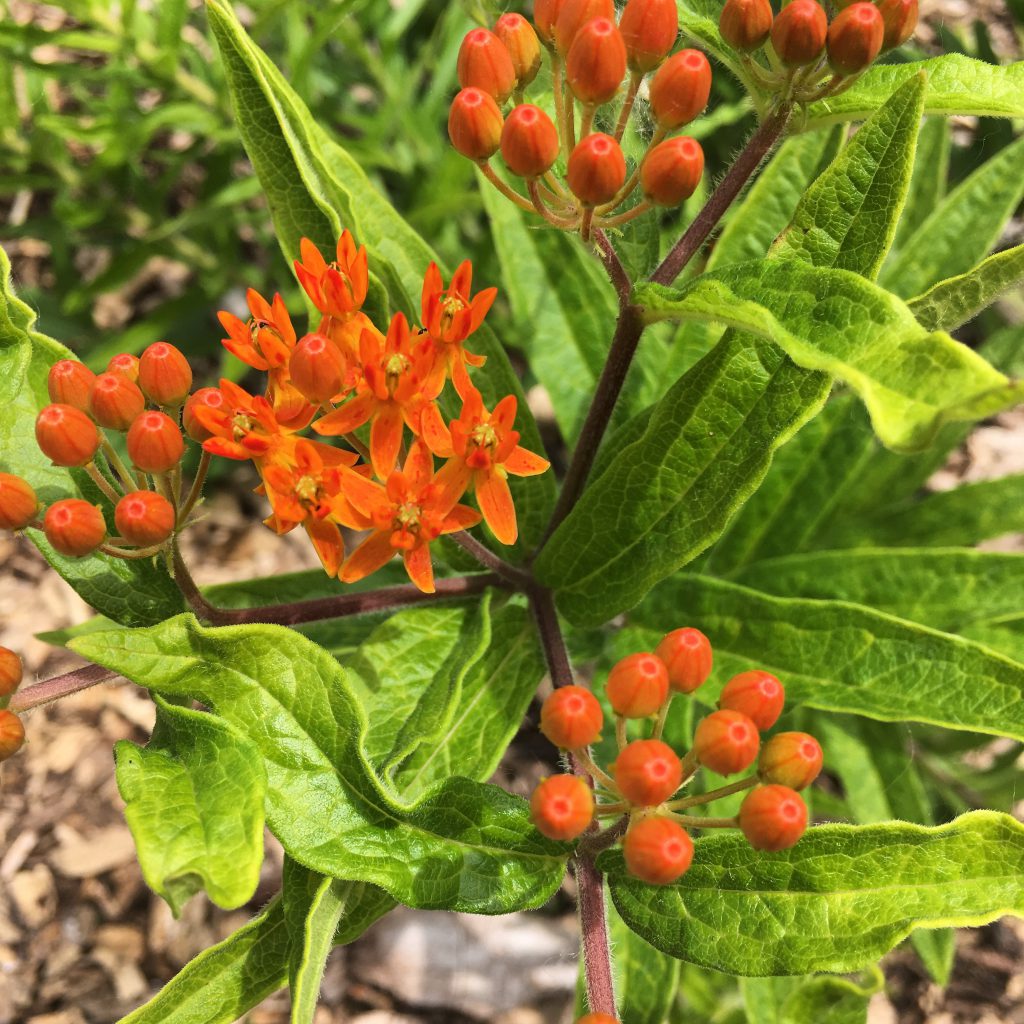
4. Butterfly Weed
This bright orange and yellow flower will bloom repeatedly over the summer. It’s a source of nectar for Monarch butterflies, and the leaves may become a food source for their caterpillars as well.
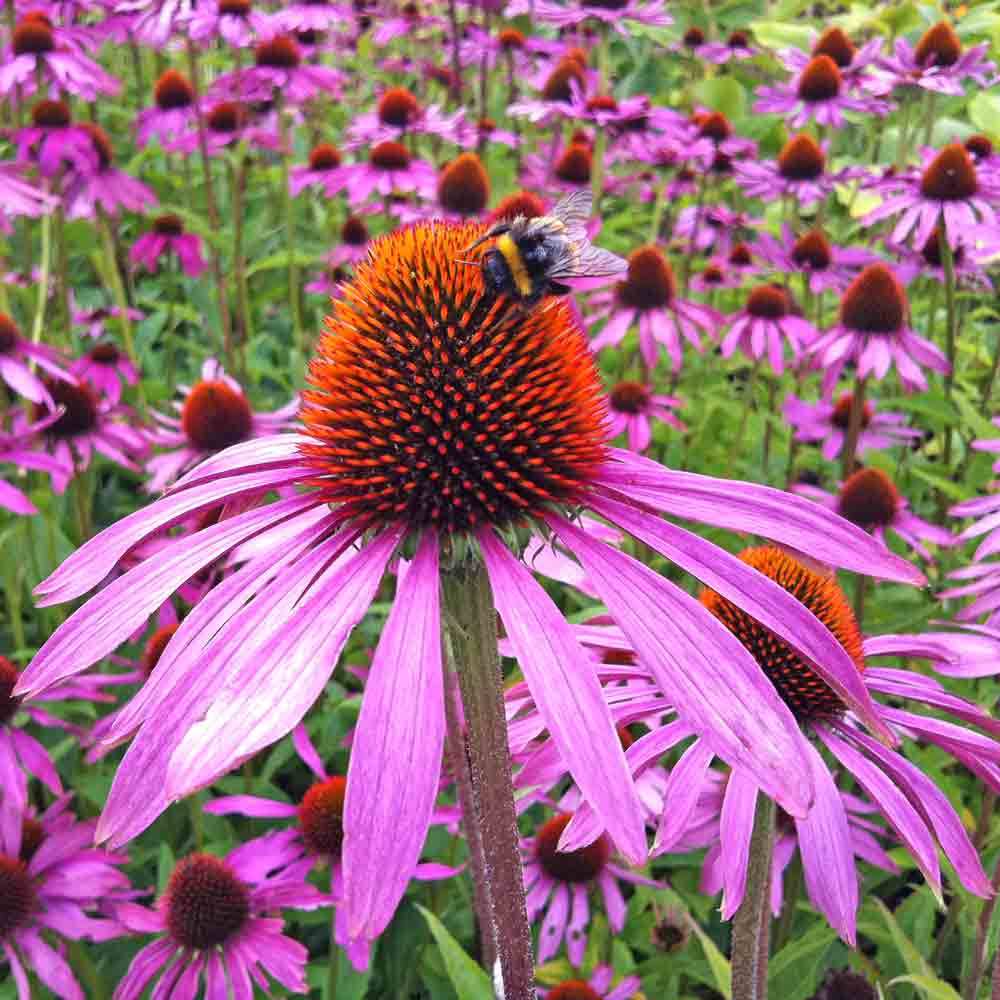
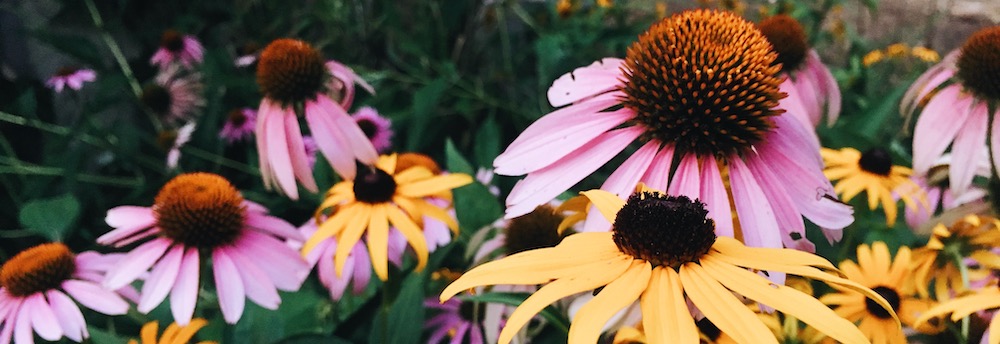
5. Purple Cone Flower
Begins blooming in June and will continue to bloom until the last frost. Moths, bees, butterflies and even dragon flies appreciate this one. Not only is it great for insects, but it’s an excellent medicinal herb for human use as well.
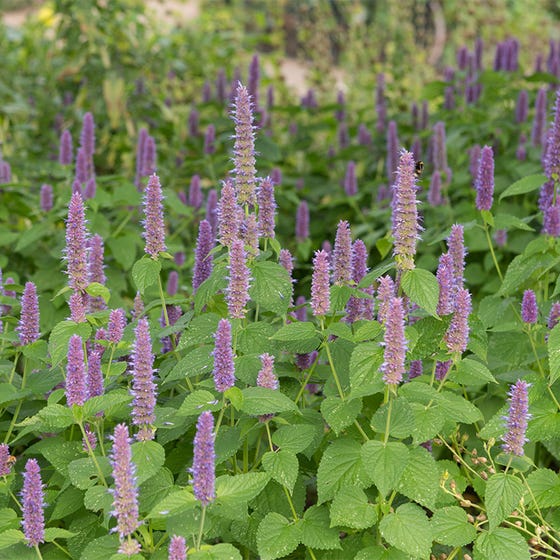
6. Agastache (Hyssop)
There are many varieties of this plant, but try to get one native to your area. The plant leaves can be made into a tea (tastes like root beer) and the flowers will bloom midsummer and provide nectar for bumble bees and butterflies.
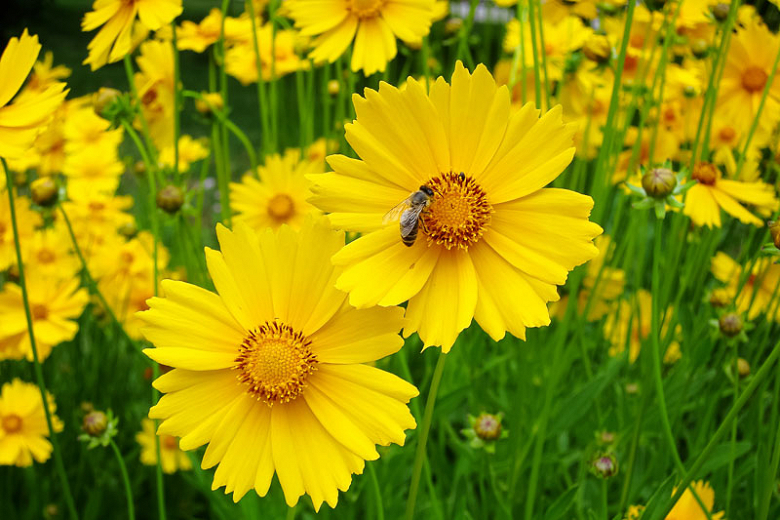
7. Coreopsis
Varieties of coreopsis can be found all over the US, some even having red and orange centers. Deadheading will prolong the blooms until mid-fall. Similar to cosmos, it is great as a cut flower and wonderful for honey bees.
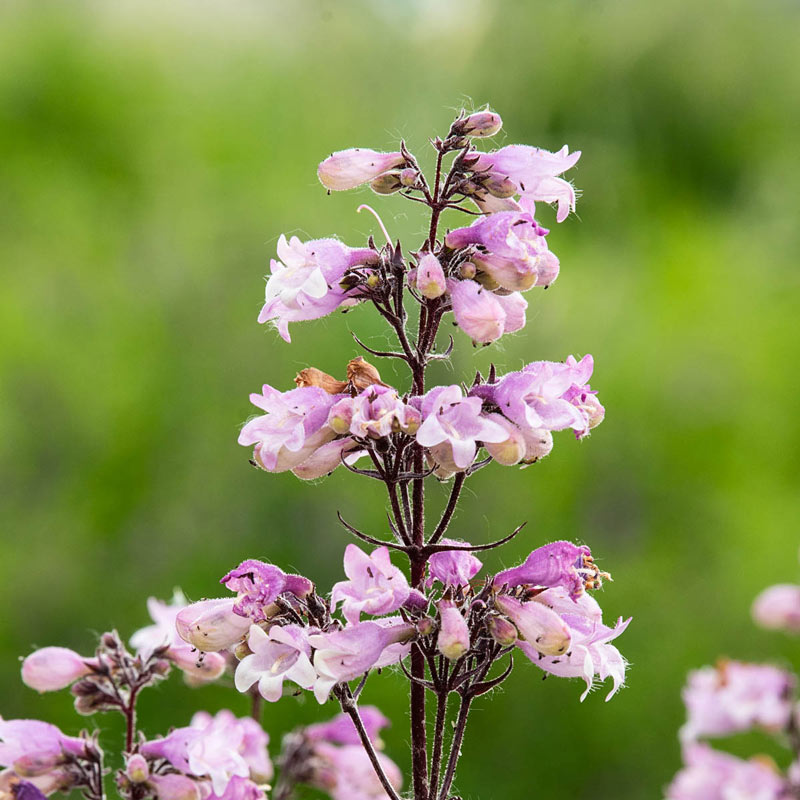
8. Penstamon
Native in most of the continental US and a great bee and butterfly attractor. A long time bloomer, it goes well in the flower garden or even in a naturalized area.
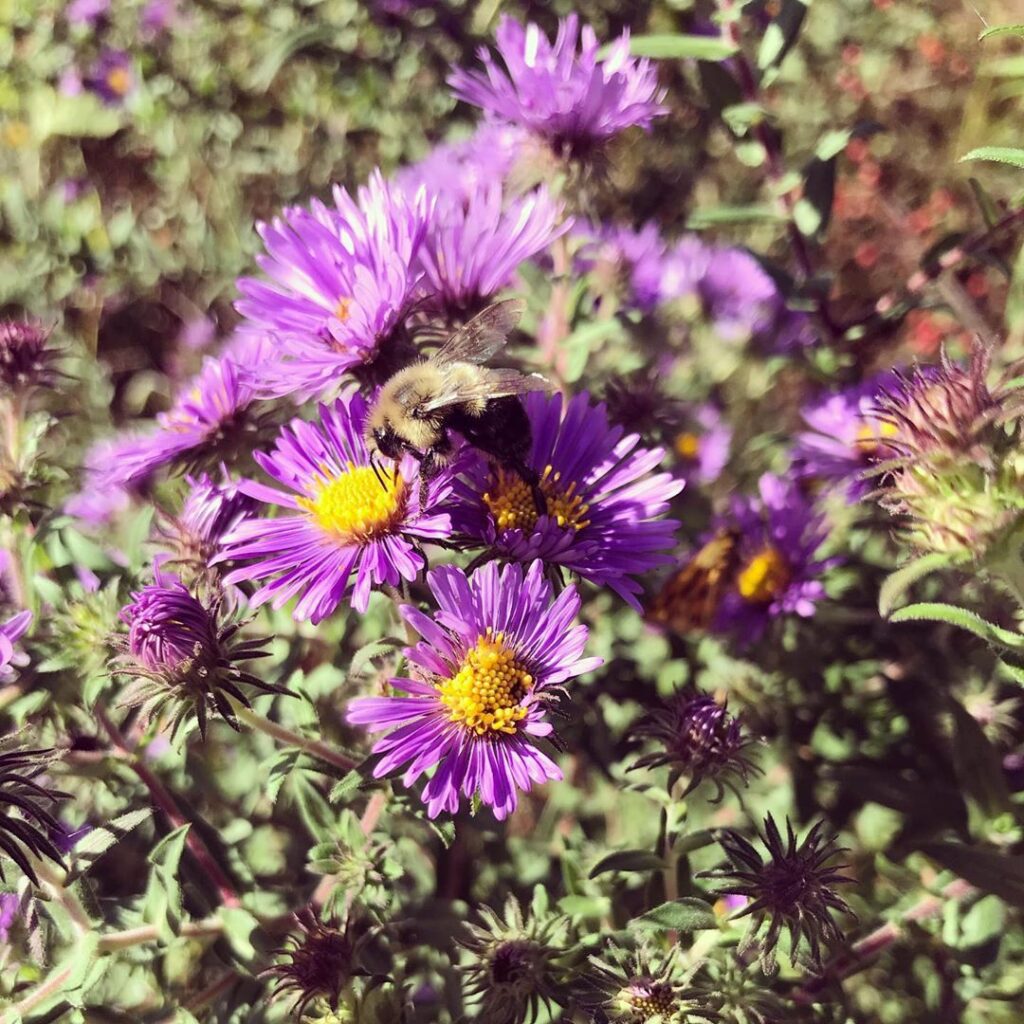
9. Aster
There are many types of asters to choose from, ranging in colors from blue to deep purple. They are one of the later sources of nectar and pollen for bees and butterflies, blooming toward the end of summer and early fall. Also, this show stopper is long blooming, which makes it an excellent choice for a food forest or flower garden.
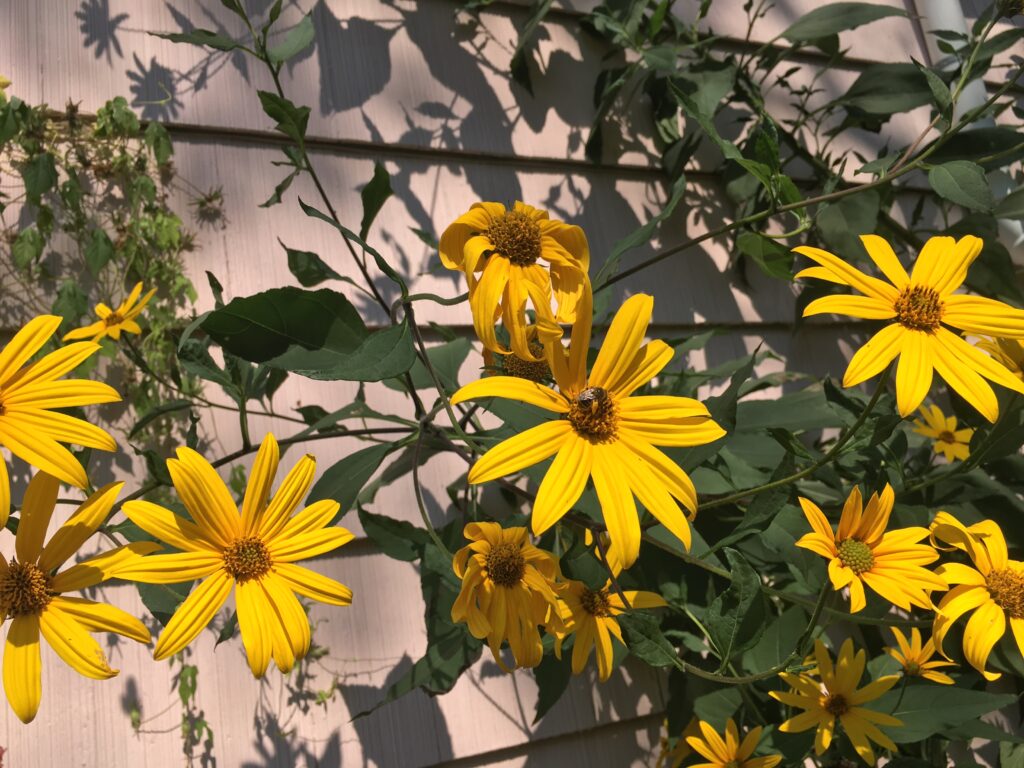
10. Jerusalem Artichoke
Growing 12-17′ tall, this one gets pretty massive. Sunchoke (or Jerusalem artichoke) is a spreader with edible roots that taste like potatoes. It is not one to put in your main flower bed, but goes well on the edges of a property to provide visual interest and pollination in the farther regions. Sunchokes are one of the last bloomers of the season before frost hits, so very important for our native pollinators as they prepare for winter.
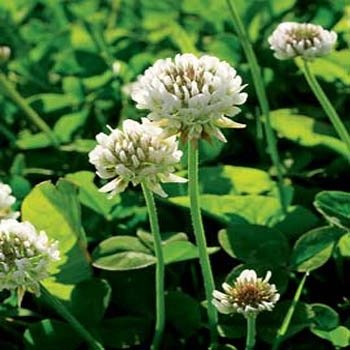
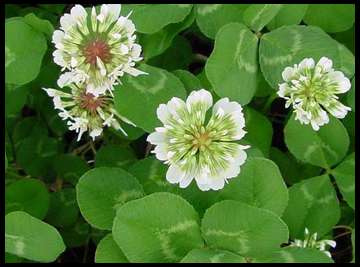
Honorable Mentions: Yarrow, hairy mountain mint, bellflower, white clover.
Great resource for purchasing native plants and seed mixes: Prairie Moon Nursery
Top 10 Native Pollinators for USDA Zones 9-11
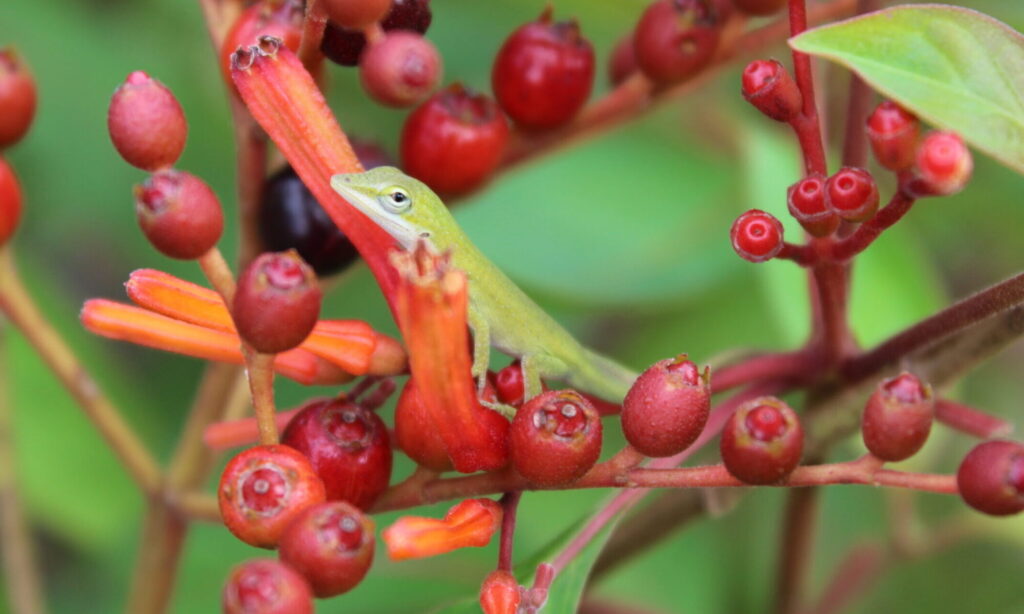
1. Firebush
This bush is a wildlife magnet! Bees, butterflies, birds, moths, and even little lizards. The flowers attract insects and hummingbirds, and then produce berries that the native songbirds enjoy. Not edible for humans, but a food forest favorite.
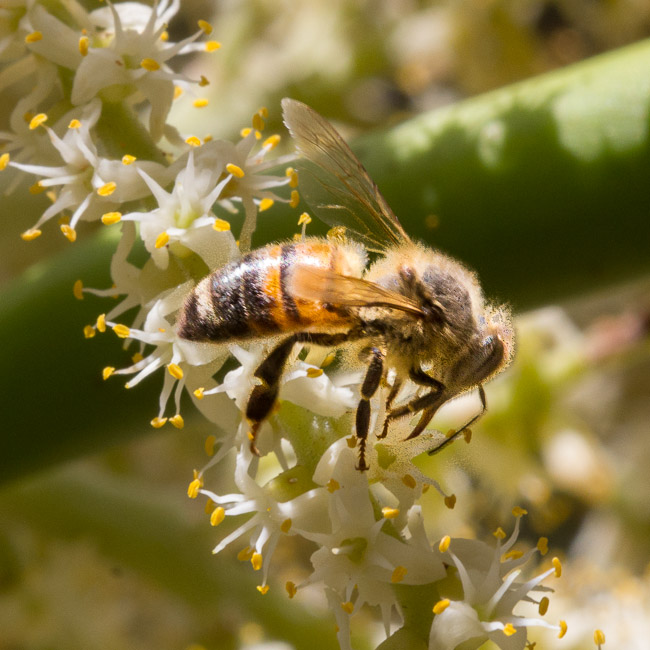
2. Saw Palmetto
We often think of this plant as a pest in places like Florida, but for the native pollinators and honey bees it’s an abundant food source. In fact, in may areas, local bee keepers are always looking for a place to get saw palmetto honey, because the flavor is unparalleled.
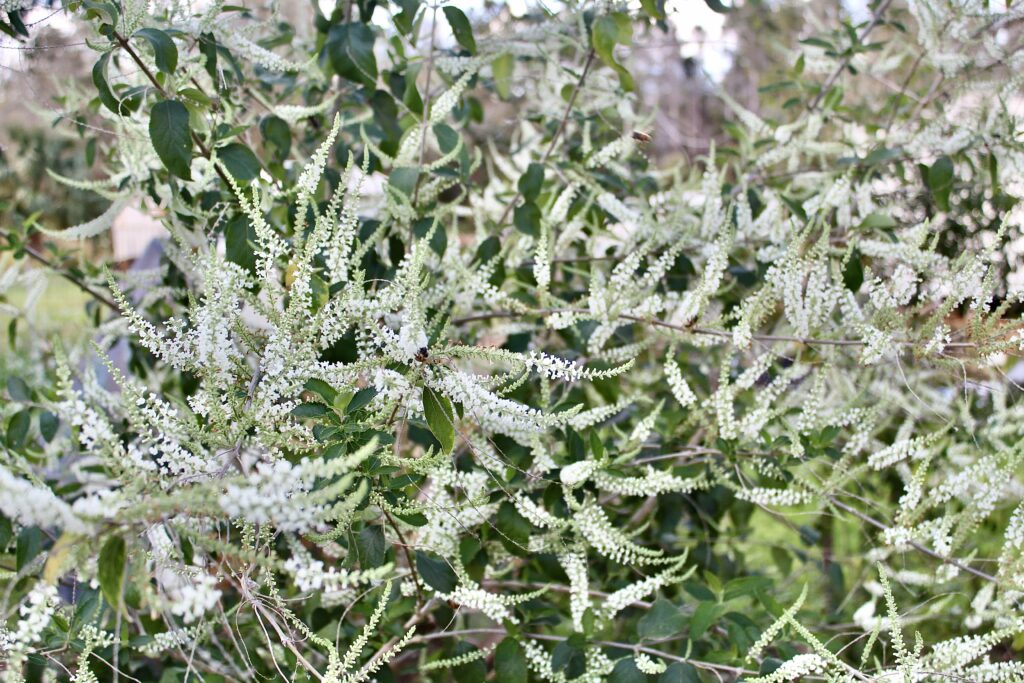
3. Sweet Almond Shrub
This plant, native to South America, is one of the best pollinators for this growing zone. The blooms can come and go all year and the fragrance is intoxicating. The smell is a nice vanilla almond fragrance that fills the entire garden. Not to mention, they are always covered in native butterflies and bees. It’s non-spreading and is not invasive.

4. Coreopsis
Varieties of coreopsis can be found all over the US, some even having red and orange centers. Deadheading will prolong the blooms until mid-fall. Similar to cosmos, it does well as a cut flower and is also wonderful for honey bees. Go get some of these for your native flower beds.
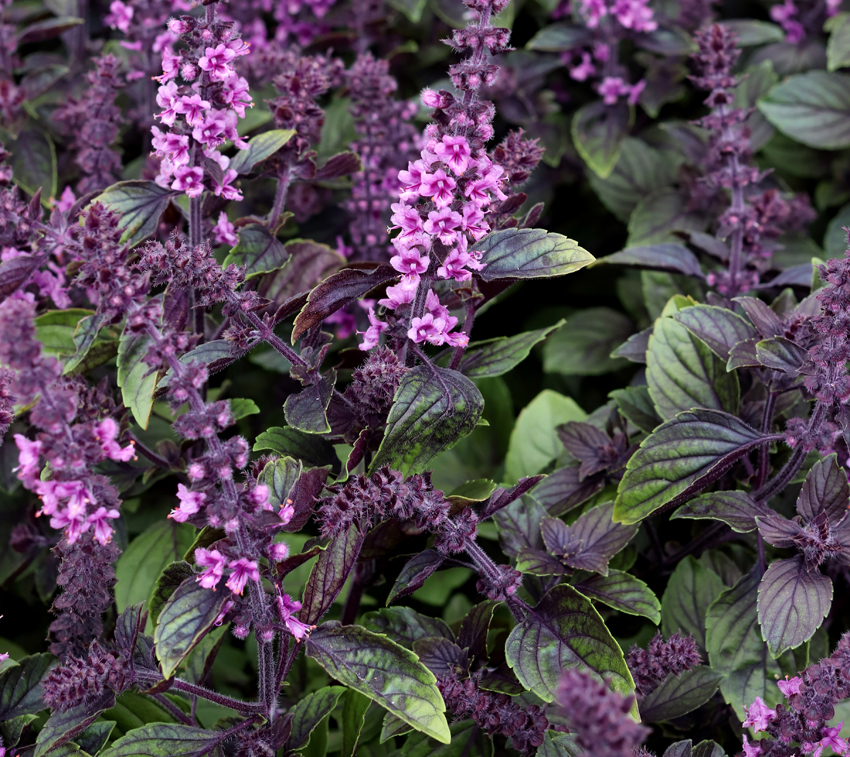
5. African Blue Basil
In addition to making a yummy pesto, this hybrid basil is always covered in non-stop blooms. It has sterile seeds, so must be propagated via cuttings. Bee keepers in Georgia, Florida, Texas, and California always suggest this variety.
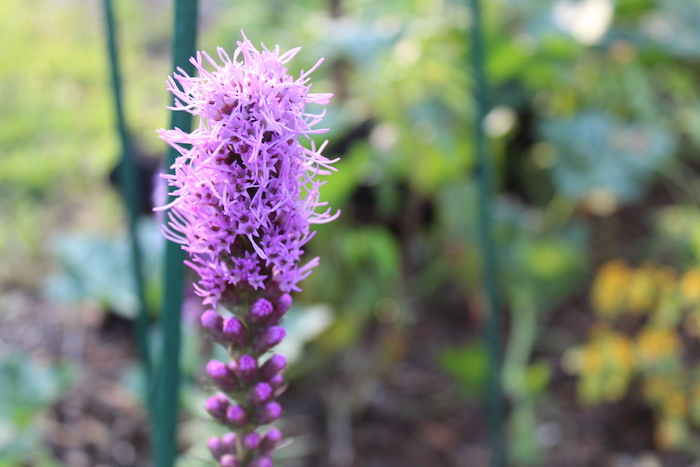
6. Gayfeather Laitris
A mid-spring / early summer bloomer that has a flower which lasts over a month. In addition to its beauty, it’s also a great food source for butterflies and also makes a good cut flower for the house.
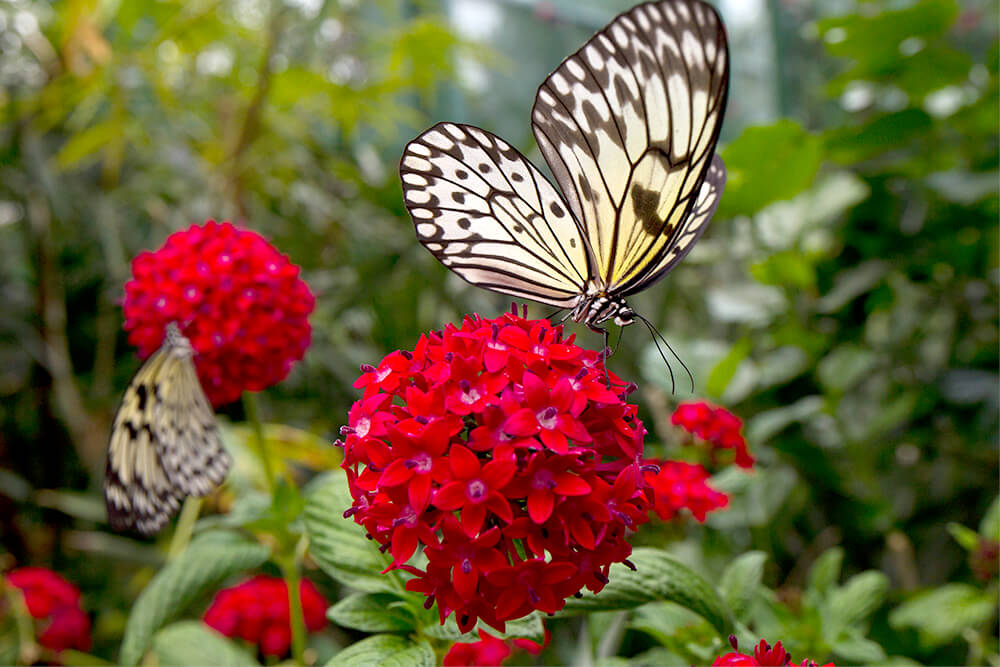
7. Red Pentas
A beautiful Florida native and a wonderful pollinator for butterflies, bees, and moths. The blooms generally begin in May and continue until December, when the plant can get a “hair cut” to maintain its shape.
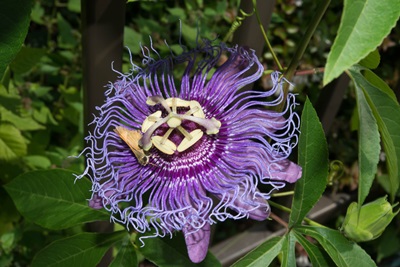
8. Passion Vine
The native variety (Passiflora incarnata) is found wild in many southern US states. However, other varieties like Purple Possom or Yellow Passion Vine are the varieties edible for human consumption. They also attract native butterflies and bees and are the primary food source of fritillary butterflies.
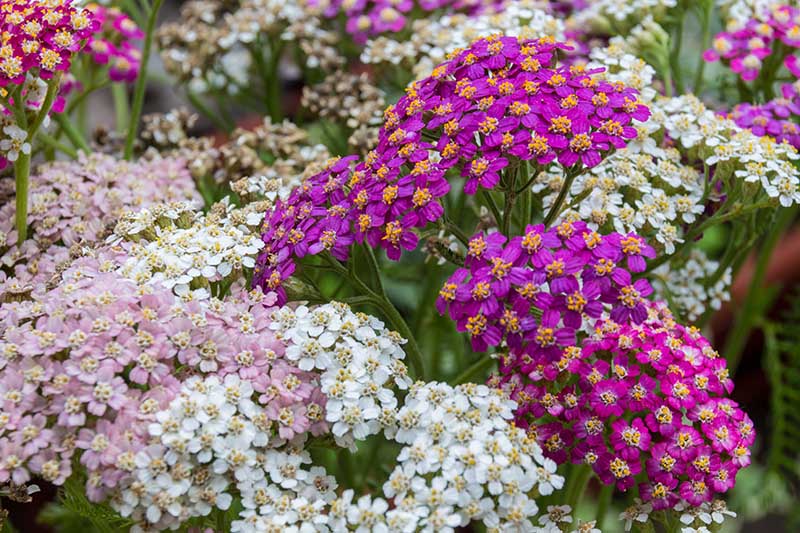
9. Yarrow
This gorgeous plant blooms in spring and summer and comes in a variety of colors. It not only attracts bees and butterflies, but also attracts lady bugs, which make this is a great one to plant in areas that often have aphid problems because the lady bugs will eat them as well. Not to mention, it’s also great for making teas and tinctures.
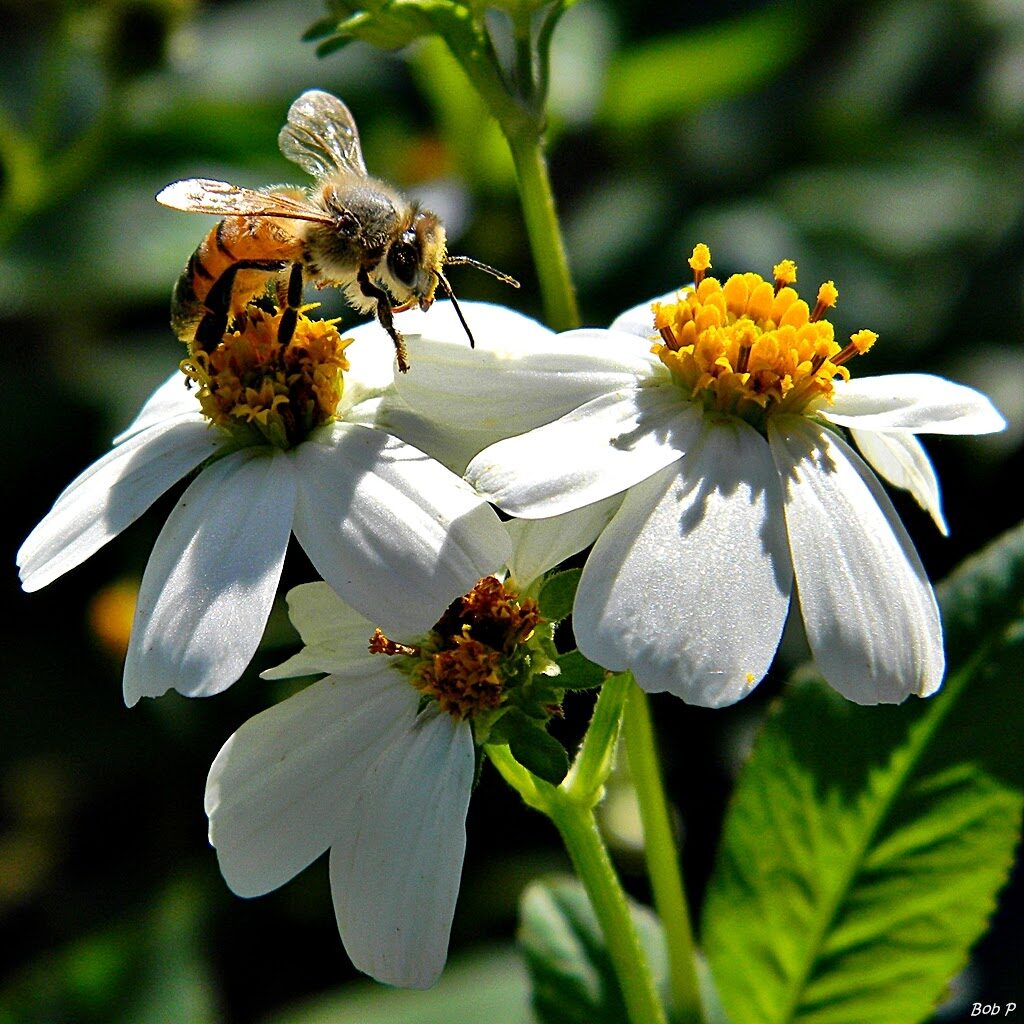
10. Spanish Needle
Most people consider Bidens Alba a weed, but it is one of the best native pollinators in the southern US. It’s also an edible and medicinal plant with antibiotic and antiviral properties. Be sure to add some at the edges of the property or in the food forest; the bees will thank you.
Honorable Mentions: Blanket Flower, indigo bush, rattlesnake master, white wild indigo
Great resources for seeds: Native American Seeds (for wildflower pasture seeds) & Hancock Seed Co (I love their native quail mix)