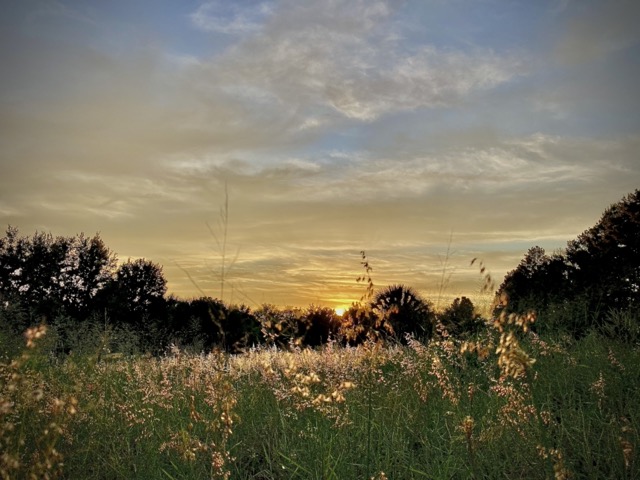

The summer fun is in full swing and we are hopefully all enjoying the opportunity for daily harvesting. There is such joy and satisfaction in being able to walk into your backyard and grab a snack on the go. The flavor of a sun-ripened sweet tomato right off the vine and a fresh piece of fruit from one of the trees. This is the taste of summer!
I remember being in the garden with my mom when I was a child, and she would always hand my brother and I some fresh green beans. There is something about fresh beans (still warm from the sunshine) that will always remind me of my childhood. I was fortunate as a child to have a parents who enjoyed the outdoors. My brother and I grew up climbing trees, foraging in the woods, hunting and fishing, and building forts near the berry patches. As the years have gone by, I have found myself looking back on those years as critical times of the establishment of wonder and imagination in my life. There is something about the garden and food forest that invites us inward and beckons us to be a part of it. To not just eat – but see, hear, experience and dream a little. The garden, for me anyway, is a place that I feel safe in, provided for, and celebrated.
This month, as you go about your July Gardening To-Do List, take time to imagine and appreciate. Take space for yourself and create a safe space to invite others. The food forest can be both a flower for one and a garden for all.
NOTE: This list is geared toward USDA Growing Zones 9-11. If you are looking for the July Gardening List for Zones 3-8, click here.
July Garden Calendar for USDA Zones 9-11
In the Garden & Greenhouse
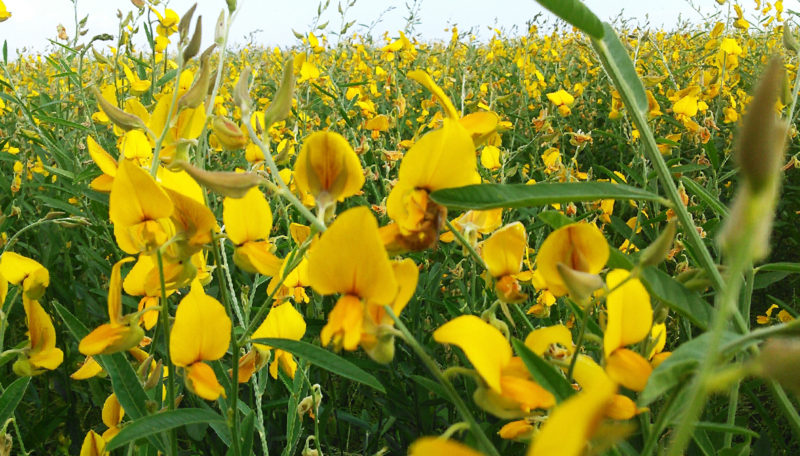
- Building soil in the vegetable garden: For the most part in zones 9-11, our annual vegetable season has come to an end. It’s the time when we shift from annual production toward production in the food forest. For the annual beds, this is a great time for a cover crop (like Sunn Hemp, Cow Peas, etc.) or to cover it with straw and let it compost in place until cooler temps arrive this fall.
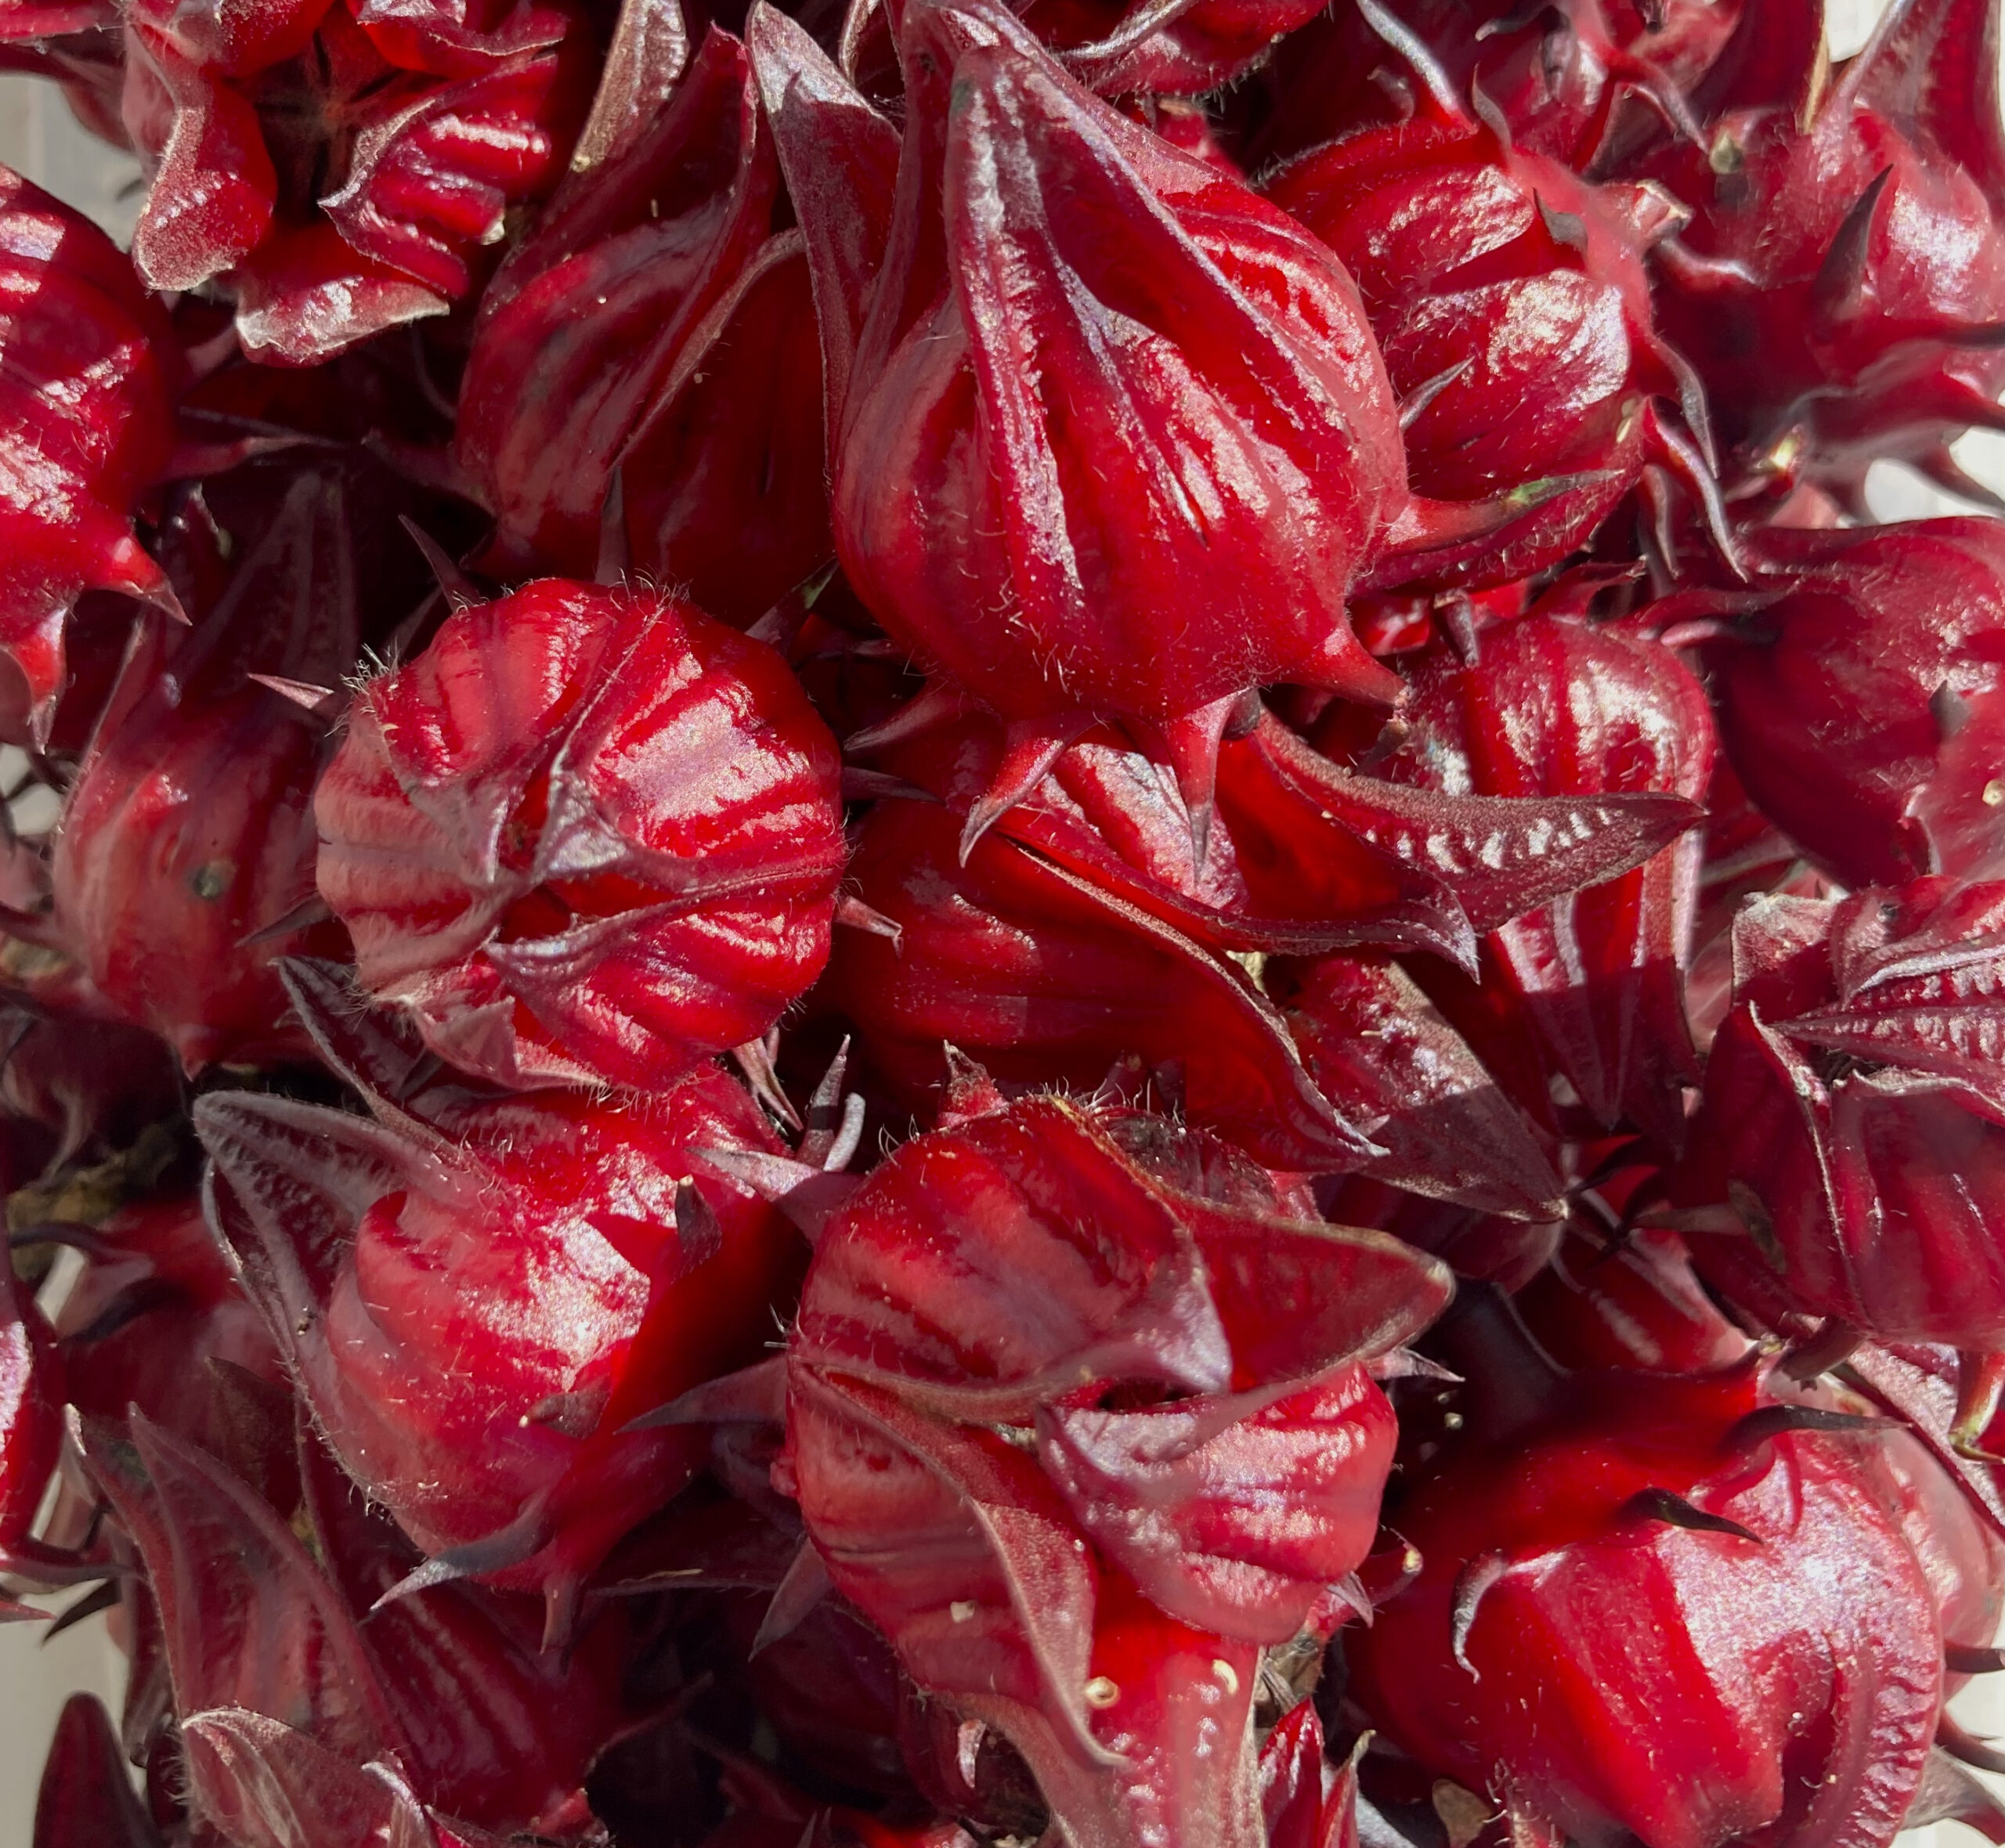
- To plant: Cassava cuttings, sweet potatoes, okra, chaya, tropical spinaches (like Longevity, Okinawa, Brazilian, Suriname, or Jewels of Opar). Focus on the perennial salad greens! Patreon members: Here’s a link to the full video class on using your tropical spinaches. Abundance subs also have a PDF with my favorite recipes.
- To harvest: Tomatoes, peppers, eggplants, okra…and as many tropical greens as you can! It’s also a great time of year to pick sweet potato leaves and saute them for supper. Add some salt, pepper, garlic, and cheese and tuck in!
- Compost: Turn pile 1-2x per week.
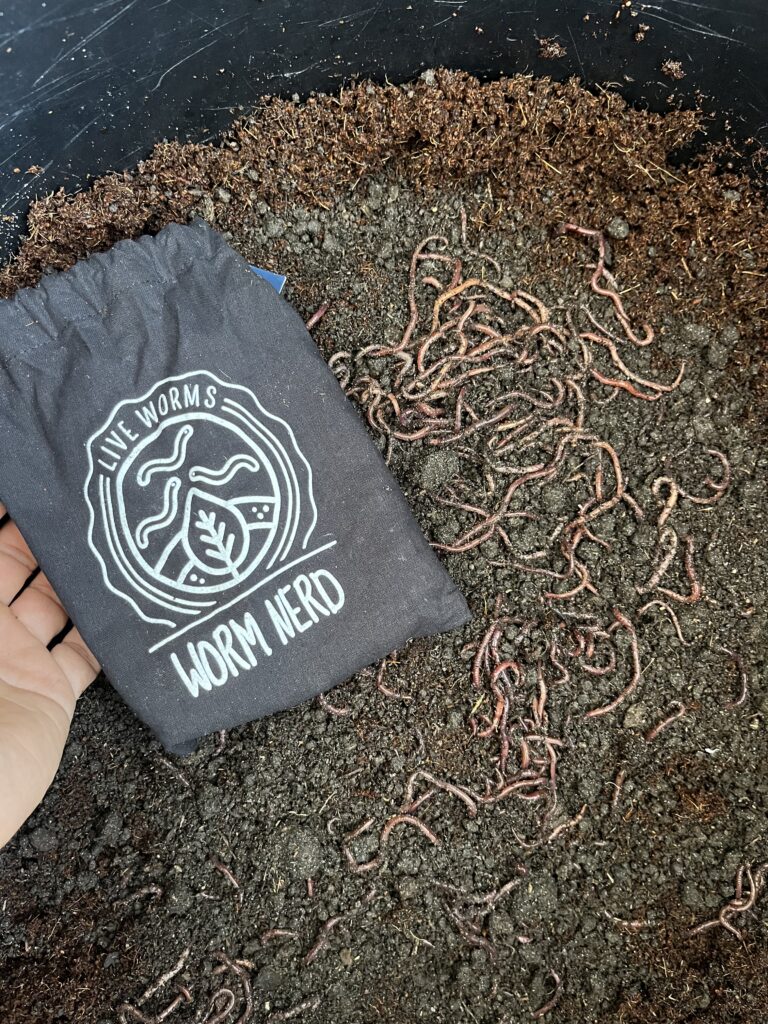
- NOTE: For most people an outdoor compost pile doesn’t really generate a lot. However, using a worm bin (like the ones from Uncle Jim’s Worm Farm), can provide worm tea which creates way more bang for your buck. For most families, composting worms are going to give you a better result.
- Open the Greenhouse: This time of year the green house often needs to be open 24/7 so it does’t become an oven. You can also cover it with a shade cloth to help stop the heat. Generally speaking, most plants are outside at this point and enjoying the summer rains and sunshine. This makes it a great time of year for you to clean it out and get ready for fall. by mid-August, you’ll be ready to use it as a shade house to start seeds for the fall gardening season.
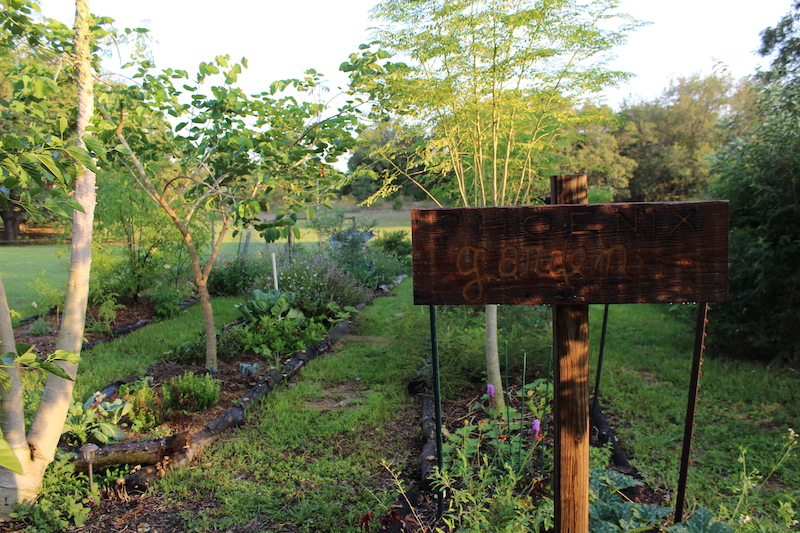
In the Food Forest
- Apply Summer Compost or soil amendments
- Compost (mushroom based for food forest and manure based for veggie garden). This is literally the single best thing you can add in the food forest this month!
- Recommended Amendments: Azomite, Epsom salts, chelated iron, hummus, chop and drop from nitrogen fixing plants.
- Probiotics spray every other week. I use BioAg for this.
- FREE 11-minute talk on probiotics for the yard, click here.
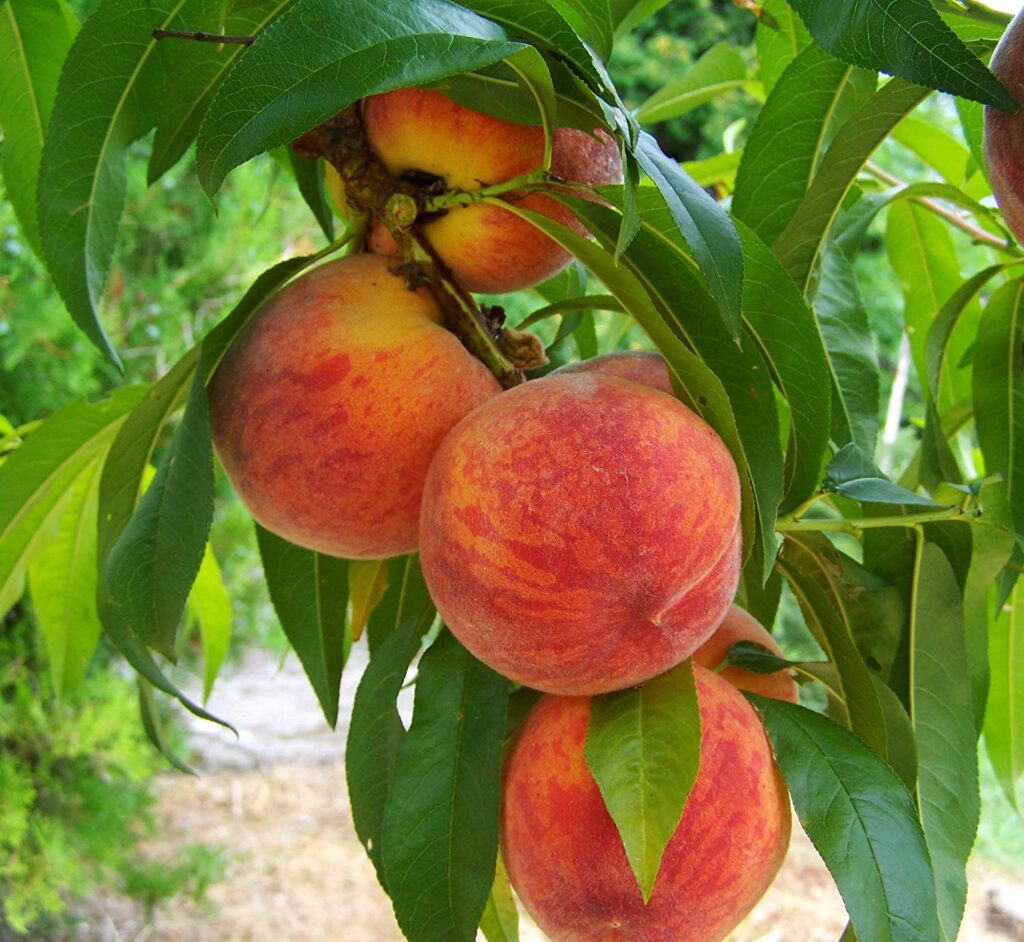
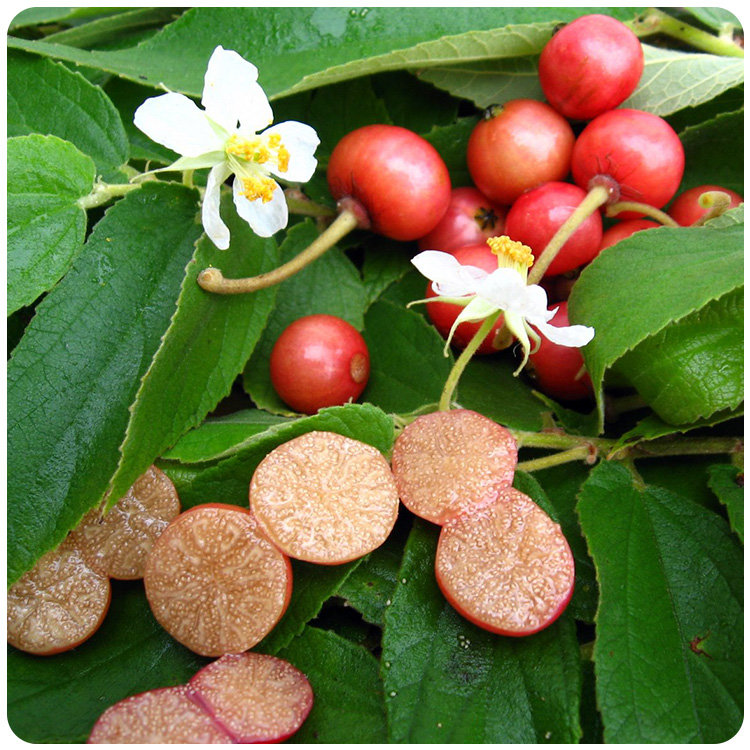
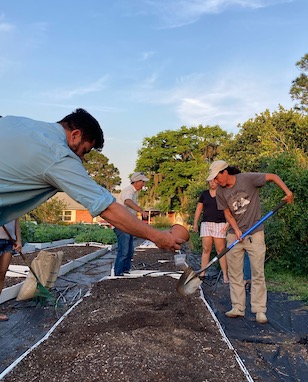
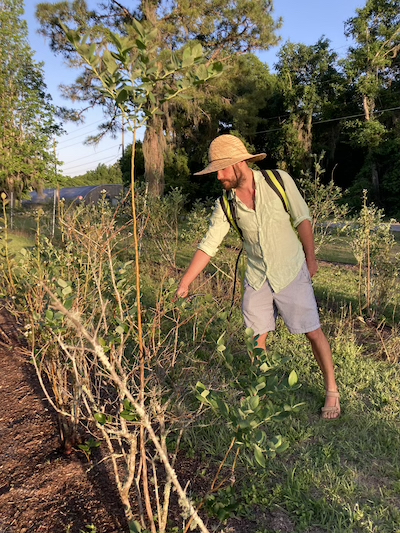
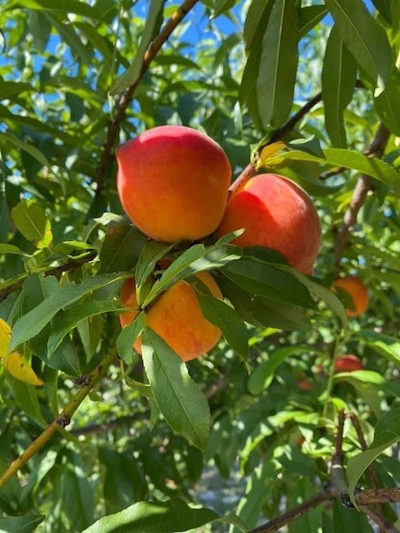
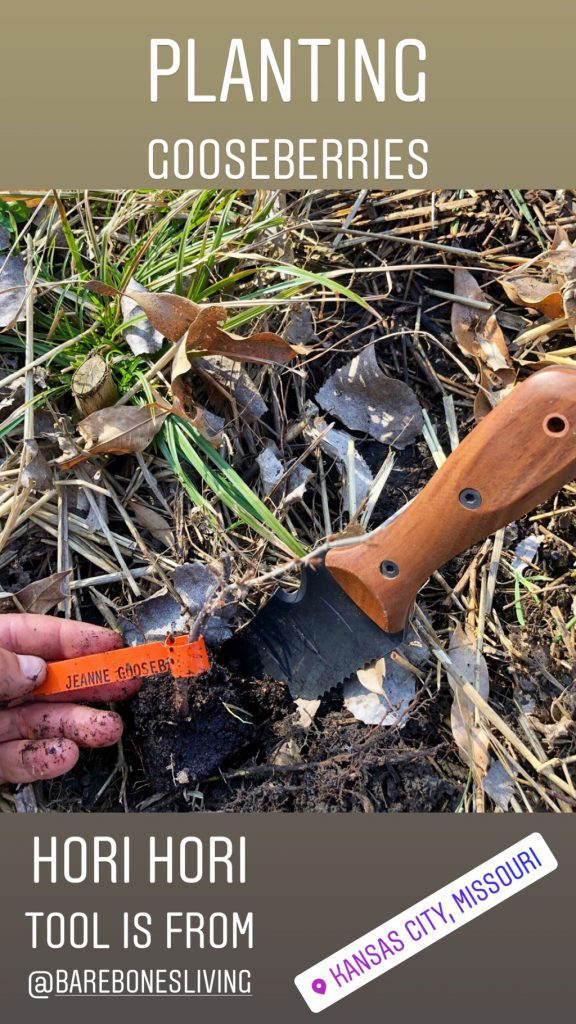
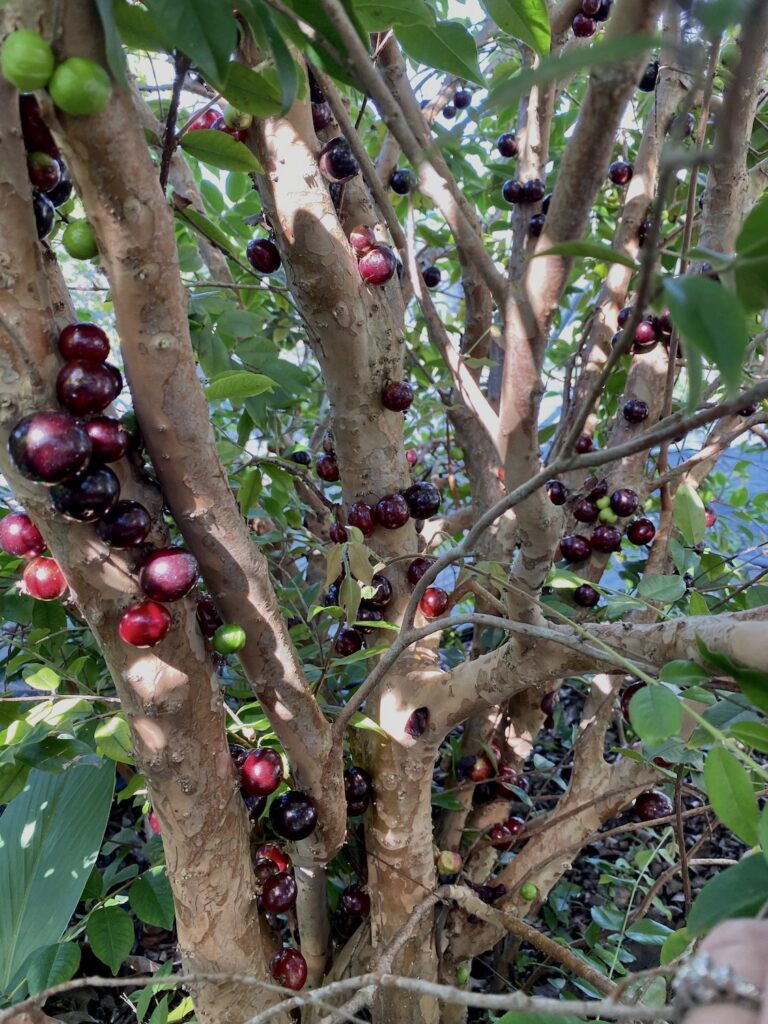
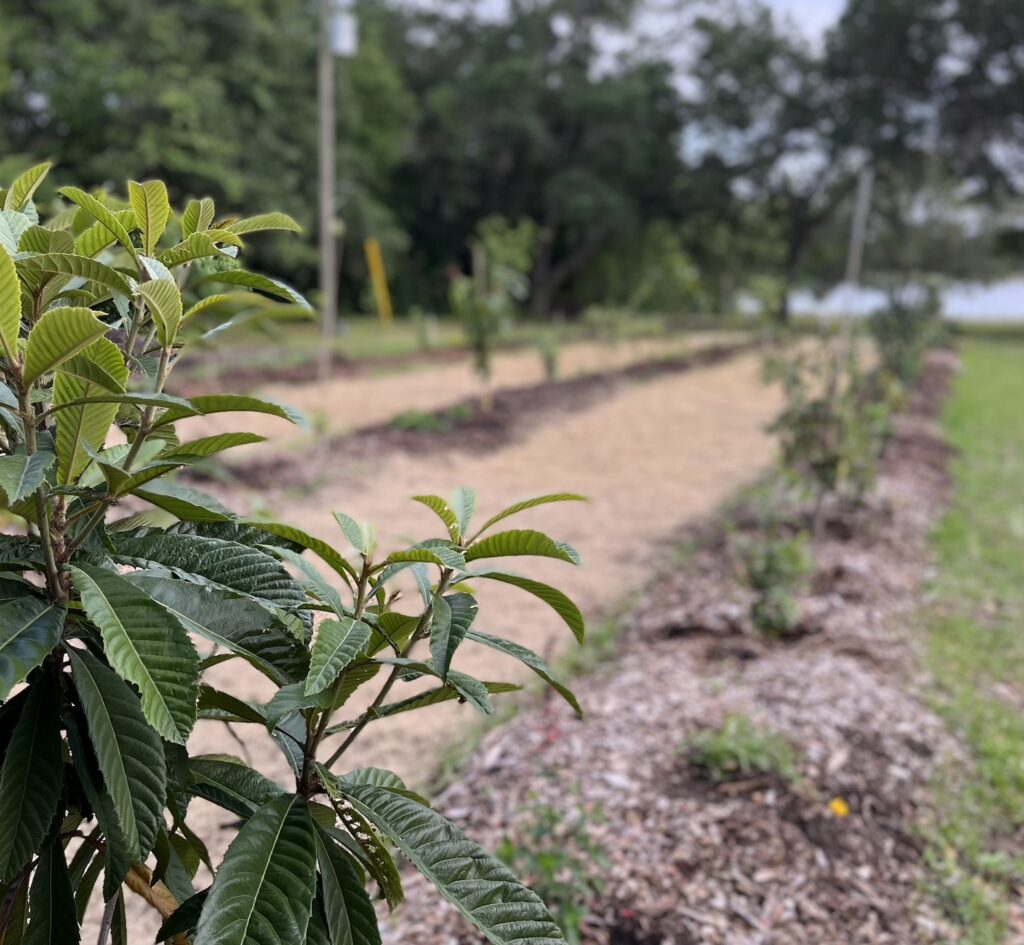
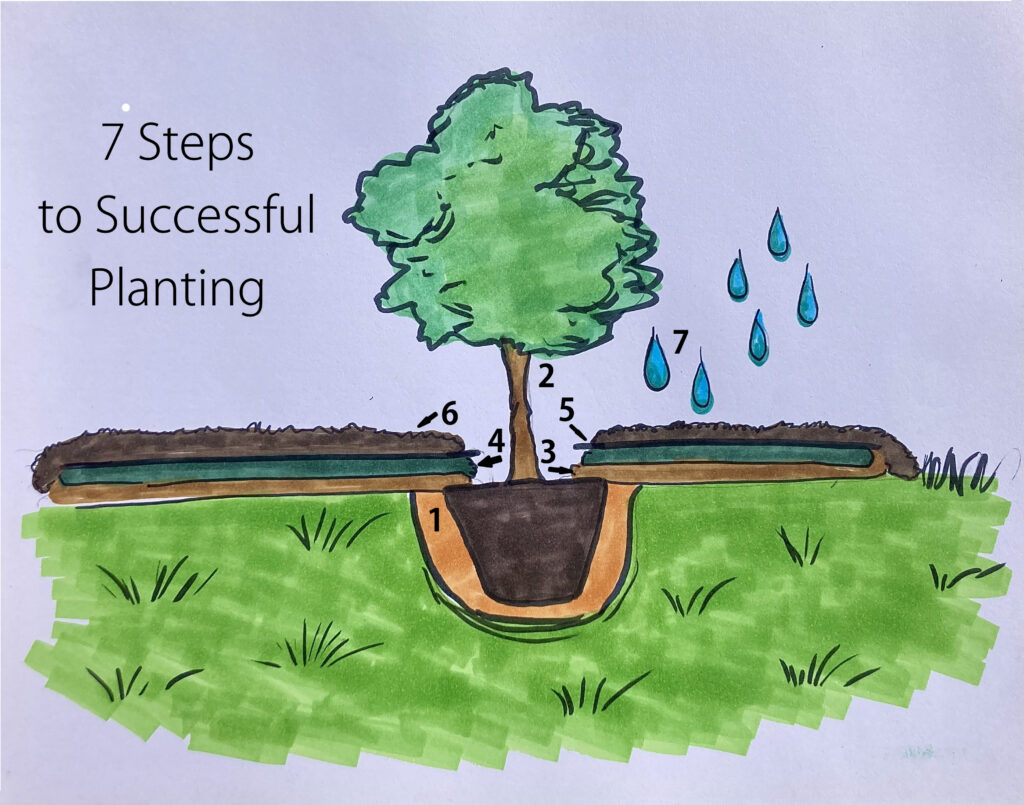
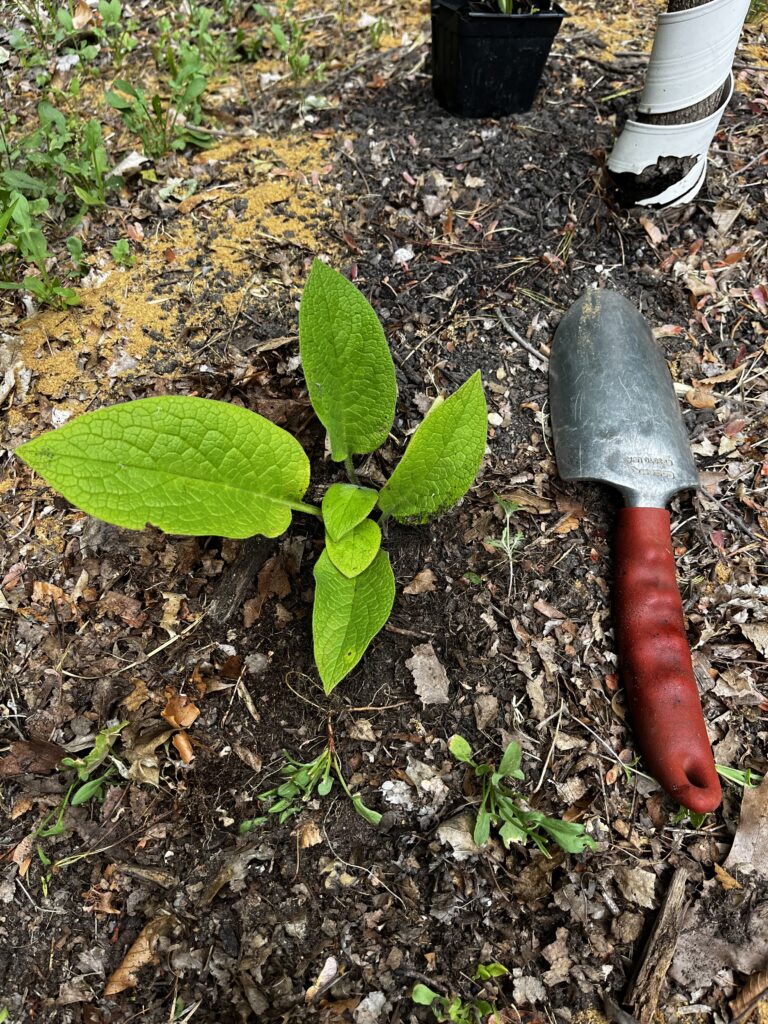
- Plant new fruit trees and berry bushes. Here is a step-by-step process (with diagram) of how to plant a fruit tree or berry bush. Some of the info may surprise you. Remember, trees often take 3-5 years to reach a significant level of production. The best time to plant a fruit tree was 10 years ago, but the second best time is today. This is an ideal month to plant Avocado, mango, sugar apple, clumping bamboo, yellow star cherry, cherry of the rio grande, etc. It’s NOT ideal for stone fruit (plum, peach, nectarines), but can still be done if you prune them before planting.
- Remove suckers from the base of fruit trees. These are likely a root stock coming back, and will essentially “suck” the nutrients from the top of the tree, so keep them cut / pinched off.
- Chop and Drop!!! This is the prime time to chop and drop those soil building plants, because they still have the rest of the summer to grow again and provide a few more cycles. Remember, in order to truly get the nitrogen fixing and soil building benefits – you have to chop them down (and better yet to bury them under wood chips).
- Banana TIP: If you are growing bananas in zones 8b and 9a (where frosts are likely in the winter), stop watering and fertilizing bananas at the end of the month if they do not already have a flower. Wait until late winter to resume watering and feeding, as this will help you avoid having a partially formed rack that just gets killed in a frost. If the flower has already started, continue watering and feeding as usual. If you are in a generally freeze-free area, then carry on as usual.
- Get a plan and design This is a great month to plan and plant! The summer rains make food forest establishment easy. So, if you are interested in an in-person or virtual consultation, CLICK HERE.
In the Shed
- Set mouse / rat traps. We have really liked these bucket traps from Amazon
- Oil hand tools: Keep hand tools oiled and clean after every use. A cheep olive oil wipe down will work wonders to help prevent rust, but you can also use a gun or motor oil as well.
- Use the rainy days: When you have occasional rainy days, consider taking an hour to clean and organize in your shed or garage. Make a “donate” pile to bring to a local community garden if you find you have a surplus that could find a new home.
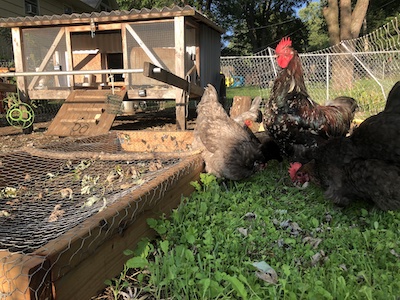
Livestock
- Water rotations: In nature, animals don’t drink out of the purified tap. Sometimes their water is from a rain puddle, but other times from a stream or pond. To help mimic this and give their immune system a boost, try doing something different every time you refill their water.
- Apple Cider Vinegar: 1 tsp per gallon
- Honey: 1 TBSP per gallon
- BioIivestock Probiotic: Dilution rate on bottle depending on species
- Herbs: Add fresh oregano, thyme, rosemary, etc to their water to make a “tea”
- Rainwater
- Deworming Cattle / Horses: 1-1.5 cups of Basic H per 100 gallon watering container OR 1TBSP per gallon for chickens, goats, lamb.
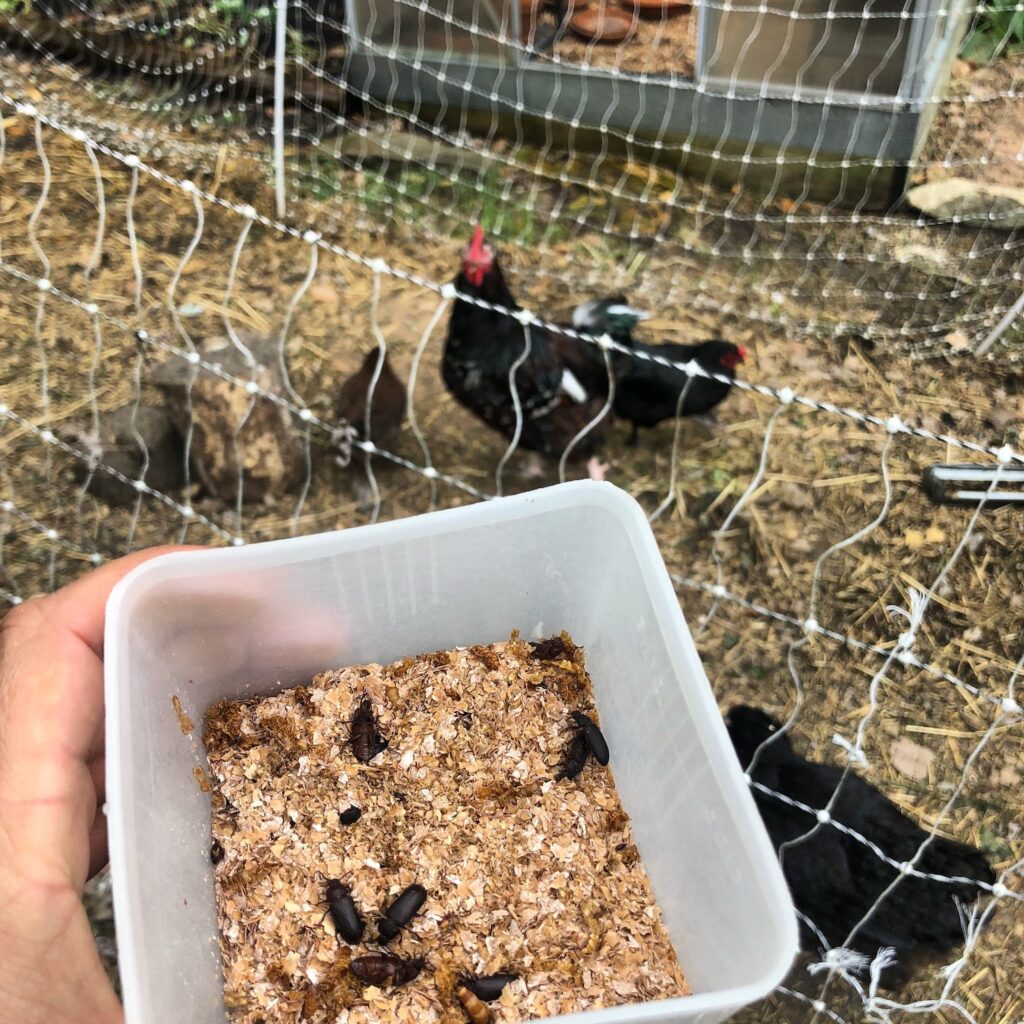
- Keep Chickens Cool in Extreme Heat: click the link for some creative ideas to help keep chickens cool in the hot summer months.
- Check herd health daily: My friend Fred always says, “A good farmer is ‘out-standing’ in his field. Literally.” As a general rule of thumb you should have eyes on every animals, every day. Some animals may need morning and evening check in times, but it’s important to be attentive, especially if any animals have recently given birth.
In the Pasture
- Plant: Not an ideal month for pasture planting… just let things grow and fill in.
- Rotate Animals: Move animals as often as you can possibly manage. High intensity rotational grazing is optimal for soil and pasture health. If you are doing multiple animals: cows first, followed by sheep or goats, chickens last, and then give the pasture a break.
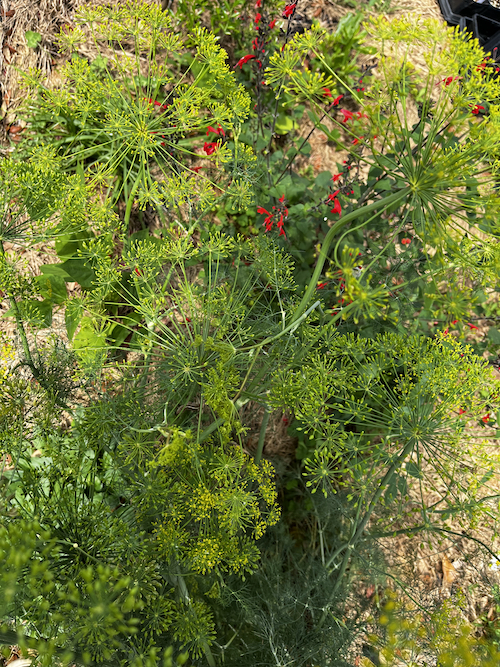
- Pasture Edges: Plant support species on the pasture or food plot edges. Consider animal forage plants like Moringa and Mexican sunflower.
Around the House and Perennial Beds
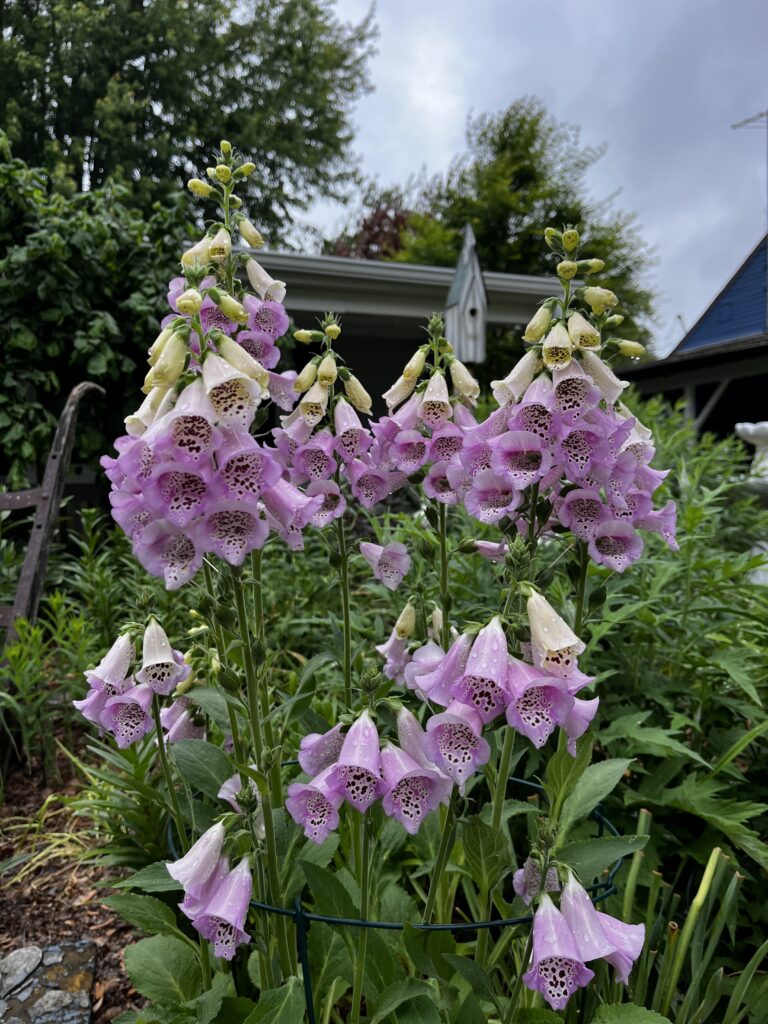
- Deadheading: Remove as many of the dead flowers as you can. This will promote more vigorous summer blooms. You may, however, want to let a few go to seed in order to save seeds for propagation next spring.
- Fertilize flower beds: This time of year you can easily use bagged grass clippings in the annual beds to help fertilize and create mulch. If you are seeking to amend your soil, consider bone meal and azomite this time of year as your best options.
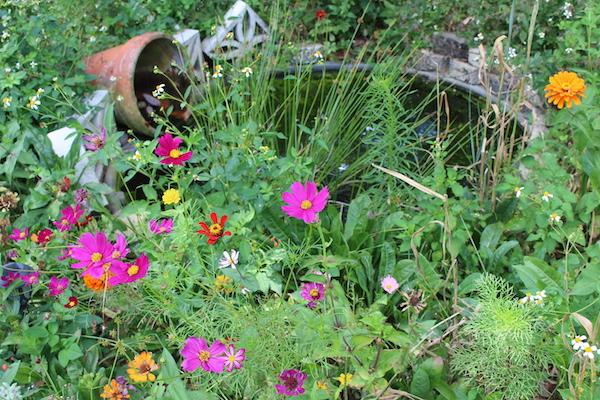
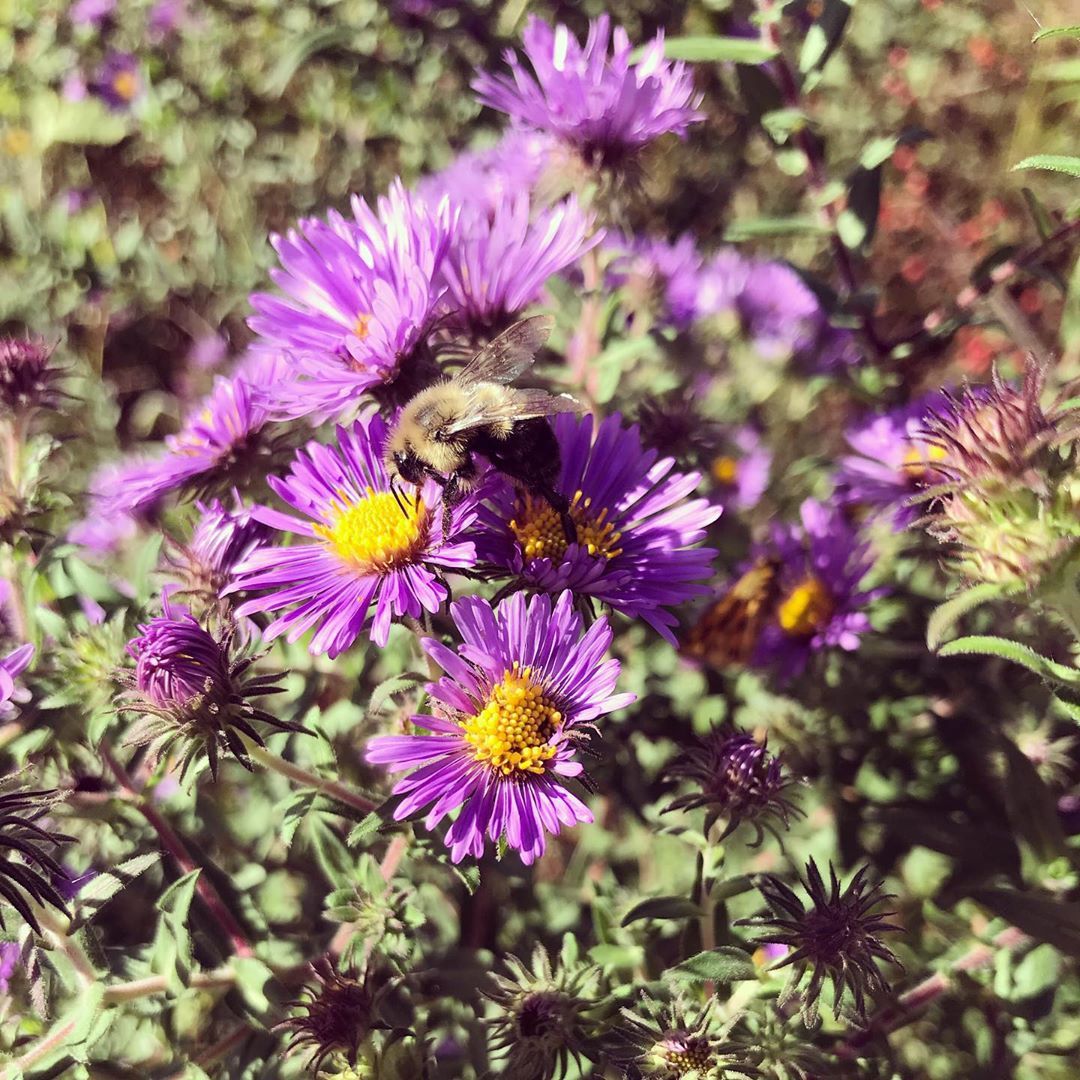
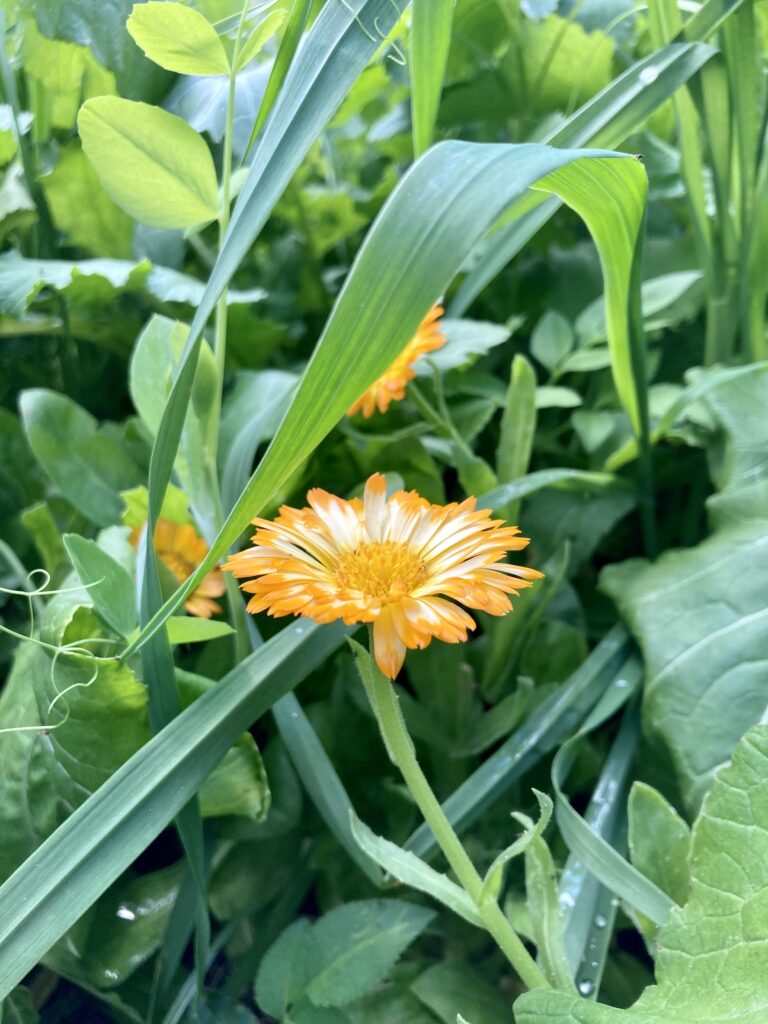
- Annual Flowers: Plant some pops of color around the garden. Use as many native wildflowers and perennials as possible, because the vast majority of annuals do NOT provide nectar for bees and butterflies. However, using them sparingly can still give lasting bursts of color. Some annual flowers (nasturtiums, marigolds, calendula, etc.) are also edible and medicinal and can even be used as vegetable companion plants.
- Air out the house: On a cool morning or early evening, consider opening up the windows to air out the house. This is also a great time to change your HVAC filters indoors from extended summer AC use.
- Power-wash lawn furniture on hot summer day. When it’s too hot to be in the garden, get a power washer to clean off the porches, deck, patio, and the furniture. Many of them allow you to add a bit of soap (like Basic H) to the washer for added cleaning power.
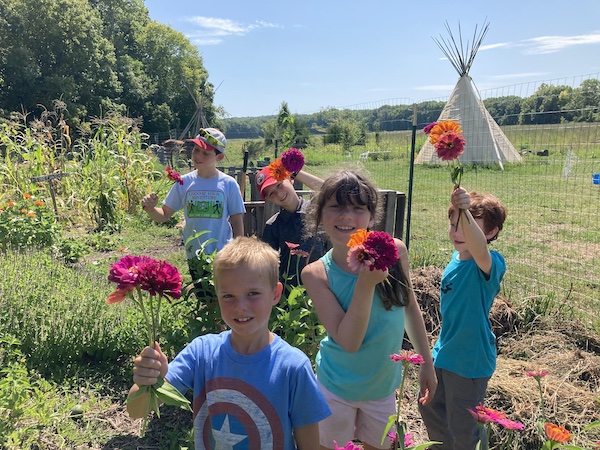
Kids & Family Ideas
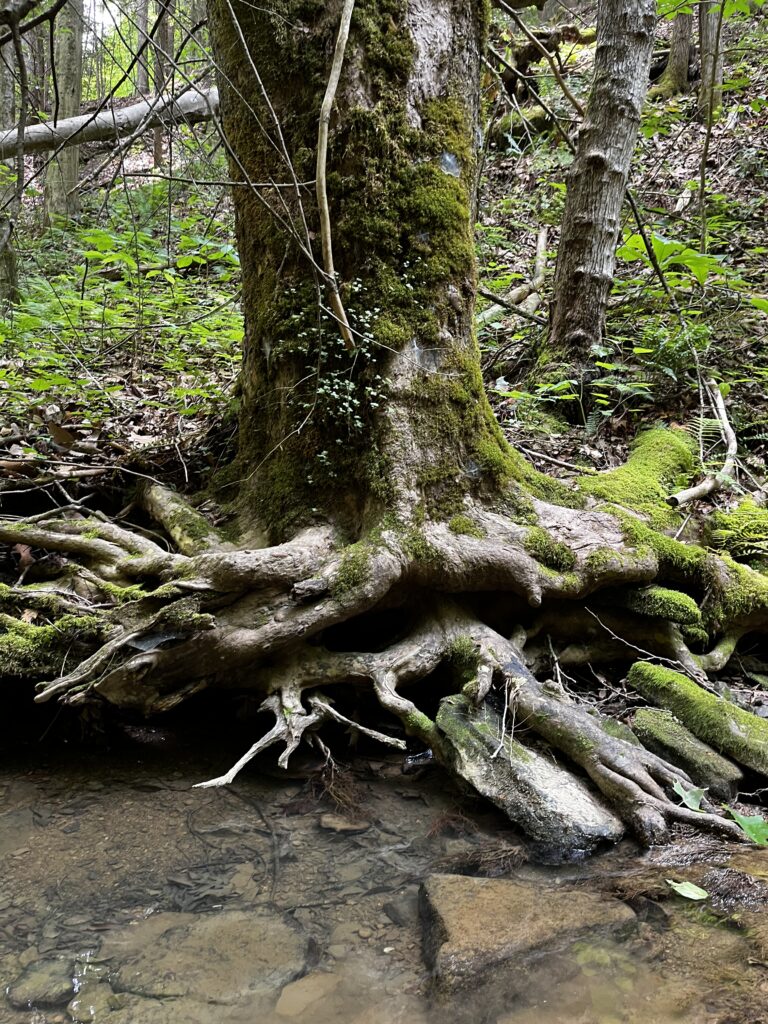
- Visit a local hiking trail: Look up some hiking trails in your area and go out on a day adventure. Pack a lunch with you, bring extra water, and be sure to bring your camera and a foraging bag (if responsible foraging is permitted).
- Wild Bird Feeding
- Suet cakes for woodpeckers should be around the edges of the garden, because they will also help control caterpillars.
- Safflower Seed: great for cardinals but also not a favorite of squirrels.
- Water and birdbaths will help attract even more birds than the feeders themselves on hot summer days.
- Hummingbird feeders: Never use dyed red nectar…this is completely unnecessary and not good for the birds. Also, remember that sugar water ferments quickly, so hummingbird feeders need to be changed every 3 or 4 days. If you cannot remember to change the nectar water, please take down your feeders because fermented water is a number one killer of hummingbirds.
- Walking Sticks: Find and decorate walking sticks together. You can tie string around them and collect feathers, paint them, etc. Even as an adult, a good walking stick is a must when putting chickens up for the night.
- Outdoor picnics: Plant at least one meal a week that is outside in nature. Maybe this week it’s grilling on the patio, but then next week might be a blanket in the grass with charcuterie boards. Perhaps sandwiches from your childhood while laying in a hammock, or a summer salad on the front porch as you wave at the neighbors passing by.
See you in the Garden
As always, thanks for taking time to join on the gardening and permaculture journey. Be sure to check out the continual flow of content available via our social media channels. Remember, PermacultureFX also does virtual consulting (using Facetime, zoom, satellite images, etc.). We’d love to help you get a plan for your property and help you create abundance and wonder.
If this article was helpful, consider sharing on social media (or with your garden groups) to help set others up to win on their property. Happy Summer – and I’ll see you in the garden!
– Kristofer Edler