
Preparing the Soil for Your Food Forest
Transitioning your decorative landscape into an edible one is much easier than you may think. Learning how to plant a food forest can be as simple as replacing one “inedible” plant at a time over a period of years, or it can be as complex as installing a productive food forest through intentional permaculture design. Either way, I am convinced that I am “winning at life” is when I can go into my backyard and pick a peach right off the tree OR fix a full garden salad right from my back porch. It’s true, there are few things more fulfilling than having friends and family over for wine and cheese, and then stocking your charcuterie board with nuts, berries, and pickled items from your property.
Before you start plopping your new fruit trees and berry bushes into the ground, it’s important to take time and assess the site. As a designer, I am convinced that it takes a year of studying the site before you can REALLY get to know it. However, a trained eye can definitely get a plan into motion and help you get started. If you want to look into a consultation to help you develop a site plan, click here. Planting a food forest is an invitation to know and interact with your site and learn to steward the land accordingly. Whether you decide to hire a permaculture designer to partner with you or assess the land yourself, there are a few initial questions to get to you started in selecting your location (CLICK HERE).
The Most Important Step Starts Right Under Your Feet
The single most important step you will take in this entire process will be how you prepare your soil before you even put anything into the ground. In fact, the best thing you can do is prepare the soil for an entire season before you even plant your first tree or shrub. There are multiple ways you can both clear the land and/or build organic matter in the soil. Some of these methods will depend on what you have available and how much land you need to clear and prepare.
Option 1: Animal and Livestock to Build the Soil
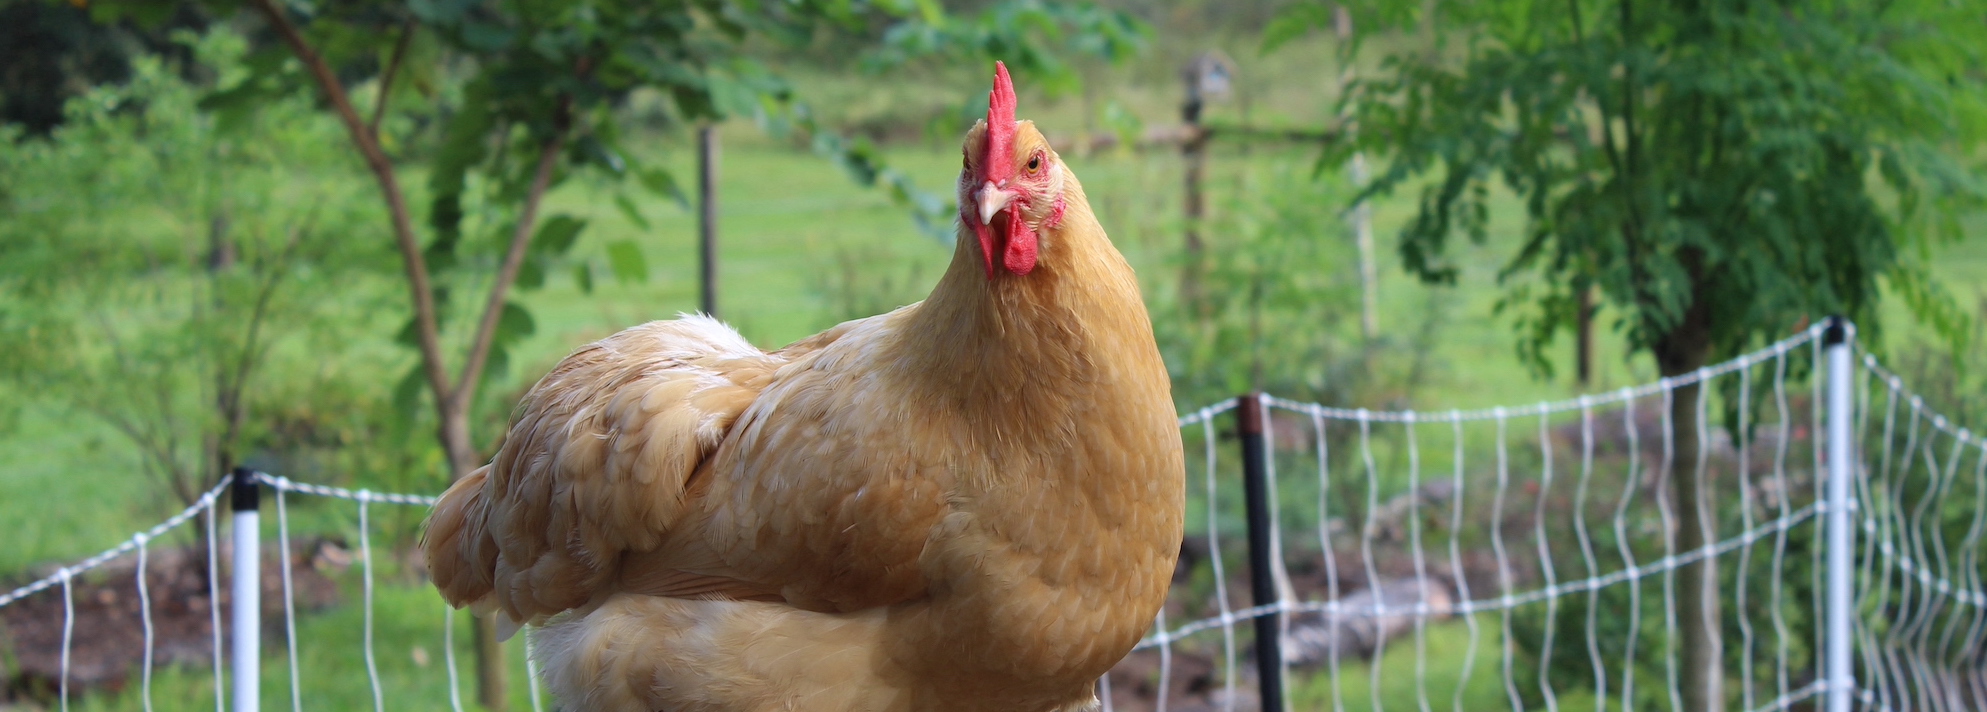
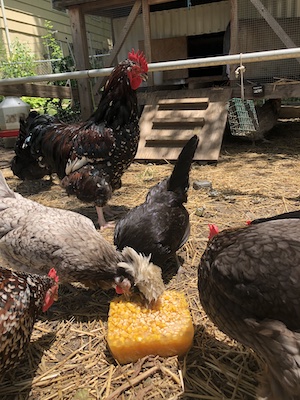
This is, perhaps, the best possible way to not only clear the land of weeds and grasses, but also build the soil at the same time. If you have a lot of bushes, shrubs, or undergrowth, then goats are the best way to clear this area. In fact, some of their favorite foods are things like Virginia creeper and poison ivy! They have amazingly strong digestive systems and will do a great job at turning the bushes and underbrush into fertilizer for the new plot. Once the shrubs are removed, then you can send in the chickens to take care of the grasses and smaller weeds. They will finish the job nicely, till up the soil, scratch up the dirt, remove bugs and pests… and again turn them all into fertilizer for you! Not only is this source of fresh feed better for your soil, but it’s far better for your animals that bags of conventional feed.
In order to control them and focus their energy, I like to keep them in a smaller area (which I rotate) using a solar electric fence. Personally, I use a set-up from Premier One Fencing Supplies and have had minimal escape problems or predator animal attacks. Once the animals have cleared an area, then move the fence to the next zone to keep them working and fertilizing.
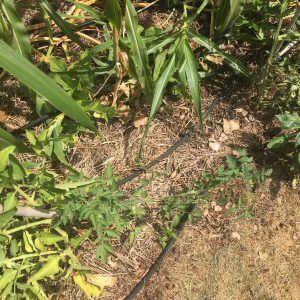
Option 2: Light Tilling and Smother Cropping
If you do not have access to animals, then you will need plan ahead several months before starting your food forest. Another way you can clear the area and also build your soil is to lightly till the area to remove weeds and grasses. Get as many of them out by hand as you can, and then follow with a ground cover or smother crop. Ground covers for the cooler climates are listed here. My favorite smother crop for the Midwest and cold climate growing zones is buckwheat and crimson clover. If you are in a warmer climate, the primary ground cover I would use is Sunn Hemp. Plant this is June and let it grow to max height (6-8 feet), and then chop-and-drop it in August. This plant can easily be buried or tilled under in August and will not only build the organic matter in the soil, but will also repair nitrogen content. Because of its dense growth habit, it will often smother out other weeds and grasses. At the end of the growing season, till these under and then you’ll be ready for a fall planting. Otherwise, you can leave it over the winter to decompose in place and plant in the spring.
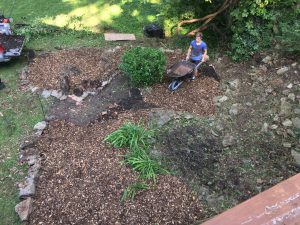
Option 3: Layer Mulching
This method works really well and provides fast organic matter, but it does require higher inputs into your system. Often called lasagna mulching, this is a much better alternative to the “Back to Eden” method, which only uses ramified wood chips. Starting at the ground level (and working our way up), here are the layer I would recommend.
- Cardboard (remove tape and staples)
- Chopped up leaves (using a lawn mower)
- Grass clippings
- Straw (not hay, because you do not want seed heads)
- Manure and/or compost)
- 4-6″ of ramified woodchips
Once you have this in place, you can either plant immediately or wait for a few months to let the worms and microorganisms do their job. My preference is to wait a bit and let the layer mulching start working before plant installation.
Option 4: Black Tarp
This method is fast working (during warm summer months), but is also one that does the most harm to the soil. Putting a black tarp down over the area will most definitely cook the grasses, weeds, and pests. However, it will also cook a lot of the good bacteria, worms, and microorganisms in the soil. I rarely, if ever use this method.
Option 5: Spraying
The least recommended method in my book is to use a chemical spray. The ONLY two organic sprays I would recommend for a weed and vegetation killer would be either orange oil OR horticultural vinegar (30-45%). Both of these are effective at removing weeds, but they also have a short impact on the soil. The downside is that vinegar and orange oil will both kill any insects (topically) and will impact the pH of the soil you are working with. Though they will remove the weeds, it will also cause more work in the long run to repair and rejuvenate the soil.
Soil Regeneration is the Key to Your Food Forests Health
Spending adequate time in the stage of soil building is absolutely key to the longterm success of your food forest. However, keep in mind that a good garden or food forest will be a continuous journey of rejuvenating soil and creating more organic matter. Perhaps even more than producing a good crop for human consumption, the role of a gardener is likely better described as one who stewards the soil and all the life therein. I’m not saying that all problems in the garden (fungal, pests, insectary imbalances, nutrient deficiencies, etc.) can be solved by compost alone… but 97.3% of them can be. If the soil (and its microbial and fungal balance) is in healthy shape and rich with organic matter, the fruit and flowers that appear above ground will likewise be healthy. Inversely, it’s nearly impossible to maintain healthy plants at the expense of soil biology. Personally, I apply compost every spring and refresh my wood chips each fall. In (sub)tropical climates, compost is best applied in February, June, and September.
If I notice that plants are on the struggle bus, I almost always start with two steps. First, add organic compost and the secondly apply a foliar spray. Either way, building soil is the single most important step of planting a garden or food forest. Generally speaking, when applying compost, use a fungal dominated compost for hard stemmed plants (trees, shrubs, and bushes) and a bacterially dominated compost to soft stemmed plants (veggie gardens and perennial flowers). If you do not have a fungal compost available to you, you can introduce mycorrhizal activity by adding flour to your compost pile.
So, before you plant your trees, shrubs, and bushes – consider how you might improve your soil quality and build organic matter. Share your ideas for new site soil preparation below…
FULL FOOD FOREST BLOG SERIES
Part 1: Myths about Planting a Food Forest
Part 2: How to Prepare the Soil for a Food Forest
Part 3: Selecting the Right Plants for a Food Forest
Part 4: How to Install a Food Forest