Part One: Food Forest Myths
There is a growing desire in the gardening and regenerative agriculture movements to grow low-maintenance gardens that still offer productive abundance. Learning how to start a food forest is one way to have a productive area with minimal long-term maintenance. Since there are many ways to build these areas, the system described in this series of articles is intended to be adapted to your individual space and growing zone. Keep in mind, there is not a perfect copy-and-paste method of how to build a food forest, but there some key points to keep in mind. Before explaining a few of those broad-brush stokes, let’s talk about a few myths regarding food forests.
Food Forest Myths
- “Think about plants before thinking about soil.” – This is, perhaps, the easiest trap to fall into when it comes to building a food forest. Yes, it is GOOD to get excited about the plants, varieties, colors, and textures. Gimme all the plants! However, if we do not first think about soil health and biology, then we cannot expect it to provide abundance in return. The more we partner with the ecosystem by building soil, the more the soil will give back to us by nourishing our trees and shrubs. By skipping the step of soil building, we are essentially taking nutrients from the ground without offering something in return, which will be detrimental in the long-term. Before you put in any plants – add organic matter to your soil.
- “Get the trees in the ground, then figure out water later.” – No matter how many beautiful trees and shrubs we put in the ground, if we don’t water them enough in their establishment phase – the trees will suffer and possibly die. Moisture retention in the soil is what will help increase mulch decomposition and soil microbial activity. This moisture will also help increase the needed mycorrhizal fungi in our soil structure. Remember, new plants are often very sensitive (and young), so they need extra care when they first go into the ground.

- “Plant things closer together so it looks better.” – Remember, when building a food forest, the goal is to partner with nature in establishing a system in 3-5 years that might take 50 years under natural conditions. With that in mind, it’s important to carefully consider the spacing of the plants to allow for their mature growth and height. Over-planting generally results in a lush green system, but lower levels of fruit and production because the excess shade does not allow for fruiting and pollination. Plan your spacing for mature plant height, and be patient in the initial years while your system gets established. To fill in space during the initial years, use nitrogen fixing ground covers and pollinating wildflowers to provide visual interest.
- “You will get fruit the first year.” – This goal may be possible if you spend hundreds of dollars per fruit tree to get specimens that are 5+ years old, however in most cases it will take 3 years to get substantial fruit and 5 years to reach near maximum productivity. Generally speaking, plant growth follows this pattern: Survive – Grow – Thrive. Year one the plant will work on survival and establishing its root system. During the first year, it’s advisable to remove any fruit to allow the plants energy to go to the root system. Next, during the second year, the plant will grow slightly and possibly produce a few small fruit, but most of the energy is focused on the plant becoming established in your specific growing conditions. Finally, in years 3+, the plant will begin to thrive and flourish. At this point, you should begin to see a significant increase and the yield and production levels.
“The Garden was the birthplace of partnership and stewardship. It continues to be a place that is centered upon connection.”
Kris Edler
More Food Forest Myths…
- “Food forests do not require any maintenance or upkeep.” – Unfortunately, nothing in life is free. We simply never get something for nothing. The purpose of gardening, specifically in permaculture, is recognizing that we are an active part of the system. Which means, the human element and stewardship greatly increases yield and can help build and regenerate the system. Just like we have the power to destroy a system quickly through mismanagement, we also have the ability to quicken its rejuvenation. The goal of a food forest is NOT to remove ourselves from the equation, but rather to integrate intelligent design in a way that our involvement results in a healed ecosystem. Though a food forest may require less maintenance long-term than a traditional annual vegetable garden, the human connection is still essential in proper stewardship of the land.
- “Mowing and tilling the soil are always bad.” – Though there are benefits to a low-till or no-till methods of gardening, they are often necessary in the first 3-5 years in order to help the system reboot. Mowing allows you to bag up nutrients and mulch around trees, creating a microclimate and nutrient dense soil covering that is rich in biomass. It also helps remove invasive species in order for the native plants to have a better chance. Tilling (in small doses) can help remove invasive weed species and can pave the way for replanting in larger areas (i.e. native prairie management or pasture maintenance). Controlled burning methods were used by the First Nation tribes all over North America and arguably around the world over the last thousands of years. These methods may not be an everyday tool, but are often necessary to help restart a damaged system and bring it back into balance.

The Last Few Food Forest Myths
- “Only plant native species.” – This one is controversial for sure. Personally, I prefer to use as many native plants (especially pollinators) as possible, because I know it’s best for the birds, bees, and butterflies. Generally speaking, the native plants are also known to be far more disease resistant and tolerant of local weather conditions. At the end of the day, native species will always require less maintenance. That being said, traders have been moving species around the planet for as long as we have historical records. In Europe, the seeds of tomatoes, brassicas, and beans were saved and traded among pre-historic tribes. Sailers, traders, and merchants brought squash, corn, and pumpkins with them to North America 600 years ago and have been used here ever since. So, as long as a species is not invasive or damaging to the local ecosystem, they may actually provide human and wildlife benefit when properly introduced. If in doubt, grow your new plant in a pot for 3-5 years and test it out. Better yet, call your local extension office to ask them about any questionable species.
- “Summer is the best time to plant my food forest.” – For most of us, the summer is the time we are up and moving, full of energy, and ready to be productive. The same is true with plants – this is a time for them to be productive, but it’s rarely the best time to plant. Summer heat and drier weather can be hard on newly transplanted stock. Generally speaking, the best time to plant is when the trees are still dormant. In USDA Growing Zones 3-8 that would be either September – early November OR March – April. However, in Growing Zones 9-11 the best time to plant is in the winter months. That being said, winters in the Southern US are often dry, so some people prefer to wait until March – April. The ONLY benefit of planting in the summer in the south is that it’s rainy season. However, sometimes that helps and sometimes the heat + rain is actually harder on the plants. For those of us who garden in Florida… it’s a toss up!

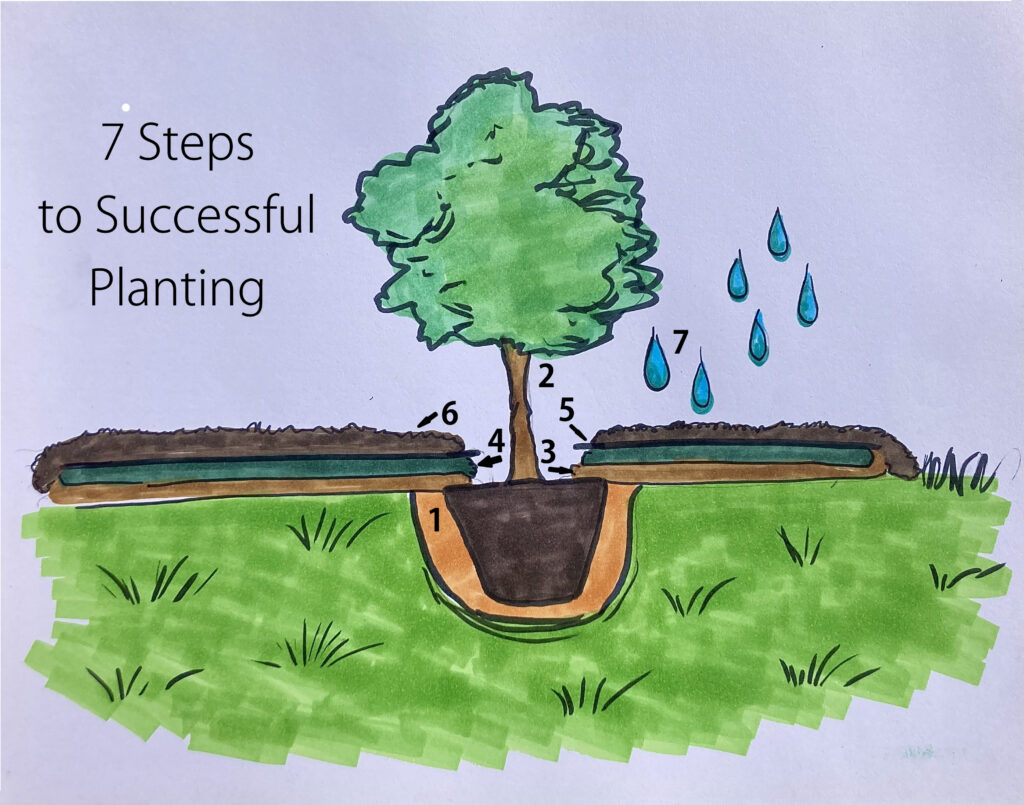
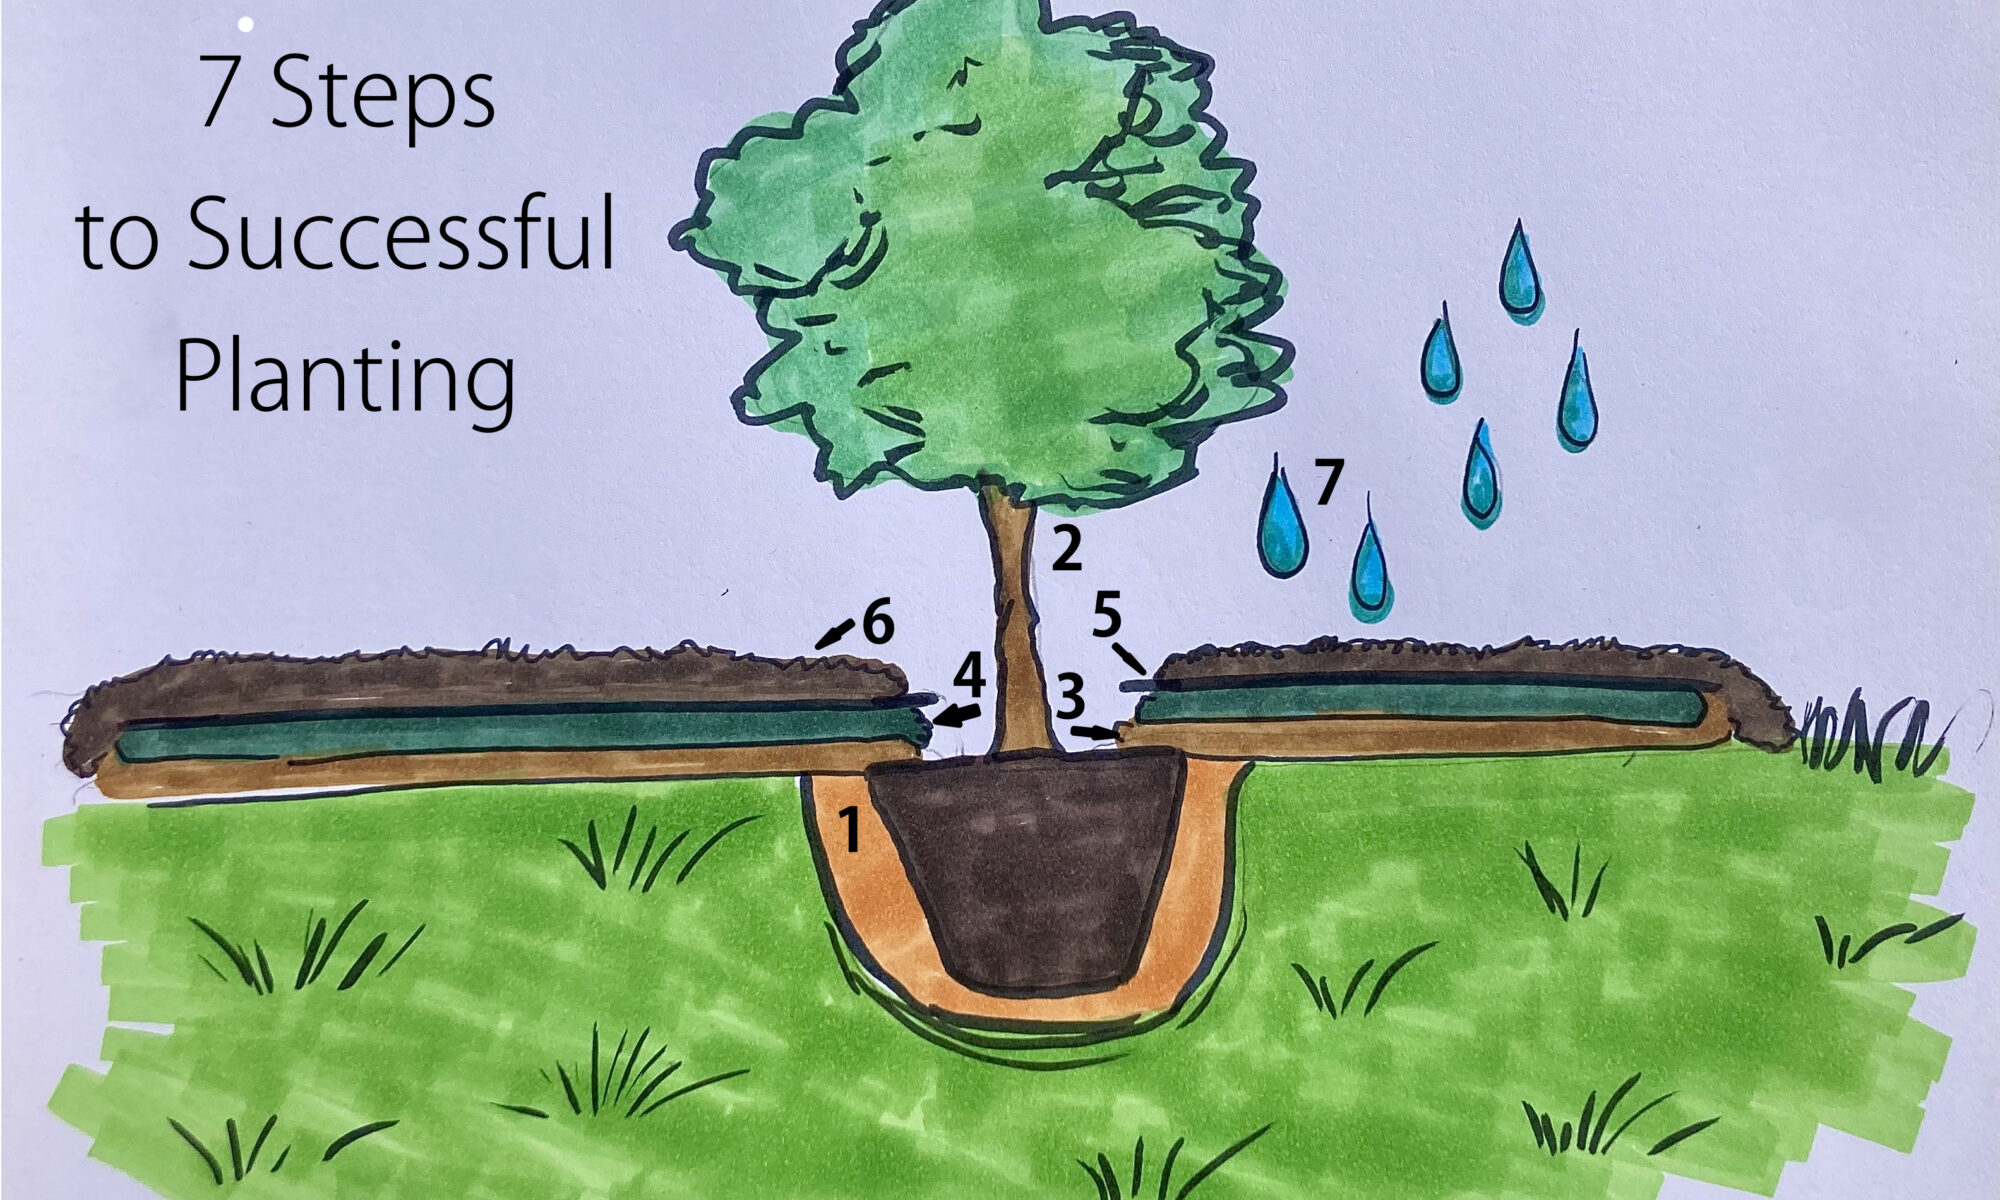
- “Dig a hole, put the tree in the ground, and you’re done. “ – There is actually a best practice process when planting fruit trees and berry bushes. Most of the time they prefer extra water while they are getting established, but like to dry slightly out between waterings. Secondly, fruit trees should never just be planted in the grass, because the grass will both compete for moisture and nutrients. Click here to read the blog post about “How to Plant a Fruit Tree or Berry Bush.” The primary exceptions to these are citrus and mango, because they prefer sandy and well drained soil. They like compost top dressings, but don’t do well with traditional wood chip mulching.
- “We should randomly plant unmaintained food forests in the city.” – In theory, the fruit trees will provide free food for the community and for the poor. In theory, these trees will thrive and produce food for inner city kids. In theory… HOWEVER, in actuality, fruit trees and bushes need maintenance to not only keep their shape and overall health, but they need to be appropriately harvested. Fallen fruit that is not properly harvested can actually feed rats, raccoons, and other city pests. Food forests are an incredible tool, but they are not a magic cure-all for every scenario. They require proper stewardship, and like all living things… they require connection.

