
The outdoor air is now officially crisp and has the smell of autumn. The mornings require jackets and scarves, and the evenings are perfect for snuggling under a blanket next to a campfire. It’s time to finish cleaning up from the growing season and get ready for winter rest and planning. This November Garden To-Do List is geared toward those in cooler climate areas (USDA Zones 3-8), but if you are looking for a list for this month for USDA Growing Zones 9-11, CLICK HERE.
For those of you enjoying “true fall”… here is your November homestead to-do list. Be sure to share it with friends on social media and let’s get out into the garden together!
In the Garden
- Things to Plant by Seed: Garlic and spring bulbs. For a list of what you can do all winter for spring bulbs…click here.
- Harvest: The last of the winter veggies… kale, cabbage, fall turnips, Swiss chard, and greens.
- Mulch: It’s time to cover those gardens for the winter. NEVER leave soil exposed to the winter elements in the garden, food forest, or flower beds. Add wood chips around fruit trees and berry bushes (wood chips create a fungal dominated soil, which trees prefer). Keep the chips away from the stems and trucks though. Add another layer of straw around garden veggies (and spent garden beds), because straw creates a bacterially dominated soil, which is preferred by annual veggies. These will decompose slowly over the winter and make things nice and rich for you in the springtime.
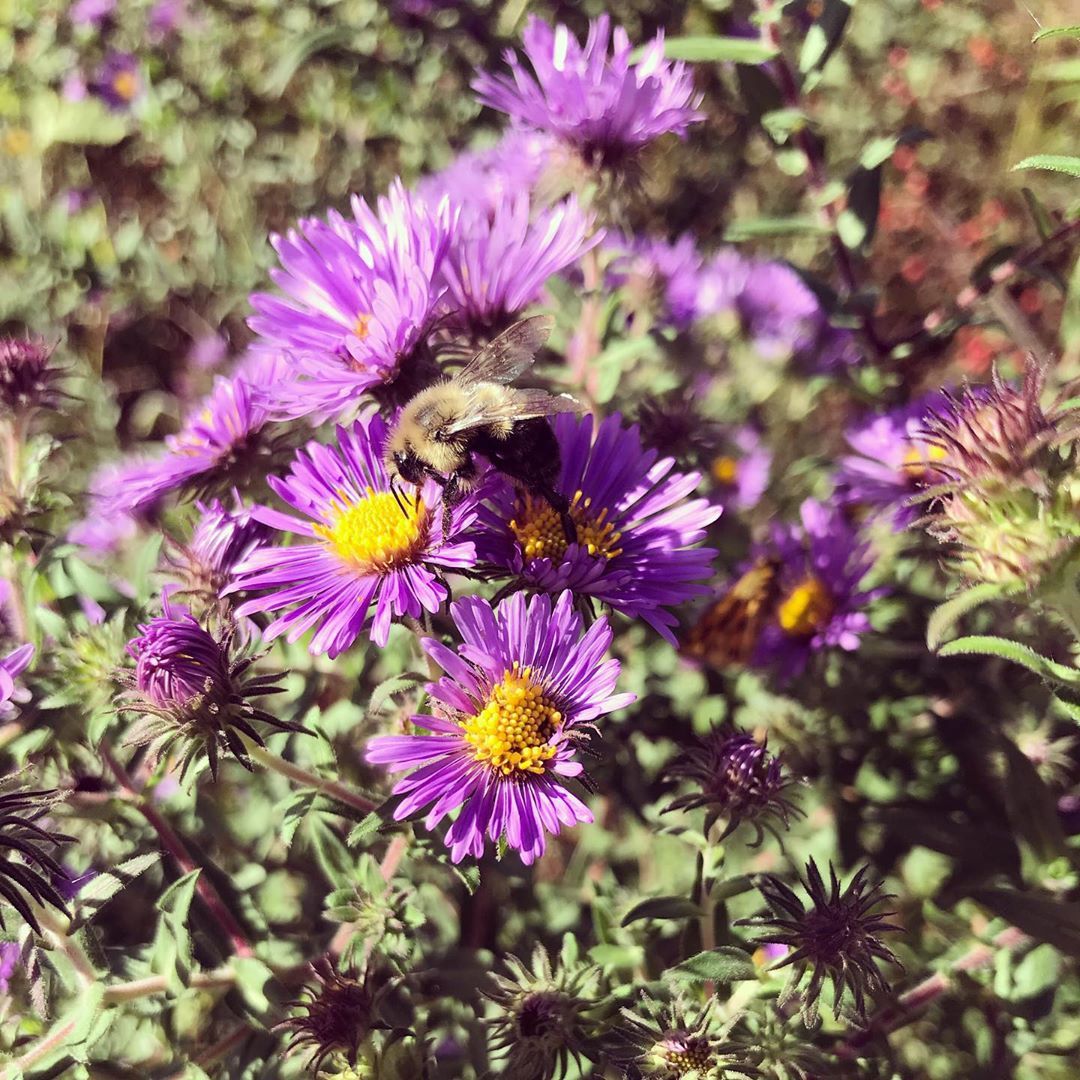
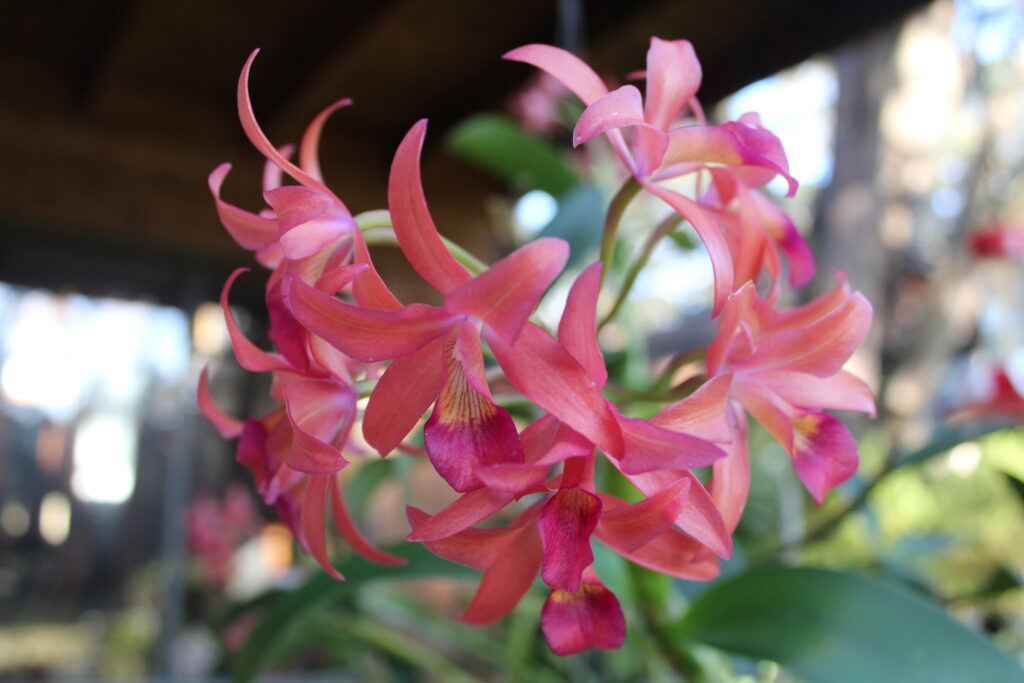
Enjoy the last blooms of the native asters before they go into dormancy. Save seed to spread other places too!
In the Greenhouse
- Start taking cuttings: If you are planting in the ground, it’s time to start greens like radishes, turnips, and beets in the greenhouse. If you are planting in raised beds or tray in the greenhouse, you can do much of the same and even microgreens!
- Clean and sterilize equipment and unused pots
- Store pots in a shed or garage with cardboard between them to prevent winter cracking
- Set mouse traps to control critters in sheds and greenhouses
- Stop fertilizing all houseplants until spring
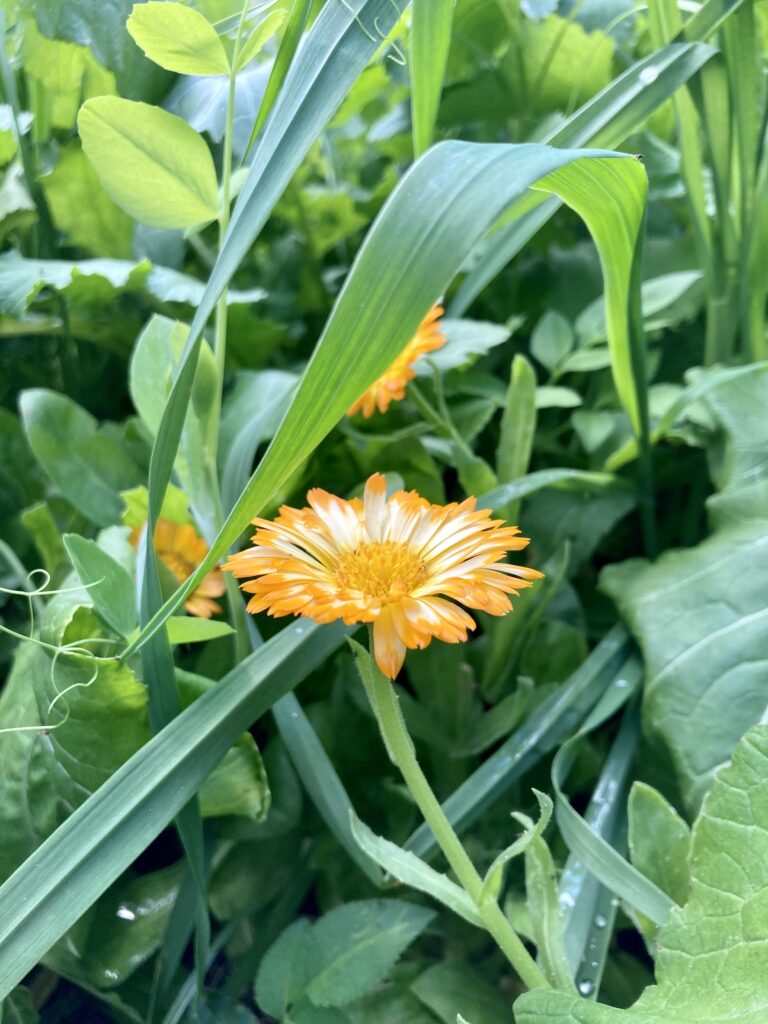
Cold season flowers and cover crops can be grown in the greenhouse or poly-tunnel all winter long! This calendula pic was from December in Kansas.
In the Food Forest
- Harvest ripe fruit: Persimmon, last of the paw paw, acorns, nuts, and other final forest gifts.
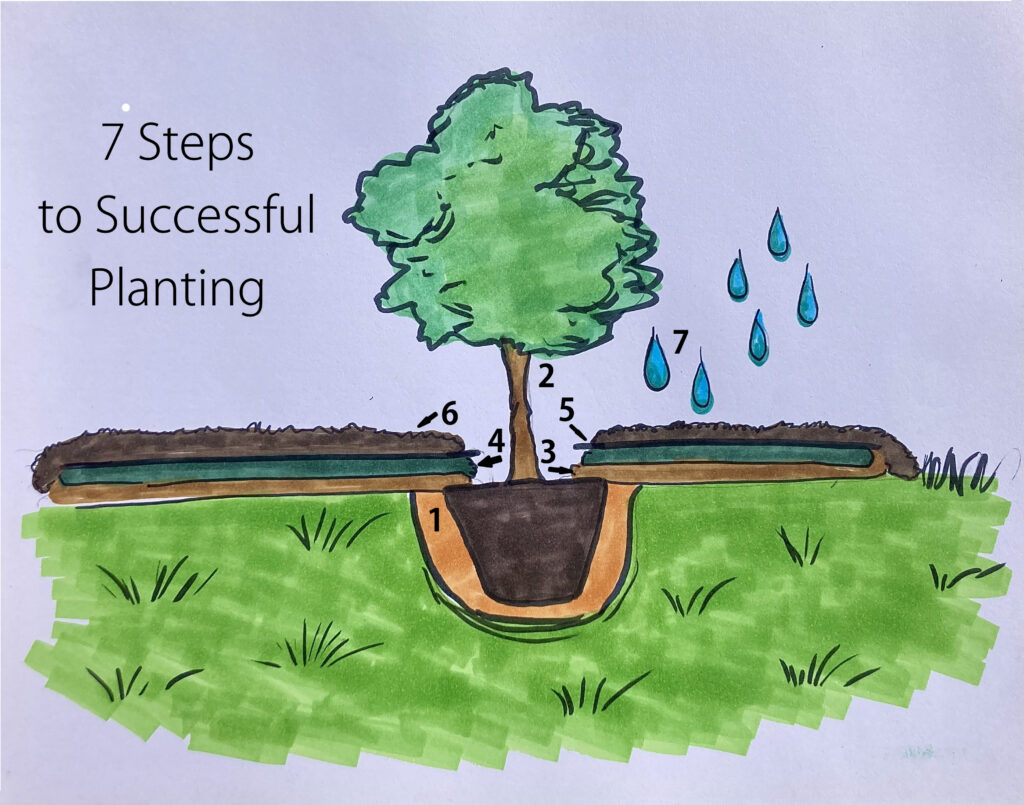
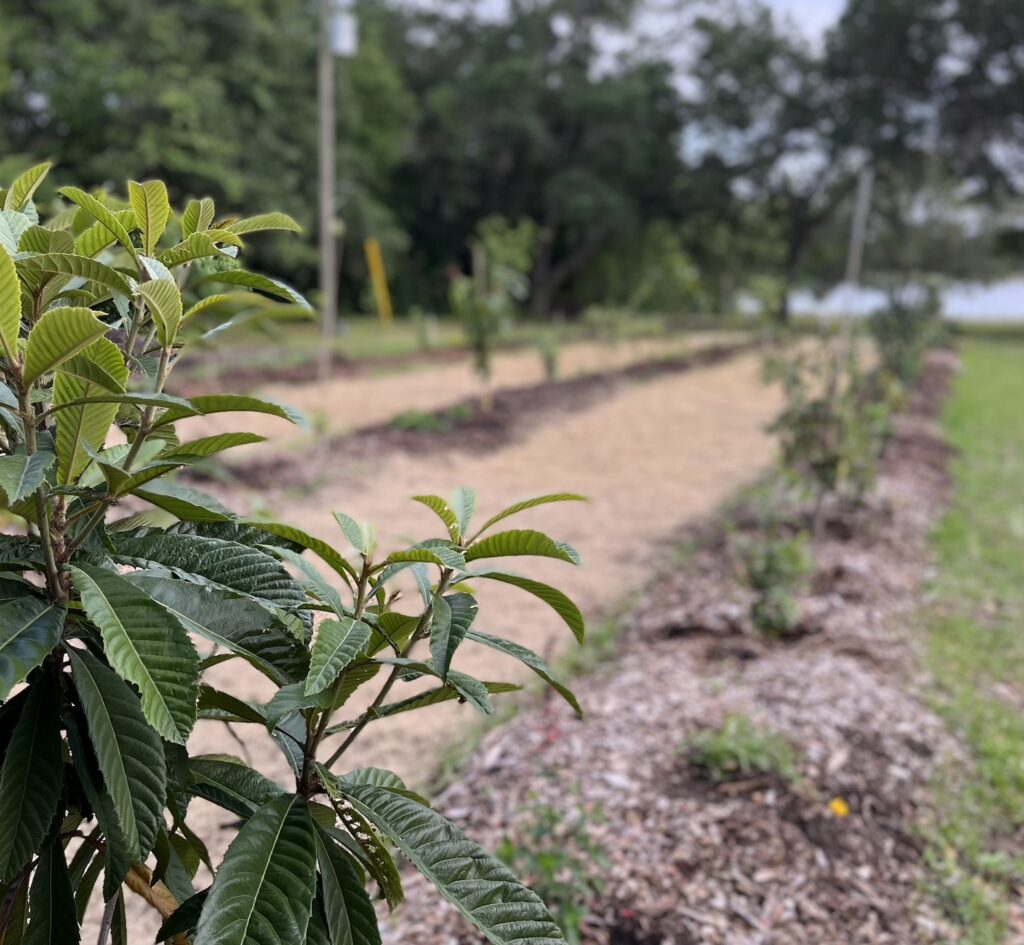
- Plant cold hardy fruit trees: Apple, pear, nectarine, blueberry, elderberry, goji berry, lingonberry, aronia berry, hazelnut, pecan, and persimmon. Use our FREE GUIDE on “How to Plant a Fruit Tree or Berry Bush” as a quick tutorial.
- Probiotic time! This is an excellent time to refresh the probiotic in your soil, spray fruit trees, berry bushes, and help activate compost piles before winter. We recommend using BioAg, by SCDProbiotics.
- Mulch: Apply mulch / wood-chips around the base of fruit trees. Keep the wood chips away from the base of the tree, because if they touch the trunk it can cause rot or bacterial issues. Wood chips will encourage mycorrhizal activity and strengthen the root system.
- Chop & Drop: Time to harvest the last of the legume trees (Japanese pagoda, Siberian pea, Russian Olive, etc.) and drop them at the base of your fruit trees.
- Pastures: Sow wildflower seeds to improve pasture health.
- TIP: When your neighbors rake their leaves and do their fall yard clean-up, ask for the bags of leaf litter (usually out at the road) to add to your compost pile. That’s free organic matter to help build your soil! Their trash is your treasure.
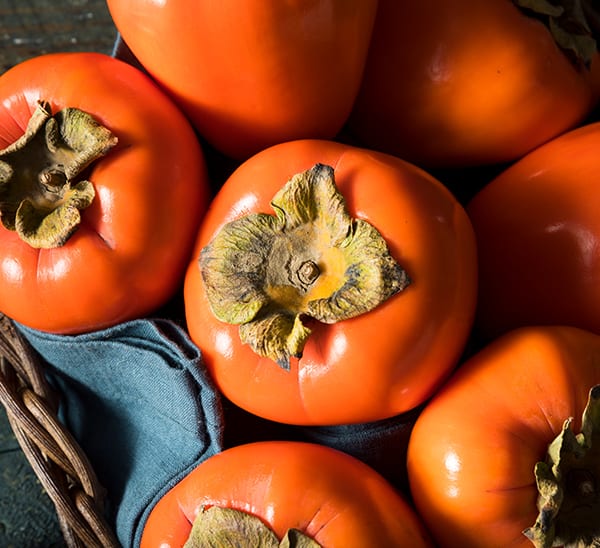
Persimmon are best when fully ripe or after falling from the tree.
In the Shed
- Use SeaFoam in each power tool to help clean things out a bit before fall storage. After heavy fall use, give power tools a quick check (oil, air filters, and clean off exteriors).
- Check mouse traps and keep animal feed in sealed containers.
- Give cutting tools a good cleaning (using rubbing alcohol) and oil afterwards to prevent rust while they are stored for the winter.
- Check for holes in the walls or along the floor to prevent mice from entering over the winter. Fill or patch accordingly.
- Bleach all storage containers to sterilize them for the winter.
- Plug in ultrasonic mouse deterrents to prevent nesting during winter months.
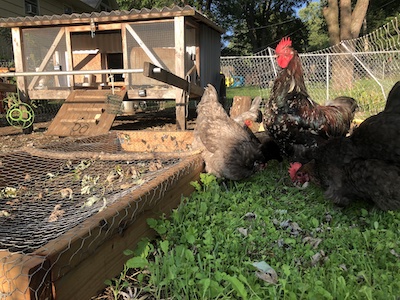
Animals, Poultry, and Livestock
- Chickens: Feed extra protein, omega-3 fatty acids, and B-vitamins this month. Birds are finishing with their fall molting season, so they need the extra boost to help replenish their feathers and energy reserves. You can help them out by feeding them live minnows, meal worms, canned tuna, etc. Do NOT heat your coops over the winter. Instead, follow this guide on “How to Help Chickens Stay Warm in the Winter.“
- Quail: Mix apple cider vinegar and honey with their water once a week. This is a great time to provide supplemental protein using meal worms and small crickets.
- Add wood ash to the dustbath to help prevent and treat lice and mites.
- Add BioLiveStock (probiotics) to all animal waterers this month to help their microbiome and gut health as they enter the winter months.
- Feed spent pumpkins and fall gourds to the chickens and goats. They might need to be cut open first, but this highly nutritious snack is perfect for the barnyard friends!
TIP ON FEEDING HAY TO LIVESTOCK IN THE PASTURE DURING THE WINTER
If you are feeding supplemental hay to cattle, donkeys, horses, goats, and sheep out in the pasture – BE SURE TO ROTATE THE LOCATION. Focus on feeding them in the areas with the worst soil, because the livestock will add manure and trample hay into the ground. This will dramatically help improve soil quality in the bad areas of the pasture.
Around the House
- Open up the windows on warmer days to help air out the house and let in fresh air
- Check batteries in smoke alarms and carbon monoxide detectors
- Have chimney cleaned and inspected before starting for the first time in the winter
- Spray tire shine and protectant on vehicle and trailer tires to prevent winter damage
- Slow down or stop fertilization from November – February (especially nitrogen) on all house plants. Instead, use kelp to help stimulate uptake of remaining minerals and stimulate root growth, or azomite for silica a root health.

In the Perennial Flower Beds
- Dead-heading: Only cut back perennials with “soft stems” that will rot over the winter. Leave as many seed heads and spent flowers as you can for winter homes for insects and food sources for wild birds. Wait until early spring to cut them back.
- Add extra wood chips to areas that are in full sun in order to protect soil health and microbial activity
- Before a rainy day, add probiotics to your soil for the winter months. This is a great way to help balance out nematodes in the soil, build soil structure, and improve overall soil health. You can purchase organic products like BioAG (that’s what we have used for over a decade), which will store on the shelf for years and has a fantastic probiotic blend.

Fall is a great time to plant native wild flower seed mixes!
If this list was helpful to you, consider sharing it on social media or sending to friends who may benefit from it as well.
Looking for On-Going Permaculture Mentorship?

As a subscriber to our Patreon, you will have access to our ever-growing library of permaculture videos, classes, and PDF resources. This is a perfect opportunity to learn and grow at your own pace, while also having access to a knowledgable community of permaculture homesteaders.
Patreon subscribers are also able to interact daily / weekly with Kris and his team, to receive mentorship and immediate consultation tidbits. This membership is like having a permanent virtual homestead or farm consultant on speed-dial. Consider joining us on Patreon or evening giving a subscription as a gift! CLICK HERE TO GIFT A SUBSCRIPTION.
Pro-tips: To avoid App store fees, you can initially subscribe on the desktop version to save some extra money! There are also FREE 7-day trial options available for some membership tiers.