

Planting a food forest can seem a tad daunting when you do it for the first time, so don’t try to figure it all out on your own. We’ve got you! This article will teach you the basics steps of how to plant a food forest. Each of these has an accompanying video, so you can even see the process in action.
How to Plant a Food Forest with Pro-Tips
Step 1 – Burn or Remove Existing Grass
When getting started, it is important to prepare the soil for the new food forest. There are multiple ways to do this, and a longer explanation of the options can be found in the second article of this series. In this particular case, we are choosing the burning method using a propane torch weeder.

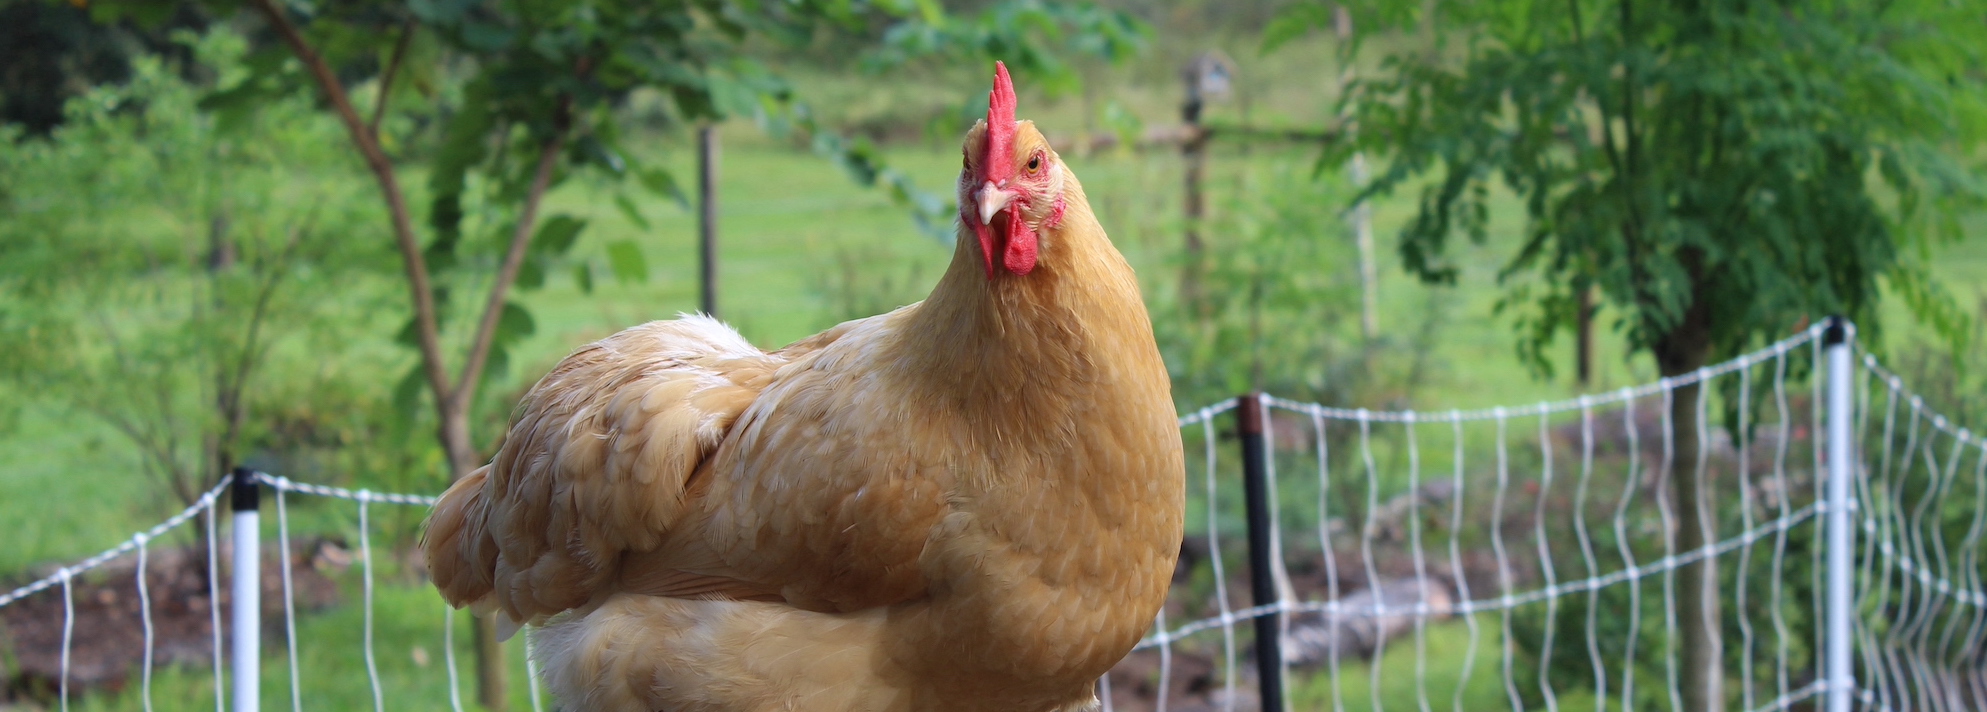
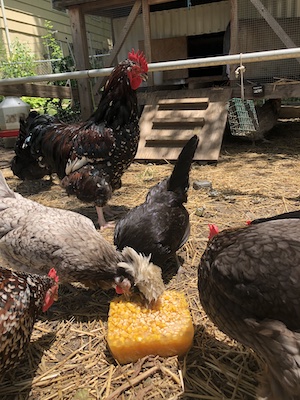
This method works really well for an initial soil reset, and puts the carbon from the weeds and grasses back into the soil. The burning method is also much faster than solarizing, running chickens through, or using horticultural vinegar. To see the video of this being demonstrated, click here.
Step 2 – Layout the Food Forest on Top of Contractor Paper
Instead of using plastic weed barriers (which not only do not work, but also leach micro plastics into the soil), use two layers of contractor paper. Contractor paper can be found in the painting section of most hardware / box stores. It is recommended to do this on a day with less wind and place a few plants as the paper is rolled out (so it doesn’t blow away). This paper layer will last long enough to suppress weeds as the food forest gets established and will decompose naturally. Watch the video on this step.

Once the contractor paper is in place, start laying out the food forest. Picking out plants and placing them can be a challenge, so there is a more in-depth article on that topic. Click here to read. It is ideal to find a local fruit tree and berry bush source, but sometimes I also enjoy ordering them bare root online. They are cheeper to ship than potted plants and can be potted up upon arrival, which gives more bang for the buck. Not to mention, potting them up for a few months in organic soil mix allowed them to get established after arriving in the mail. In fact, I prefer to have them potted a couple months to ease transplant shock. Personally, I have a lot of plants (including those in this article) from FoodForestNursery.com because they have plants for USDA zones 4-10. They specialize in edible plants across multiple growing zone range, and ship them bare root. Use the code: permaculturefx10 for a little discount.
Step 3 – Compost and Wood Chip Mulch
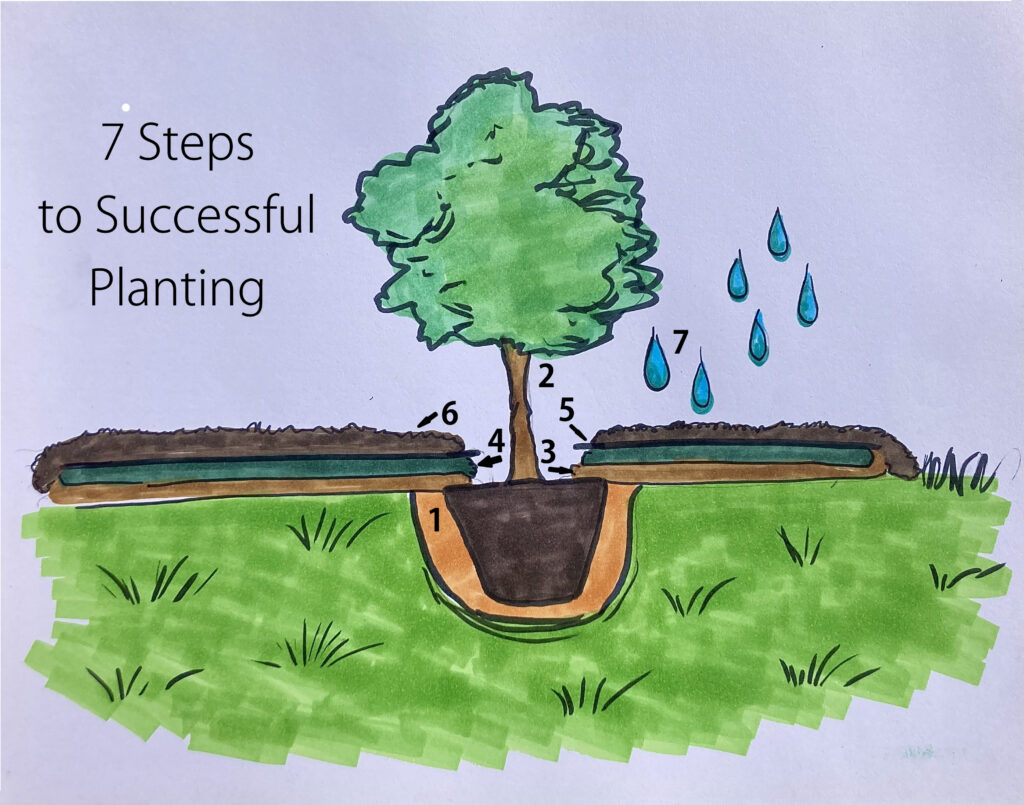
After burning, removing weeds, and laying out the new food forest, it’s time to start building the soil structure. One of the biggest mistakes I see when people plant a tree is they don’t use compost and wood chips to protect the newly planted tree or bush. Or, they skimp on the wood chips thinking “a little dab will do ya”, and it just doesn’t work that way. There are many ways to give a new tree the initial boost, but adding 1-2″ of compost, followed by 6″+ deep of wood chips is (by far) the most successful method I have used across all growing zones. Don’t skimp on the compost and wood chips – trust me on this one.

One key point when planting fruit trees is to remember: “plant them high and they will fly OR plant them too low and they’ll grow slow”. There is most definitely a right / wrong way to plant a fruit tree, so be sure to read the supplemental article for more information on this subject. If you prefer to watch a video on How to Compost and Mulch, we have that option available as well.
And again, try to maintain adequate wood chips around your fruit trees at all times. As these break down, they will nourish your tree, maintain moisture, and keep the grass away from the tree. Grasses take up a LOT of nutrients, thus competing with fruit trees and berry bushes. So, get the mulch on nice and thick, and your plants will thank you!
Step 4: Edging and Burning for Easy Maintenance
After mulching the new food forest area – it’s time to polish up the look a bit. Adding edging (logs, stones, pavers, etc.) can really help keep the grass out of the food forest, give a cleaner look, and make maintenance and mowing much easier.

Even though this extra step takes a little bit of extra work, it really does make a big difference in cleaning up the lines and edges. Here’s a video example of this step.
One of the best aspects of adding the border and burning next to it is the practical aspect of keeping grasses and running weeds out of the food forest area. This is especially important for those wanting to have a more formal and put together design, because it keeps lines clean and lessens long-term maintenance.
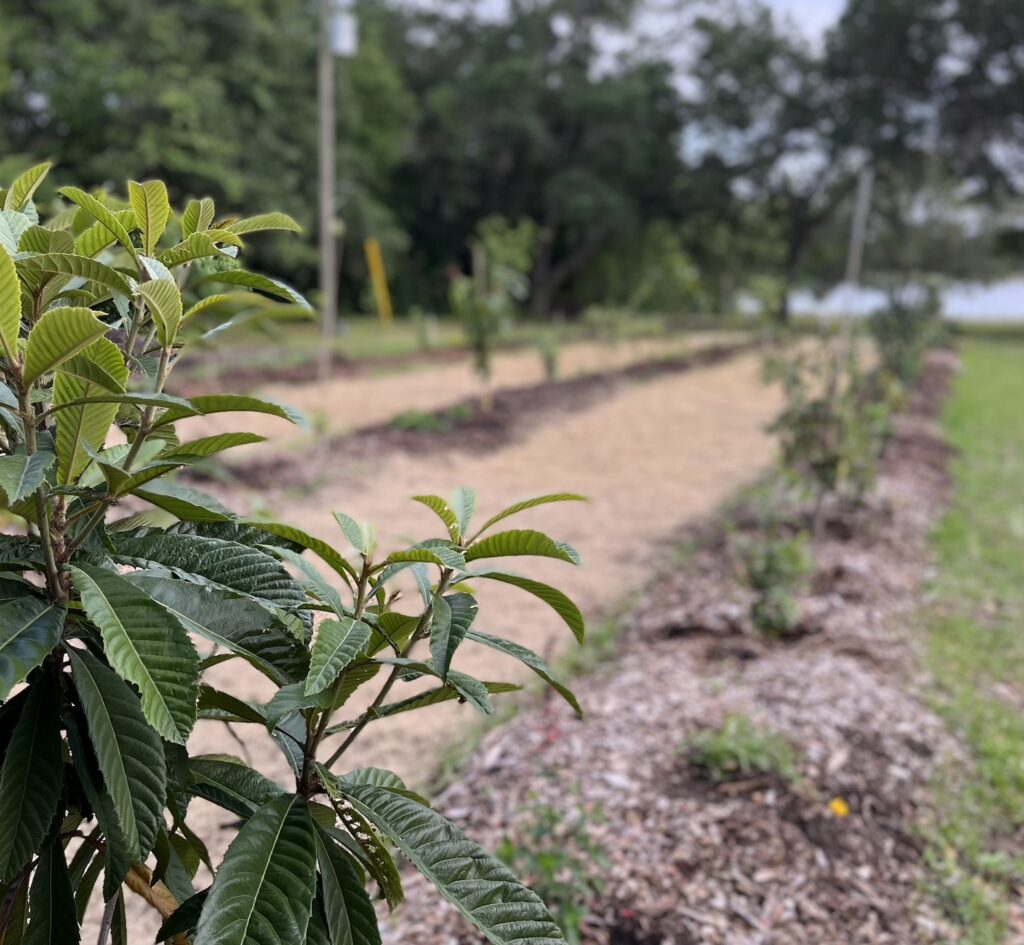
Step 5: Planting Between the Young Trees & Adding Decorations
When a food forest is young, it’s hard to imagine how much it will grow in just a few years. Remember, fruit trees and berry bushes take patience to allow them to get established. The first year, they will “creep” along in their growth. Year two they will “grow” and push some new green branches. But it’s in the third year that they truly “leap”. For most growing zones, however, it will take about 5 years for mature production levels.

So, for the first few years, there is an opportunity to plant native flowers, annuals, or other short-term plants between the fruit trees until they get established. Think about some native wildflowers that are hardy in your area and will potentially reseed themselves year-after-year. Alternatively, the mulch can be pulled back in a few areas to make a trench to add compost and plant annual vegetables right there in the food forest! This step can help the food forest look fuller for the first few seasons until the new trees come into their own.
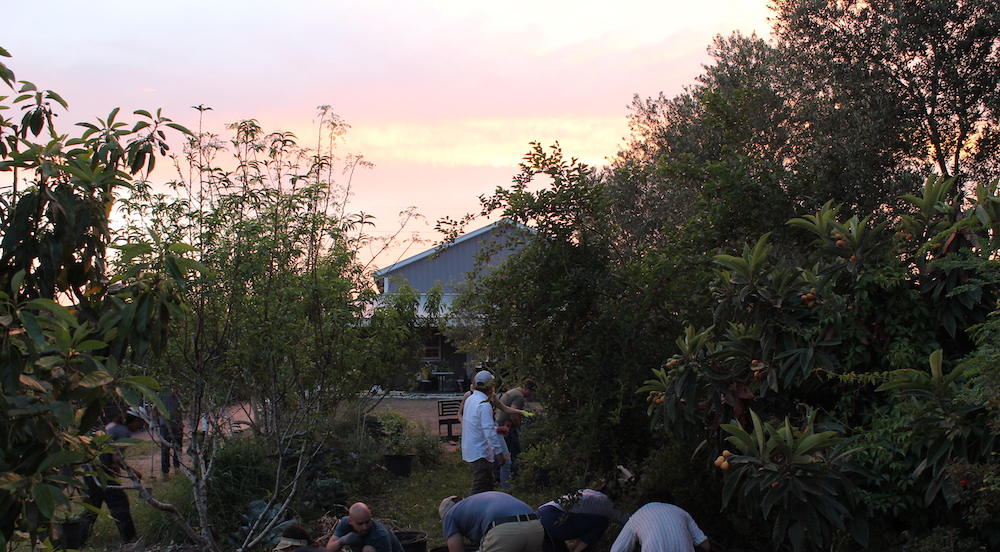
Lastly, consider making the food forest personal. Pick out a few decorative items: statues, stones, a bird bath, bird feeding station, a wind chime, etc. These little whimsical notes help make the food forest an enjoyable place that will invite visitors closer with an interactive experience.
NEXT STEPS for the New Food Forest
Once the food forest is planted, it’s time to grow, learn, and engage with the new ecosystem. As land stewards, there are always ways we can connect with our space to help create abundance. Consider signing up for our free monthly gardening and food forest calendar (click here) , so you have a seasonal tip-list of how you can connect to your land.
Additionally, consider joining us on Patreon for on-going homestead mentorship, a growing library of full length classes, and a PDF resource library for your farm and garden.
As always, if you need help creating a design (in-person, virtually, etc.), our design services are always just a click away. These designs will give you a 20+ year plan for your food forest and homestead, so you can get on the fast-track to planting and experiencing abundance.
I’ll see you next time… in the Garden.
FULL FOOD FOREST BLOG SERIES
Part 1: Myths about Planting a Food Forest
Part 2: How to Prepare the Soil for a Food Forest
Part 3: Selecting the Right Plants for a Food Forest
Part 4: How to Install a Food Forest