
The air is changing, the leaves have started to turn, and the smell of apple cider beckons me. The farmer’s markets have gotten out their pumpkins, squash, and corn stalks and I find myself cramming as many as possible inside my little car. The way I see it is that when I buy more pumpkins, it’s not only decoration… but also food! I get to enjoy some of them and then the remainder go out to the chickens, so I have decided that this year I am not going to show any restraint in my pumpkin buying.
Aside from decorating though, there is plenty to do outside to prepare for the fast approaching colder months.
Here is a list of things you should be doing in your yard in the month of October. Pay attention to the garden, house, shed, orchard, animals, and of course… the kiddos! This is your October Gardening To-Do list for Zones 3-8. For a list specific to USDA Growing Zones 9-11, click here.
In the garden
- Harvest late season veggies that you planted in August, including: kale, lettuce, cucumbers, Swiss chard, brassicas, etc.
- Harvest and process the last of your late summer veggies (especially nightshades) like tomatoes, eggplants, peppers, etc. Watch the weather carefully for early frosts, so you can cover plants with sheets or poly-tunnels to extend your growing season.
- Harvest and dry herbs (rosemary, holy basil, oregano, marjoram, lemon balm, etc.)
- Plant garlic for next year.
- Save seeds and store in a cool, dry place.
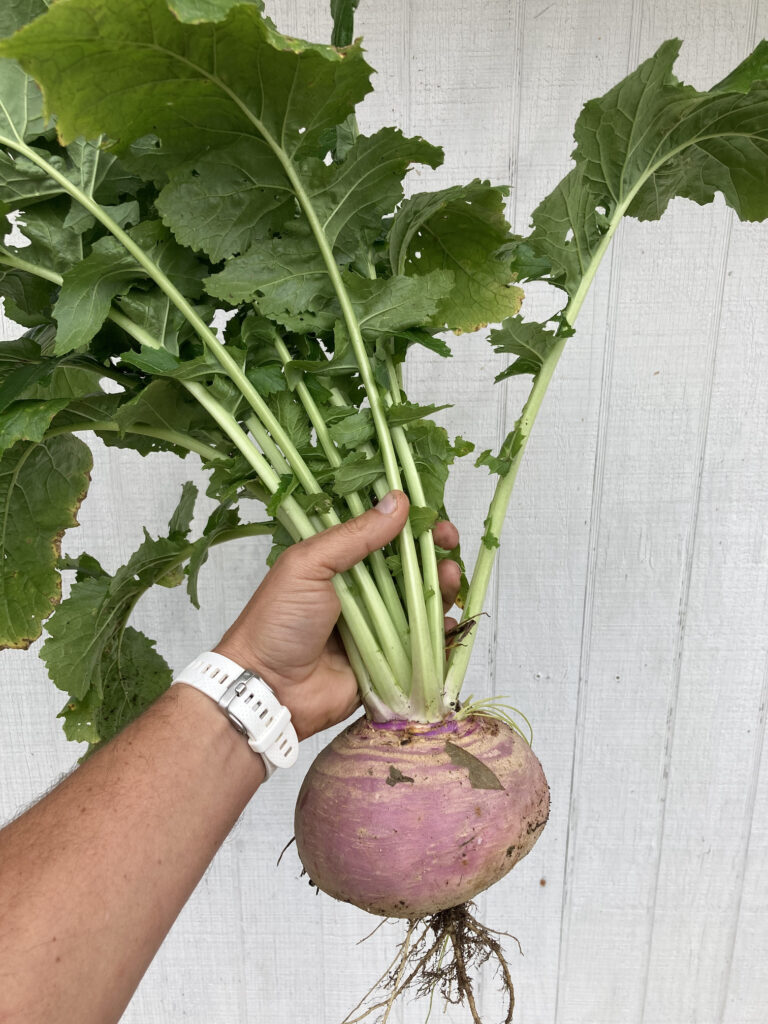
- Store winter veggies like squash and pumpkins.
- Plant cover crop mixes for the winter (clover, legumes, vetch, winter wheat, etc) OR cover your soil with 4-6″ of straw or wood chips. Never leave garden soil exposed to the elements, especially in the winter.
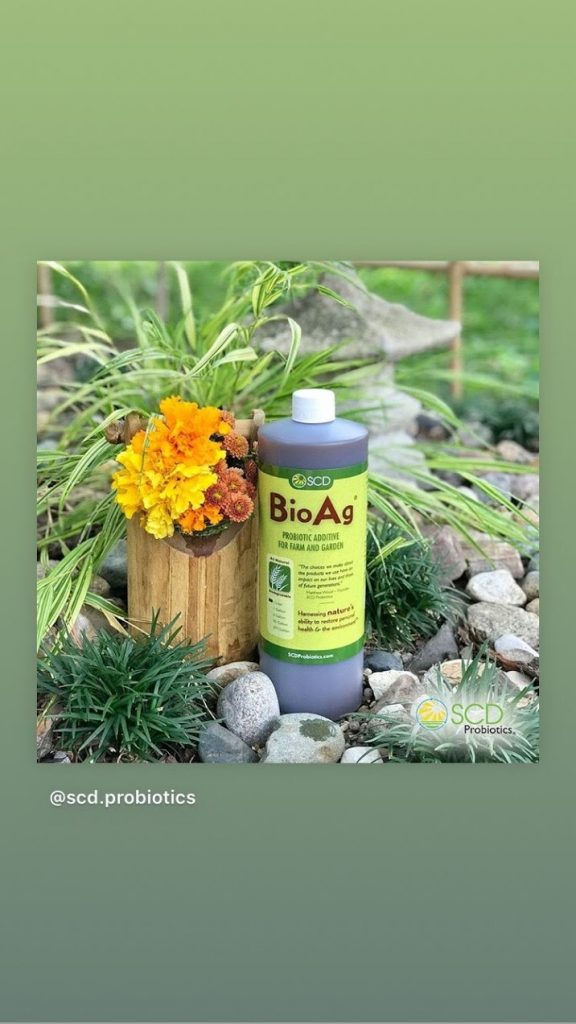
- Apply fall probiotic spray (I use BioAg by SCD Probiotics) to all gardens, flower beds, and orchard soil. I use this both as a foliar and soil spray to help keep microflora healthy and the soil biome in pristine condition.
- Test garden soil and make fall amendments. As a general rule, this time of year is the most ideal for adding a LIGHT layer of compost (you don’t want to stimulate new growth), and for spreading wood chips and mulch.
In the Greenhouse
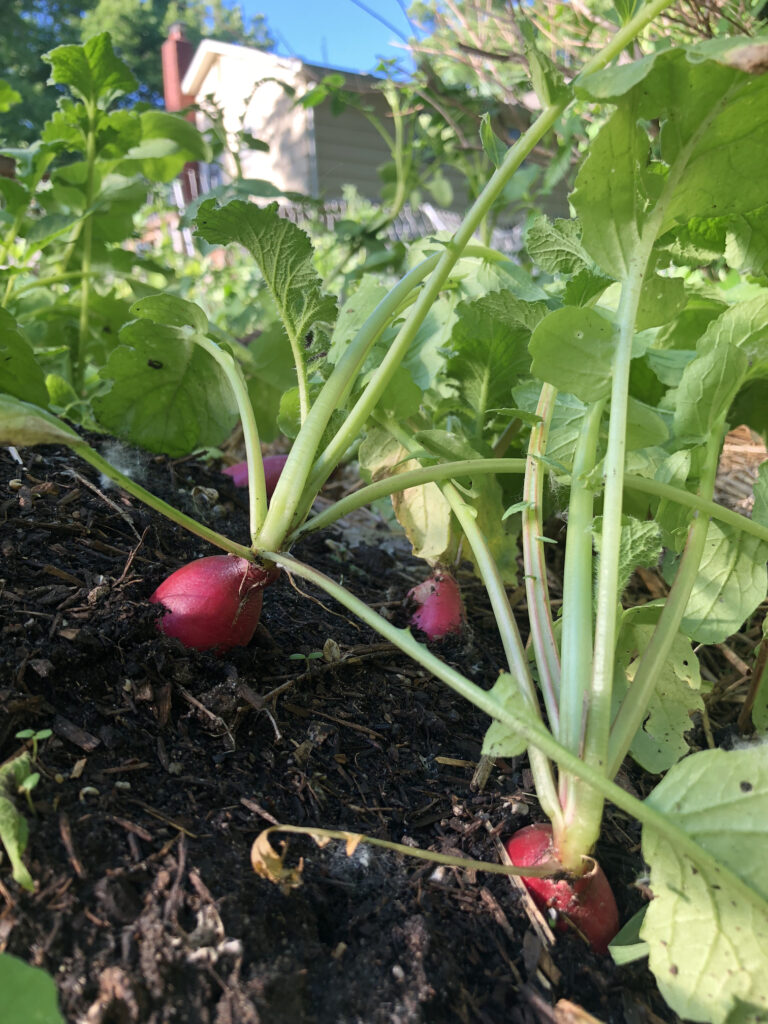
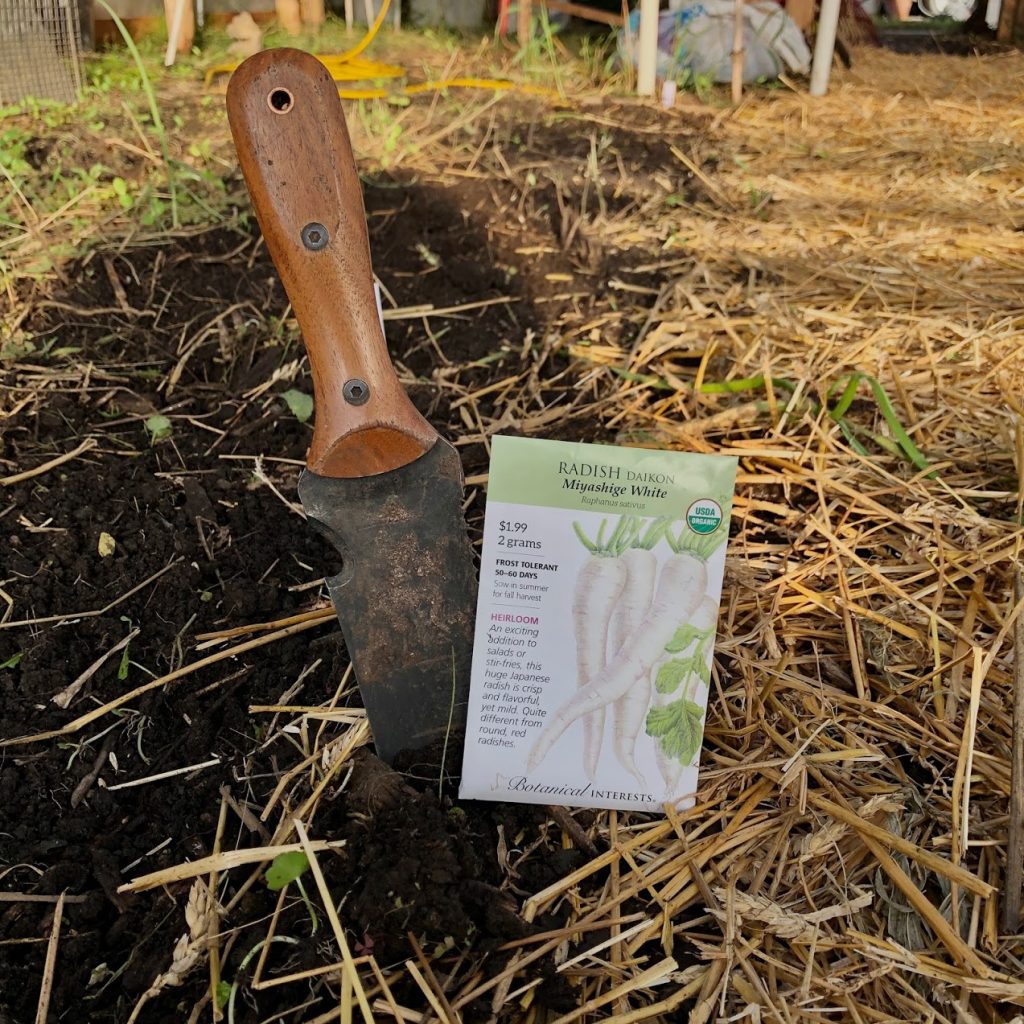
- Plant another round of: kale, cabbage, Swiss chard, radishes, diakon, mixed greens, snow peas, etc. This is especially important if you are growing veg in your greenhouse or poly-tunnel over the winter.
- Plant seeds that need winter stratification, like Paw Paw or Chestnut, so they get a jumpstart in the springtime.
- Bring all outdoor pots inside the greenhouse to extend growing season.
- Start cleaning tools. All metal should to cleaned with steel wool and then rubbed down with oil to protect them over the winter. Store in a dry place to prevent rusting. OR you can store in an oil / sand bucket. There is a new video on this in Patreon.
In the Food Forest
- Harvest apples, paw paw, persimmons, blackberries, and any remaining fruit.
- Spray all fruit trees with probiotics and neem oil (for bugs and fungus control), and keep areas beneath the trees clear of waste. This is your last spray of the year.
- Refresh compost and mulch around the base of the trees for winter. You can also use chopped leaves from trees around your yard. Do NOT use other fruit tree leaves if you can avoid it, because you don’t want to let any fungus or disease overwinter in the food forest.
- Divide plants that are big enough to multiply and share (i.e. comfrey, berries, perennial flowers, etc.)
- Harvest any remaining herbs (dry them, make tinctures, give away, or make an herbal broth for cooking). Some herbs can actually be frozen in olive oil (using ice cube trays) for use over the winter.
- Plant cover crops for the winter in any lanes or open spaces.
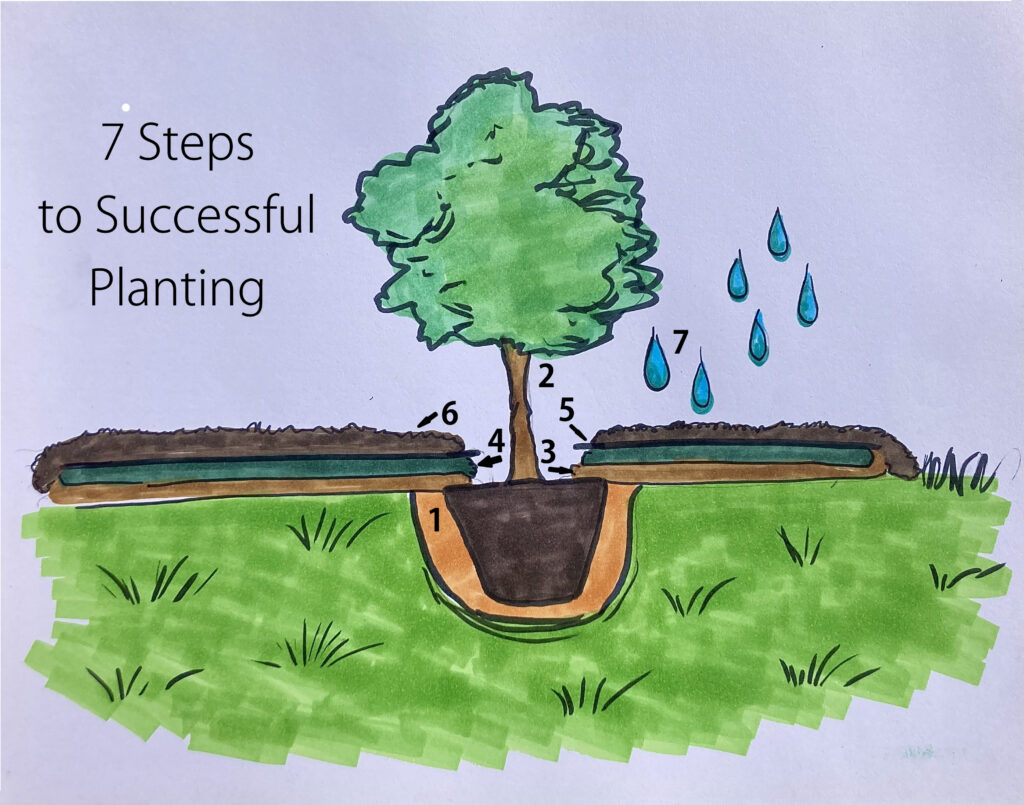
- Plant new trees in the orchard and food forest once leaves have dropped. Fall is perfect for planting!
In the Shed
- Empty and store flower pots that have run their course. Wash and allow to dry, so you can start fresh in the springtime
- Clean and oil all tools
- Empty gas from machines that are finished for the season. Consider adding a fuel injector cleaner the last time you use them, so everything is ready for storage.
- Add mouse traps. TIP: You can also soak cotton balls or fabric in water with peppermint essential oil and put them in the corners to deter mice.
In the Chicken Coop for October
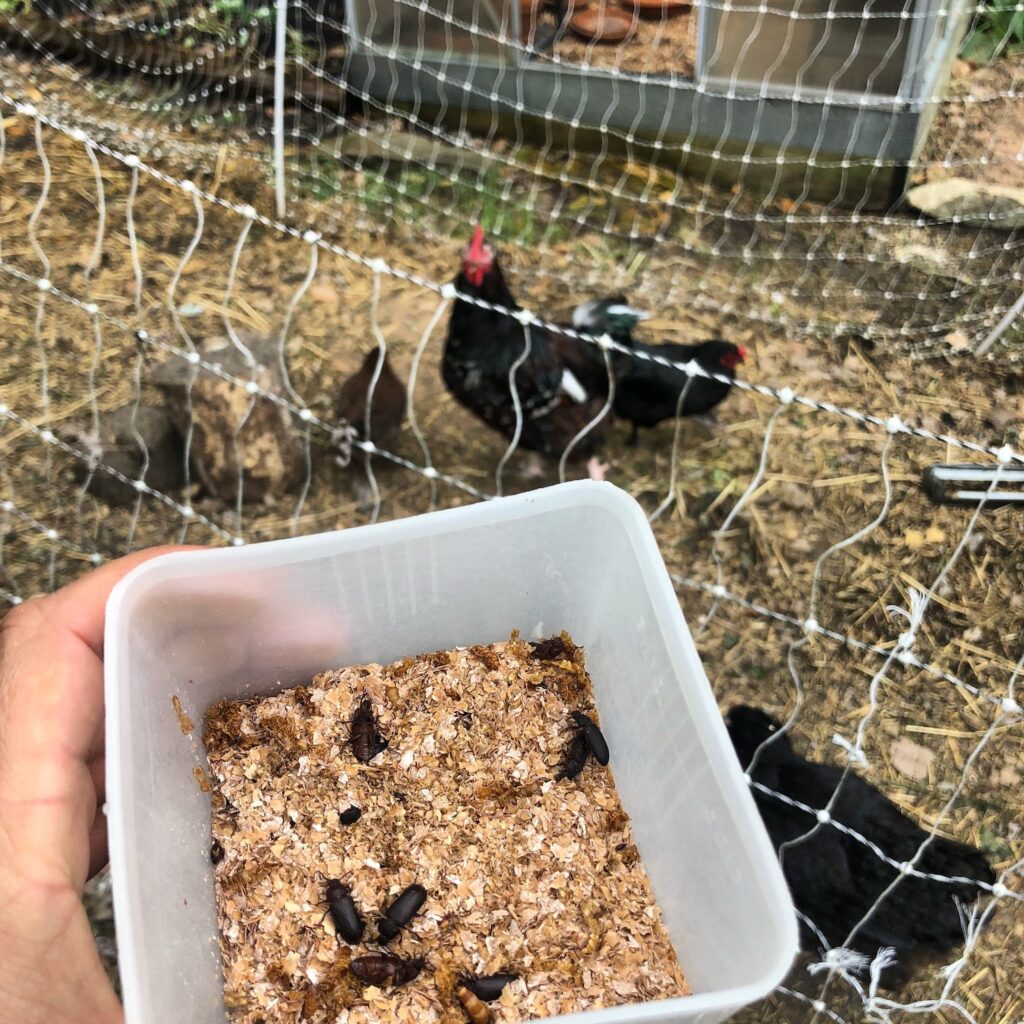
- Feed extra protein (meal worms, black oiled sunflower seeds, bugs, etc.) to help them with molting season.
- Add a small amount of corn to their diet to help with caloric intake before winter.
- Purchase suet blocks (>5% protein) as you see them on sale for winter prep.
- Clean and sterilize your coop and get ready for winterizing (have extra straw on hand for the winter months).
- Make plans for water freezing over the winter (more next month). Add probiotics to your water to get birds healthy for winter. You can use a mixture of honey, apple cider vinegar, and garlic powder as one approach. I also rotate in BioLivestock, which is a blend of probiotics, beneficial microbes, and bio-fermented organic acids.
- Add garden and flower bed cuttings to their run for them to “go through” and eat bugs and seeds before composting them.
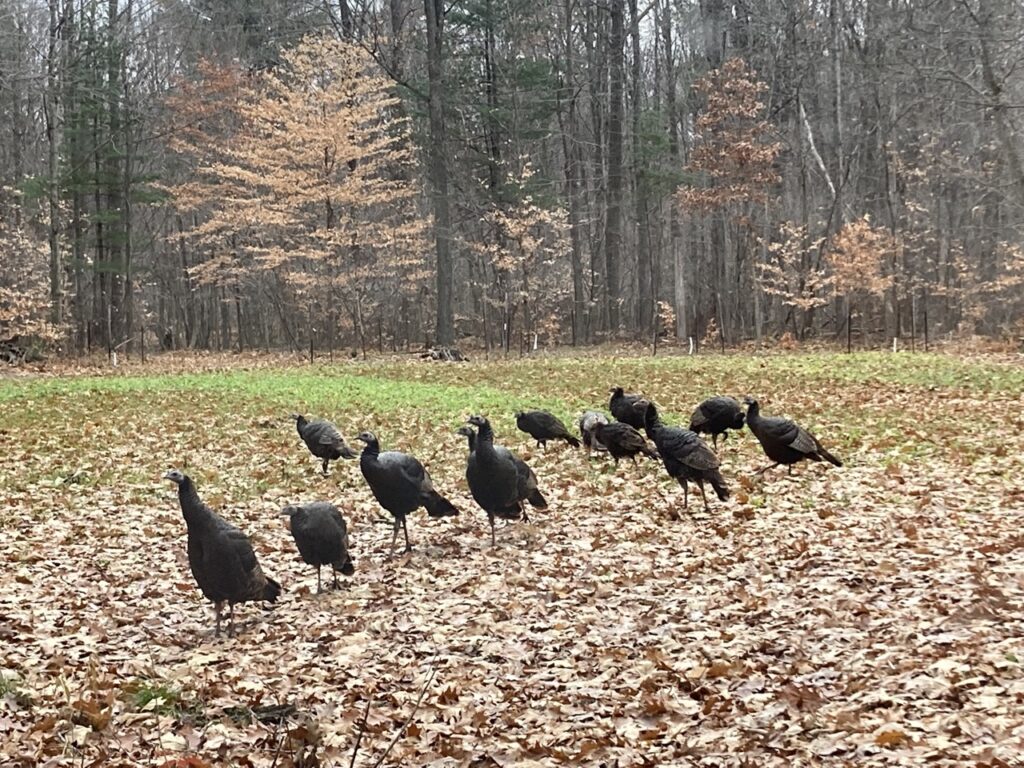
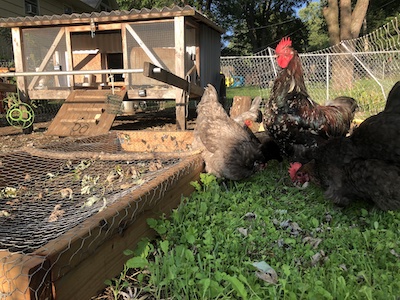
- Feed pumpkin and squash to chickens! It helps boost their immune systems and can be a preventative for worms. NOTE: Pumpkin seeds are NOT a proven treatment for worms, but a great as part of your preventative maintenance regime.
Around the House
- Clean out gutters and eavestroughs
- Check caulk around windows and doors
- Check / change light bulbs around the yard and in the house
- Chop leaves as they fall by mowing them up. Never rake and put them to the road, because you are literally sending nutrients away from your yard.
- Prune dead branches and chop for burning
- Power wash sidewalks, sides of house, etc
- Drain and store hoses if the weather starts freezing
- Change air filters on HVAC and check pilot lights on your heater before turning everything on. It’s also smart to vacuum out all ductwork / register vents and add a few drops of essential oils to them to keep things fresh.
- Fall clean out of the garage and shed
- Put up any winter window treatments (shrink film on thin windows or draft barriers. Thermal curtains are also a great addition that can really save month in the cold winter months.
- Check batteries on carbon monoxide detectors (replace every three years) and check batteries on smoke detectors.
- Chimney maintenance and fire place testing
Perennial Flower Beds in October
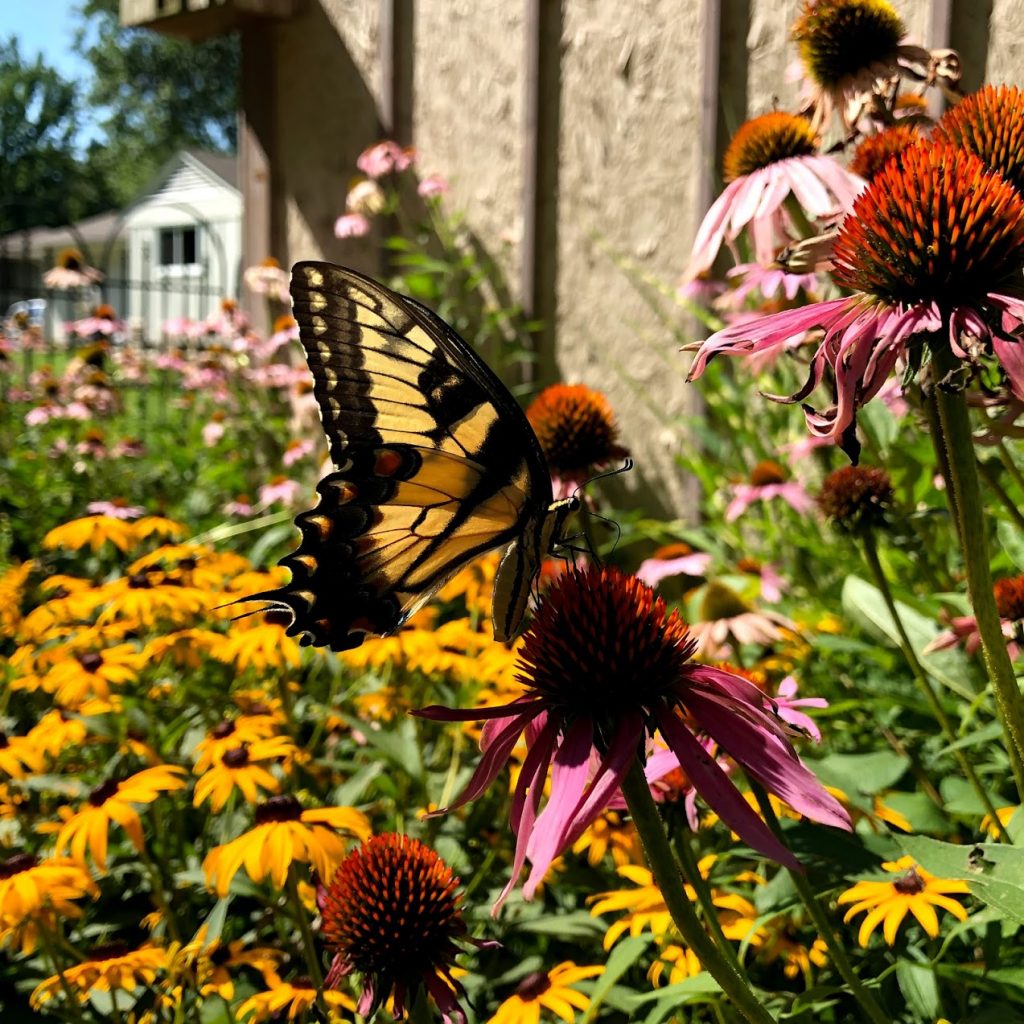
- Cut back spent plants, but leave as much as you can for winter interest, especially if there are seed heads. I recommend pruning back fully in the spring, because many butterflies and beneficial insects have already laid eggs and are in a chrysalis form on your plants now, and they will not hatch until spring.
- Plant spring bulbs. Rule of thumb… buy 2-3x as much as you THINK you want, because you’ll always want more.
- Remove and compost faded annuals. Don’t throw them away – definitely compost them!
- Divide large perennials and multiply in your garden OR share with friends.
- Store tender bulbs like cannas, elephant ears, and dahlias.
- Cover all soil with either compost, chopped leaves from your yard, or wood chips. NEVER leave your soil exposed to the winter elements.
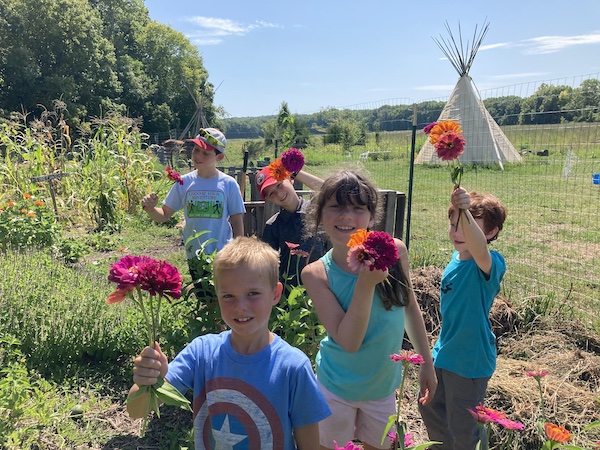
Ideas for Kids
- Make a fort with sticks and branches and then cover in leaves
- Have at least a few times where you rake piles of leaves and let the kids jump and play
- Make fall bird feeders and put them around the yard. Click here for the class on this in Patreon.
- Use peanut butter and spread on the trunks of trees, then press birdseed into it to attract woodpeckers
- Fall nature walks are a must
- Take the kids to a greenhouse this fall. Many local nurseries offer free fall activities for kids, pumpkin patches, etc.
- Buy each kid a tree / shrub to plant in the yard or food forest. Help them pick it out and let them know it’s “their tree”.


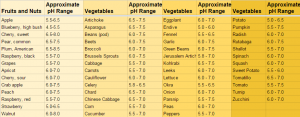
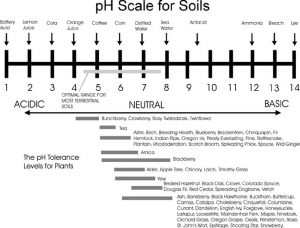
 When looking around a permaculture property, there are many uses for wood ash which can be a great source of nutrients for your soil. However, it’s important to know that with wood ash, your kindergarten teacher was right in saying, “A little dab will do ya.” Use only a small amount and increase after a few weeks to make sure your soil pH says in the safe zone. The reason for this is that