
In this article, we explore the possibilities of a cancer fighting food and medicinal forest, which has been specifically designed for the Midwest USA.
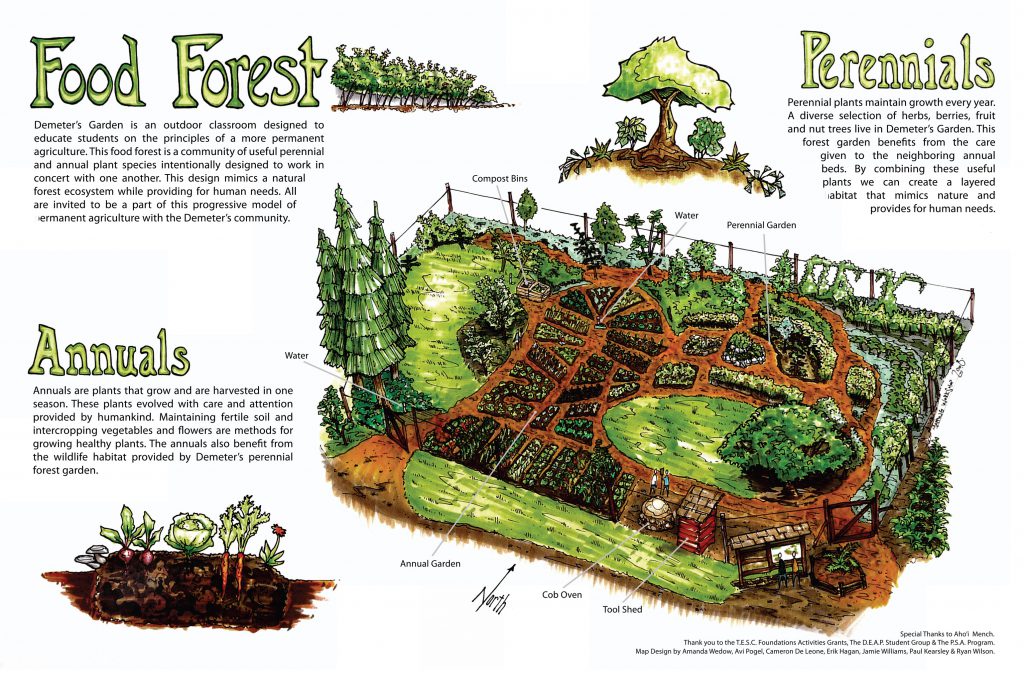
Food forests are a low-maintenance agroforestry system that mimic the natural production of a woodland forest edge. Plants in a food forest are arranged in a way that work in synergy with the natural succession of species in an ecosystem and maximizes their food producing potential. The practice of permaculture (permanent agriculture) seeks to work in harmony with the natural growth processes in order to create a system that speeds up the natural growth pattern of an area. What might take over 100 years in a natural, untouched system, permaculture systems can accomplish in a matter of 3-5 years. After just a few years, there could be a food and medicine producing forest that would provide for those fighting cancer. The food forest creates an ecosystem of productive abundance and is both low-maintenance and long-lasting. This type of system can last hundreds of years, once established, and can provide abundant healing foods for generations to come.
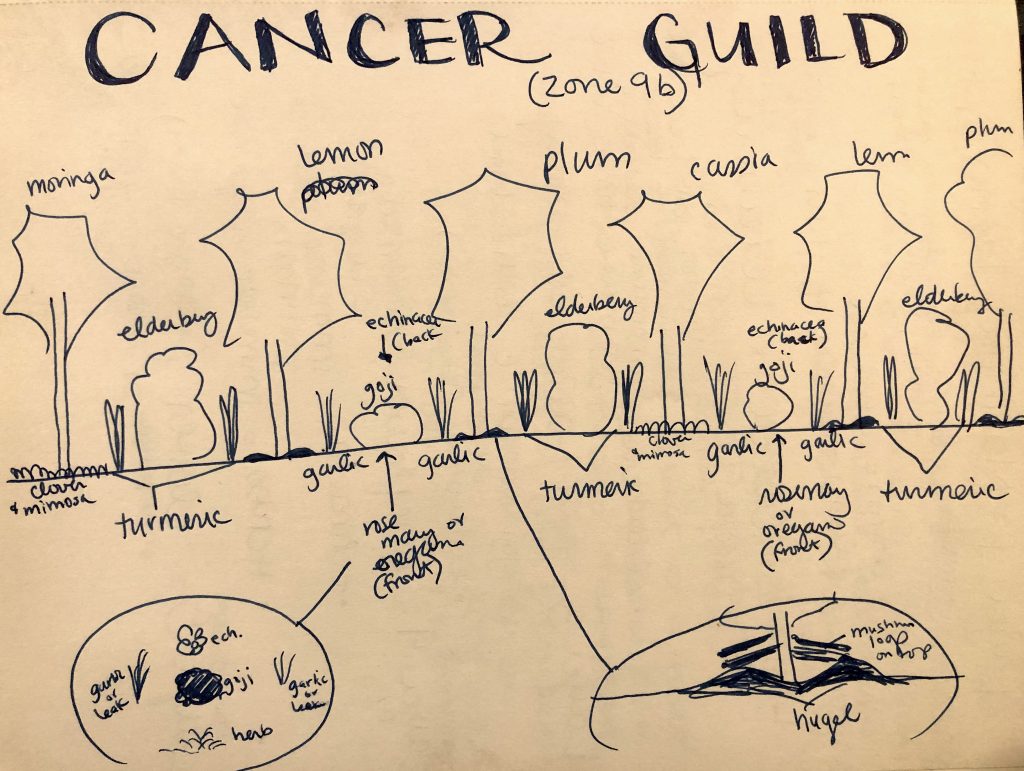
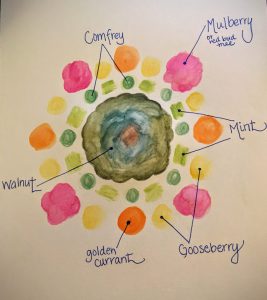
In our cancer fighting planting guild, we have strategically selected plant varieties that have specific anti-carcinogenic properties and immune boosting benefits. We have designed a system where each plant can serve the one planted next to it. For example, nitrogen fixing cassia plants help fertilize walnut and plum trees. Locust trees provide compost and living mulch, creating biomass for elderberries and goji berries. Cancer fighting herbs are also used to attract beneficial insects to help pollinate the berry bushes.
Each and every element in this system have been selected for growing US Growing Zone 6, but the pattern could be mimicked in other regions as well by swapping out certain species. This Cancer Fighting Medicinal & Memorial Garden is designed specifically for climate in Kansas City, MO.
As someone who has battled cancer, I have designed this system using elements that were beneficial me in my fight against cancer. Though natural health remedies have not been approved by the US Food and Drub Administration, there is on-going research taking place across the globe and growing anecdotal evidence regarding the benefits of natural health and food as medicine.
Goals of the project
- To create a productive food system to benefit those who are currently in their own battle against cancer.
- To create a learning garden for students, kids, and families.
- To create a Memorial Garden for those of us who have lost loved ones to this horrible disease, and who believe that the cure for cancer may lie beyond the pharmaceutical industry.
In essence, this Cancer Fighting Medical Garden is being planted to inspire hope, remember loved ones, and to provide productive abundance for those battling this sickness.
Elements of the Cancer Fighting Food Forest
Layer 1: Top Story Trees

BLACK WALNUT TREE
Walnuts have multiple cancer fighting benefits, and are the only nut that contain a significant source of alpha-linolenic acid (ALA) (2.5 grams per ounce). Walnuts also contain a variety of antioxidants (3.7 mmol/ounce) and numerous vitamins and minerals. Walnuts have fatty acids are also shown to have cancer fighting benefits.
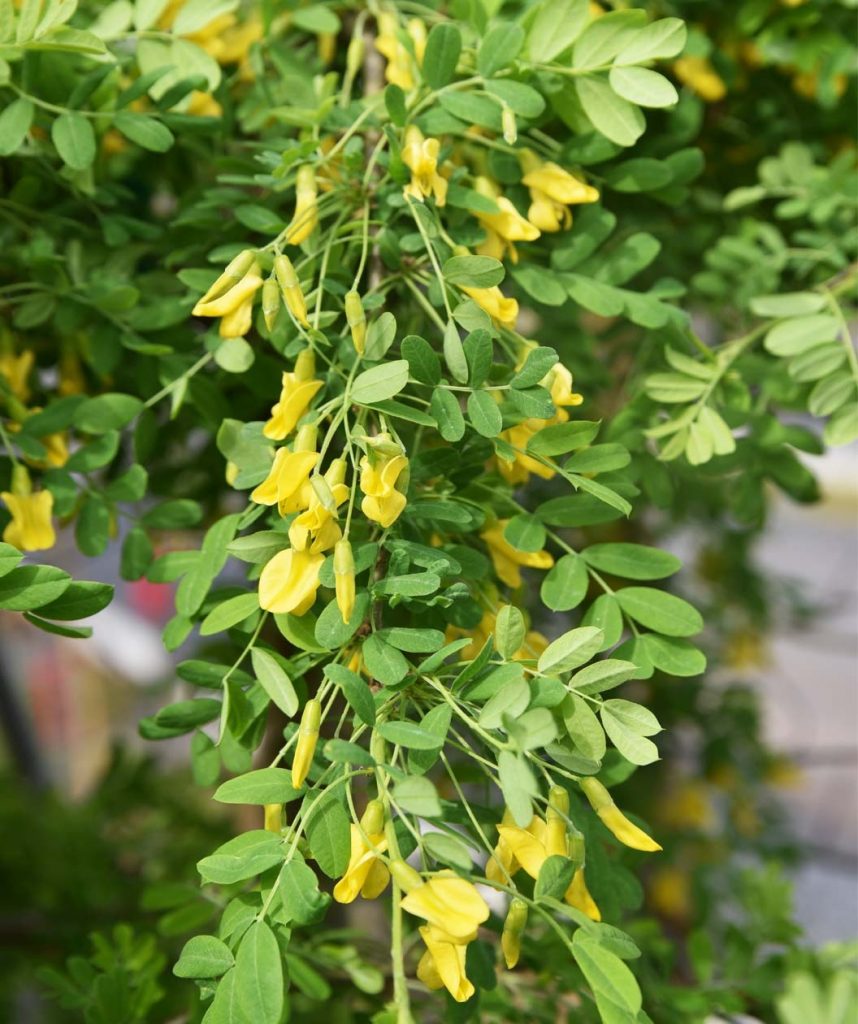
SIBERIAN PEA
This nitrogen fixing tree help fertilize the soil using nitrogen fixing nodules on the roots. It can also be “chopped and dropped” to provide biomass and much for other elements in the food forest system. The tree provides edible seeds which have 36% protein, which is comparable to soybeans

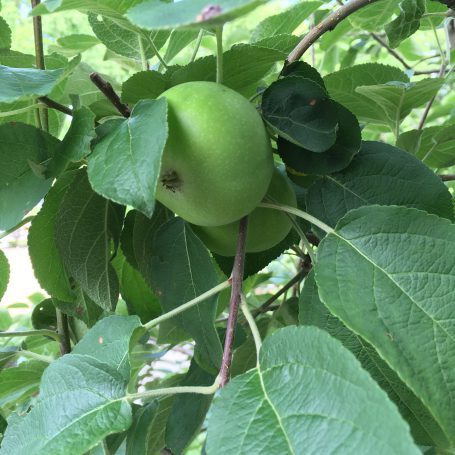
PLUM TREE
Shown to have cancer fighting benefits including high fiber and polyphenols. They have high levels of anti-oxidants and vitamin C. There is ongoing research specifically for colon and breast cancers. In the food forest, plums are a delicious over-story tree, which also provide pollination for insects.
Layer 2: Small Trees and Shrubs
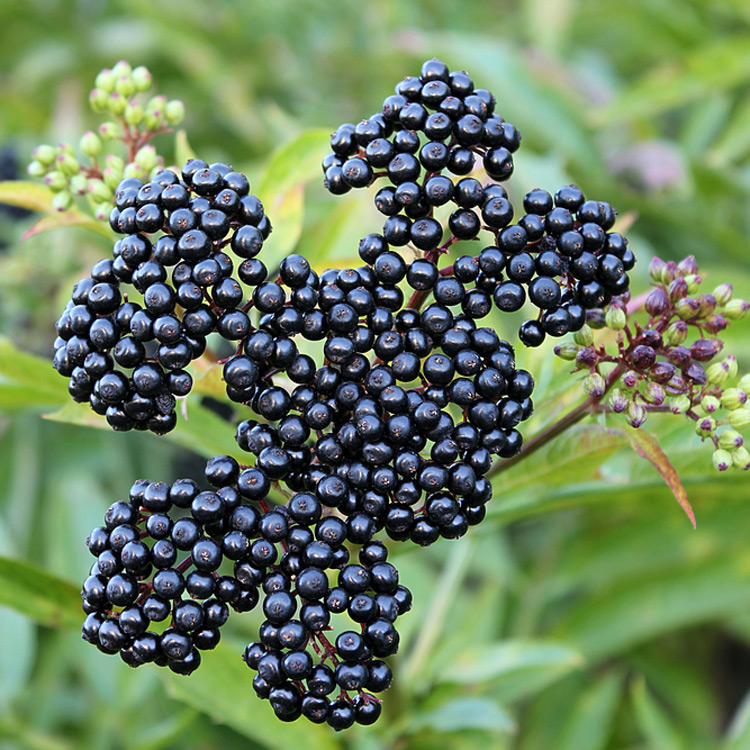
ELDERBERRY
Flowers and berries have been traditionally used as an immune tonic to help strengthen the natural defense against disease. The berries are also high in vitamin C, which is a known cancer fighter and immune system booster. In the food forest, it’s an excellent pollinator as well as shade producer.
Layer 3: Small Shrubs and Bushes
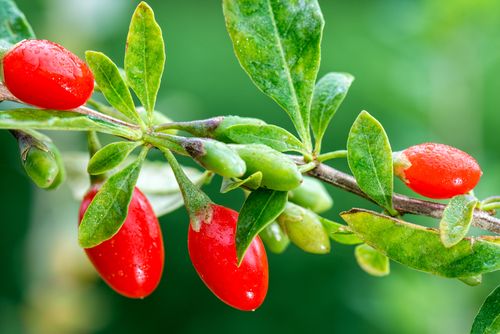
GOJI BERRIES
High levels of vitamin C, strong antioxidant, and all around superfood. This plant in the food forest has stunning flowers and provides not only food, but also pollination .

CURRANTS
Help create healthy bacteria in the gut as well as having high amounts of anthocyanin, which have an ‘anti-tumour’ effect on some cancers. Antioxidant and anti-inflammatory.
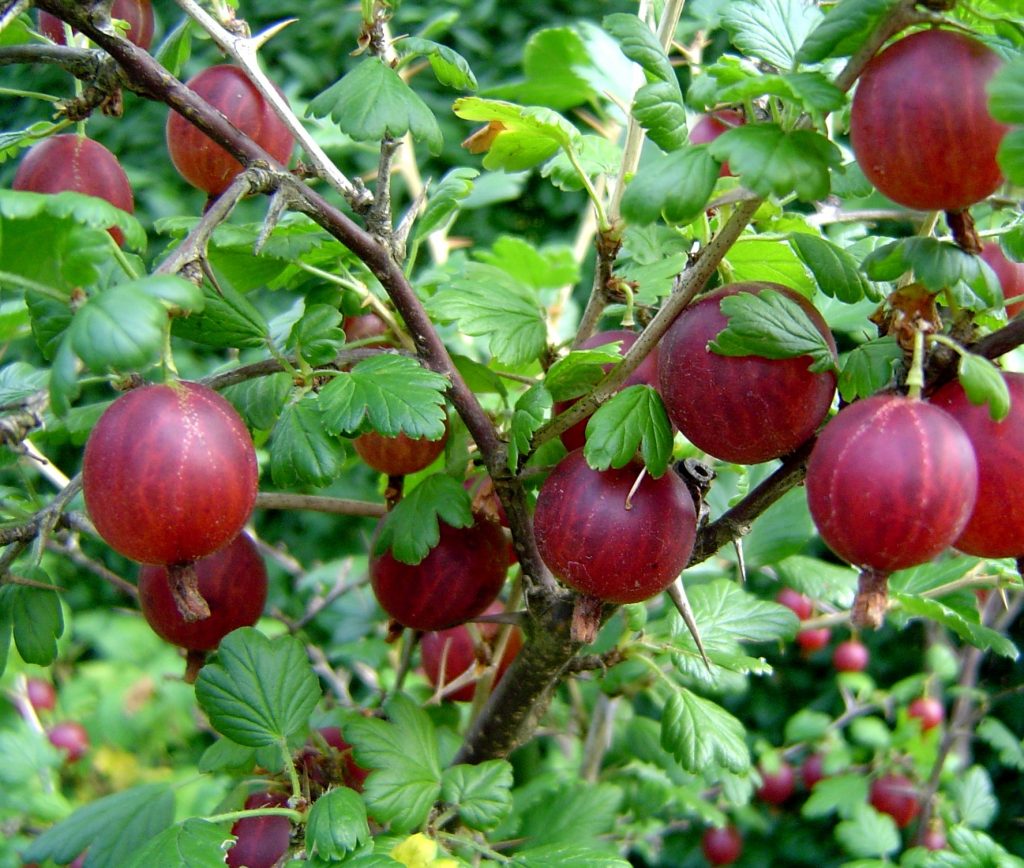
GOOSEBERRY
Contain alma, which is being studied by the European Cancer Institute as a ‘wonder berry’ to combat tumor growth in several types of cancers. High in antioxidants, and as a plant is cold-hardy and disease resistant.
Layer 4: Herbaceous
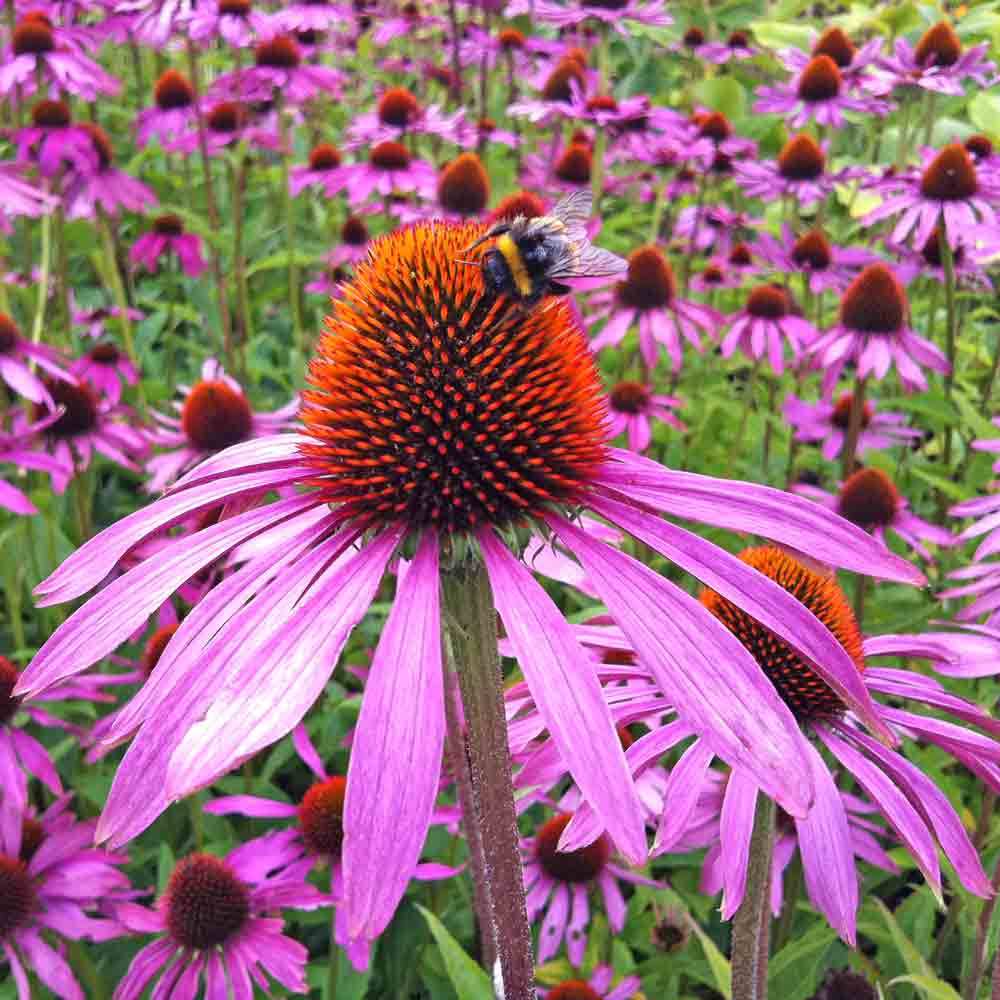
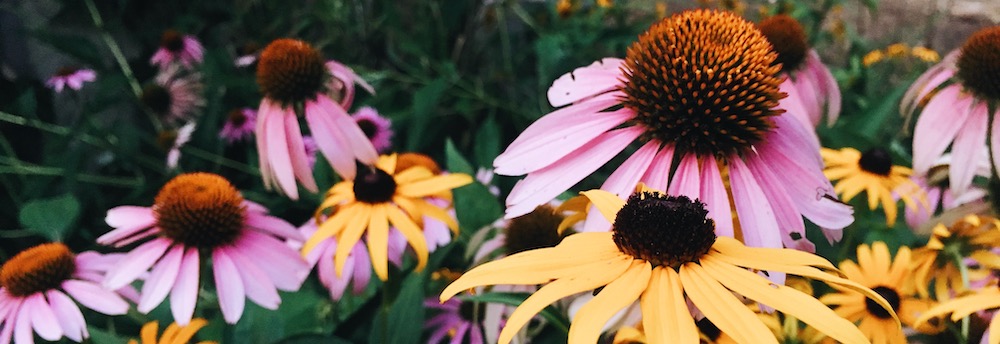
ECHINACEA PURPUREA
All parts of this plant can be used to make an herbal tea to boost the immune system. It’s an excellent pollinator for beneficial insects and bees, and provides natural beauty and color in the food forest. There are several native bees and caterpillars that use this plant as their host plant, all of which are beneficial in the garden.

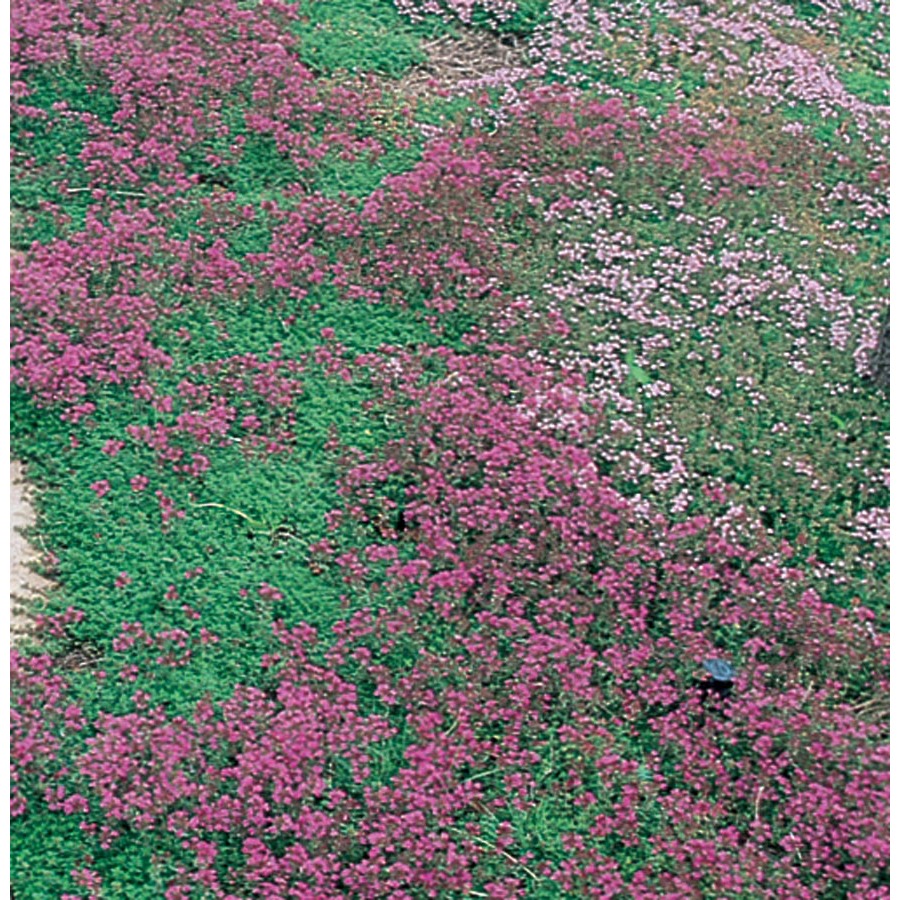
OREGANO
Anti-viral, anti-fungal, cancer fighting properties. Helps boost the overall immune response. Provides pollination and ground cover benefits to keep the soil protected. Keeps away garden pests and repels deer and other animals who would eat the tree branches.
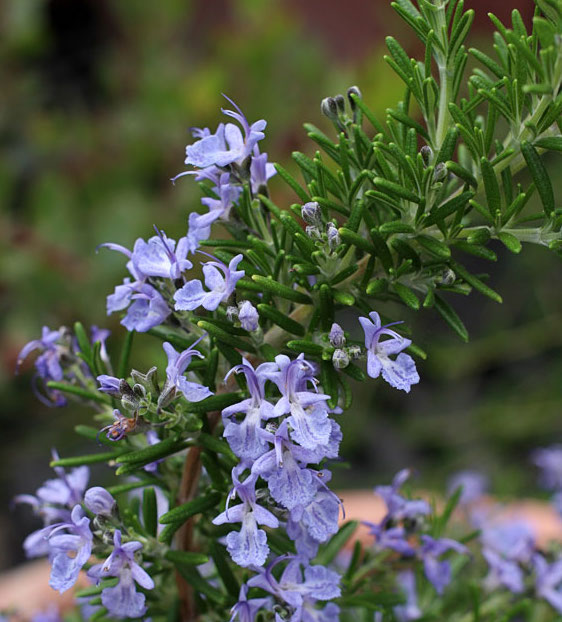
ROSEMARY
Rich in carnosol, rosemary has been found to detoxify substances that can initiate the breast cancer process, and it’s a rich source of vitamin E (alpha tocopherol), another powerful antioxidant. Serves as a pollinator and insectary plant.
Layer 5: Ground Covers
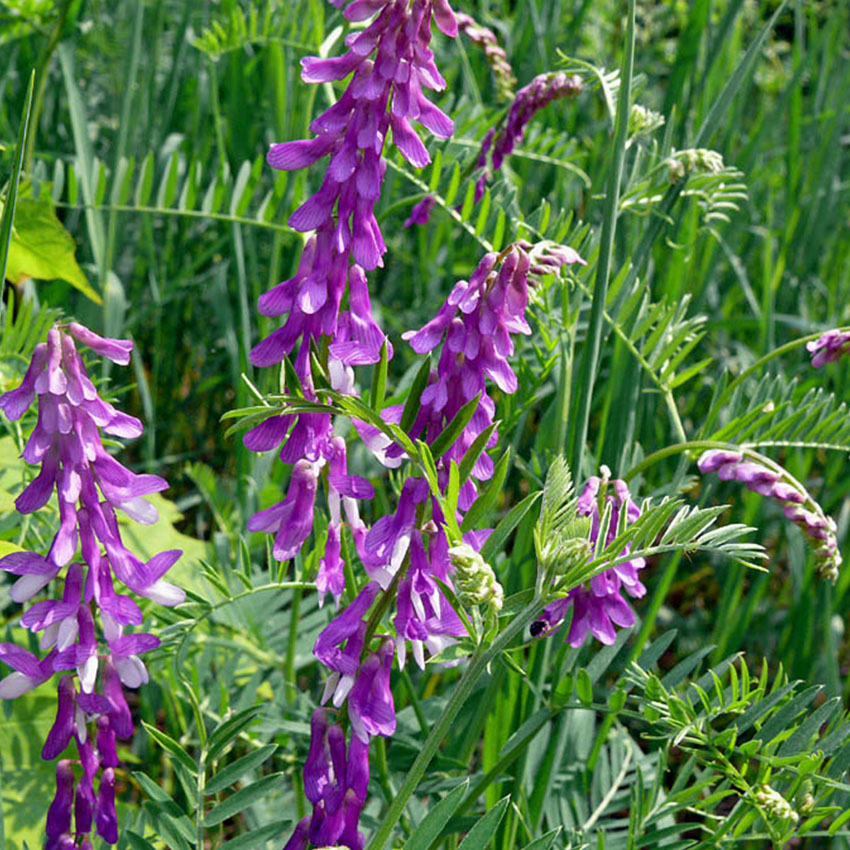
ASTRAGALUS
It has immune-stimulating effects and may help to reduce side effects from chemotherapy, and boosts the immune-response of the body. In the food forest, it’s an excellent pollinator, ground cover, and insectary plant.

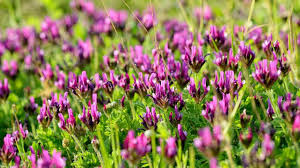
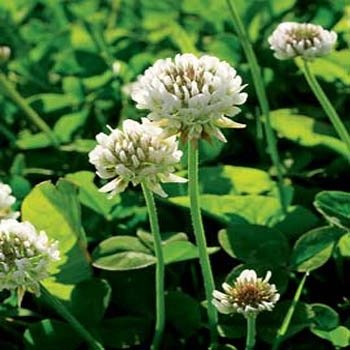
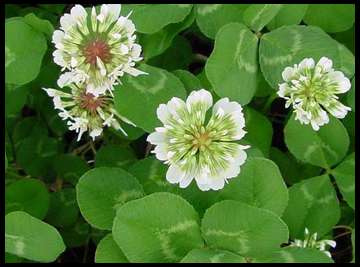
RED CLOVER
Extracts act as an estrogen agonist and stimulates proliferation of ER-positive breast cancer cells in vitro. It’s also used for skin cancer treatment and as a tea to detoxify the body and boost circulation of the blood. In the medicinal garden it is not only a nitrogen fixing plant, but also a colorful pollinator.
Layer 6: Roots and Mushrooms
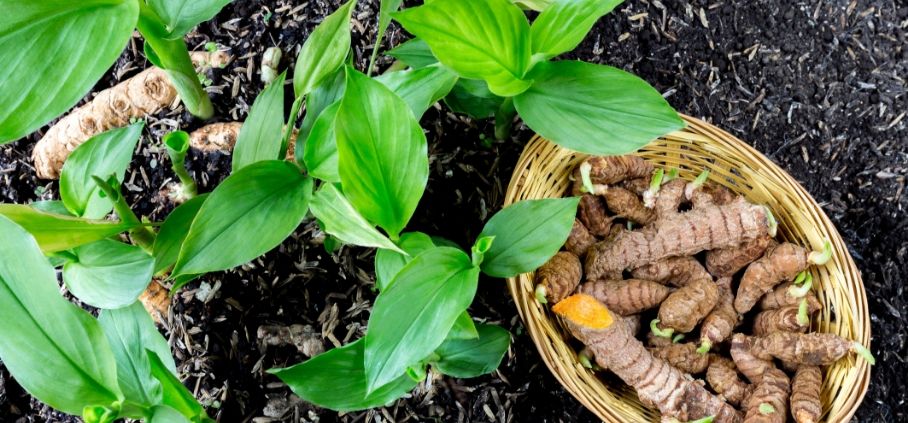
TURMERIC
Curcumin, the constituent in turmeric has been shown to inhibit bone cancer cells while promoting growth of healthy bone cells. It also has strong anti-inflammatory properties.
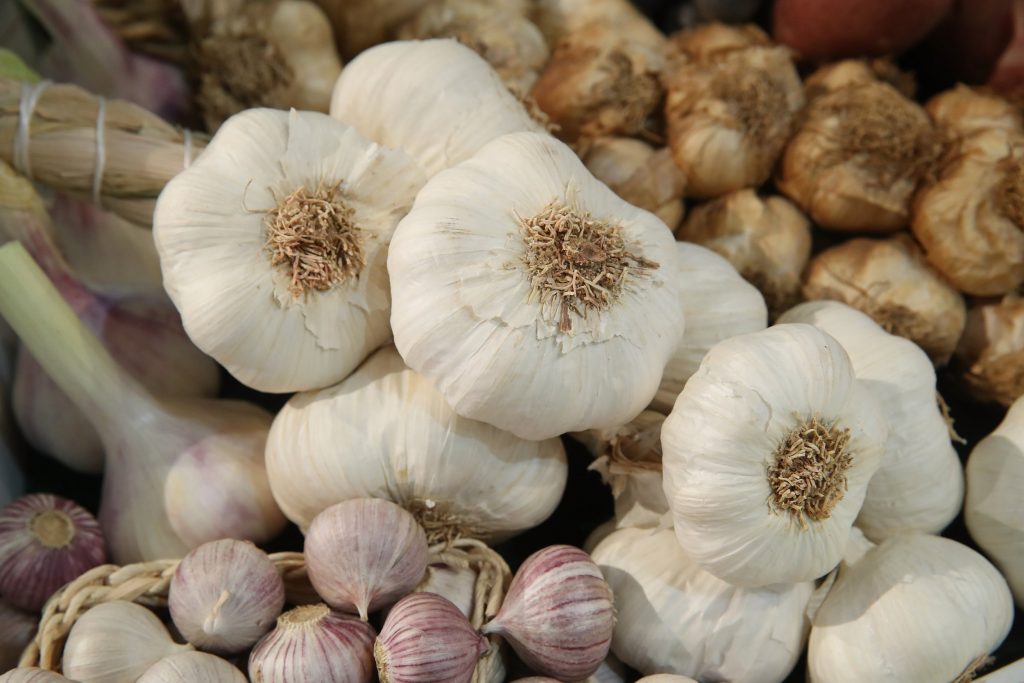
GARLIC
Several compounds are involved in garlics possible anticancer effects. Garlic contains allyl sulfur and other compounds that slow or prevent the growth of tumor cells.
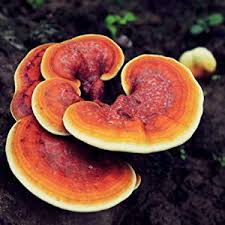
REISHI MUSHROOM
Research in cancer patients has shown that some of the molecules found in the mushroom can increase the activity of a type of white blood cell called natural killer cells. Reishi mushroom can enhance immune function through its effects on white blood cells, which can help fight infection and cancer.
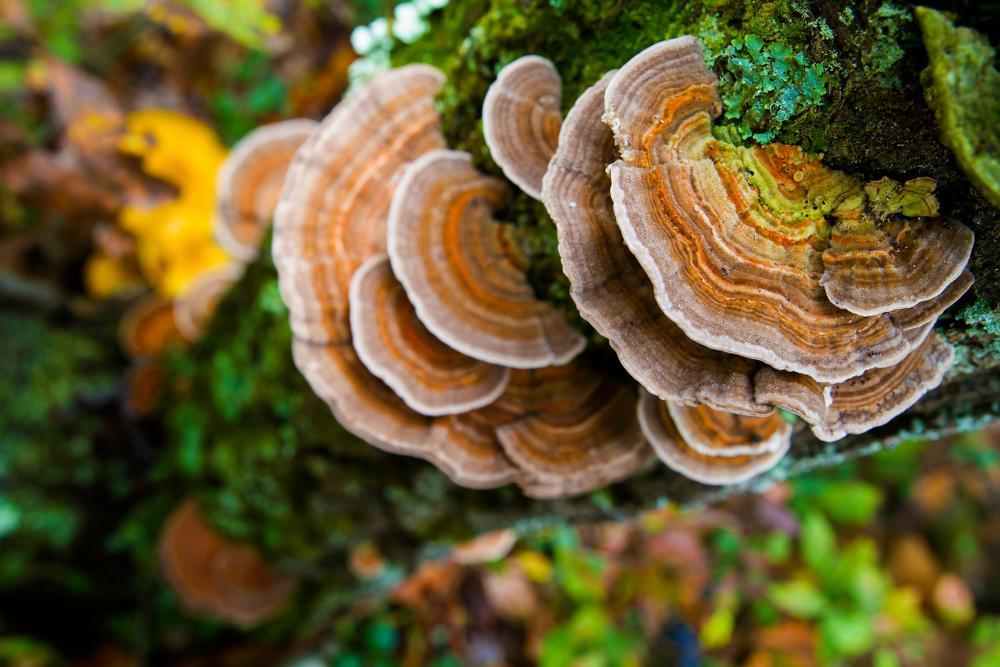
TURKEY TAIL MUSHROOM
The polysaccharopeptide found in turkey tail mushrooms, inhibited the growth and spread of human colon cancer cells. A certain type of polysaccharide found in turkey tail mushrooms called Coriolus versicolor glucan (CVG) may suppress certain tumors, specifically breast cancer cells.
Layer 7: Vines
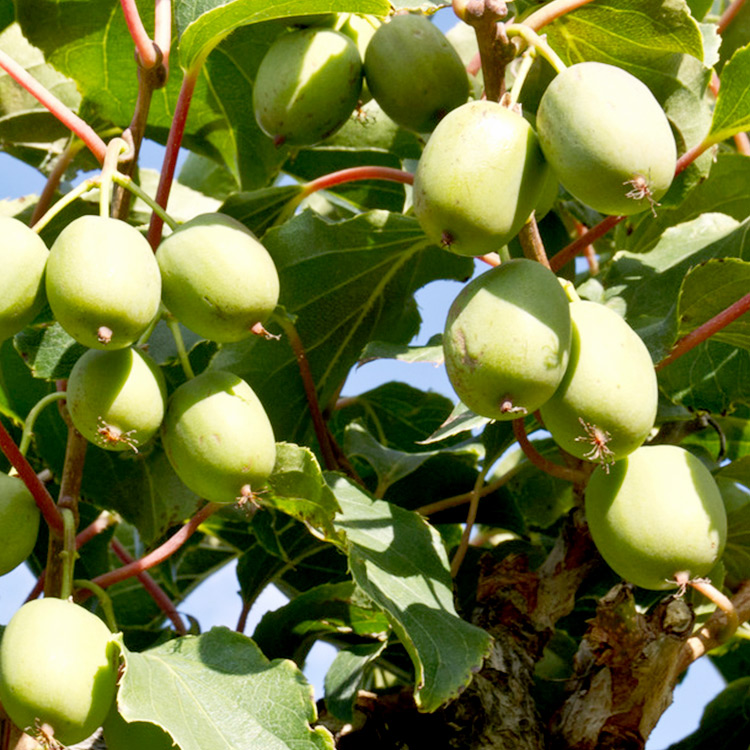
HARDY KIWI
Kiwi is a little hand grenade of cancer-fighting antioxidants, including vitamin C, vitamin E, lutein, and copper. This cold-hardy vine is a high producer, great pollinator, and does well in a food forests part shade.
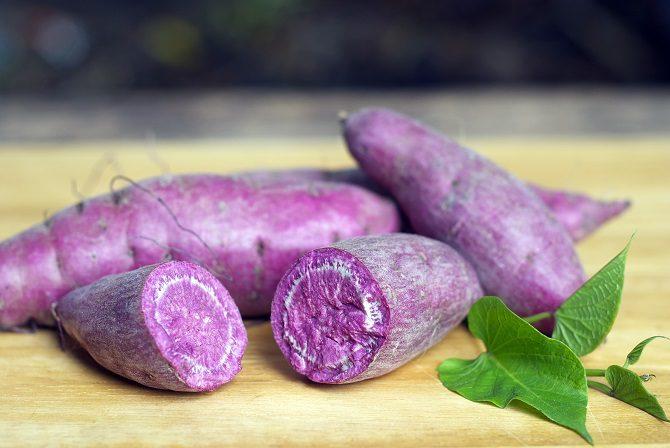
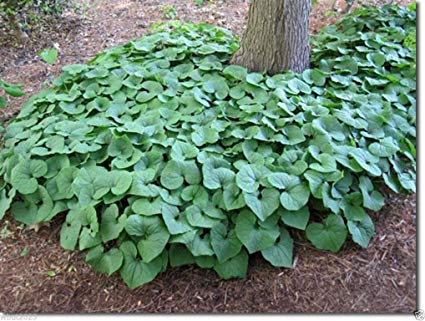
PURPLE YAM
Climbing vine and support species that has also been shown to benefit breast and colon cancer patients. Promising research suggests that two anthocyanins in purple yams — cyanidin and peonidin — may reduce the growth of certain types of cancers.
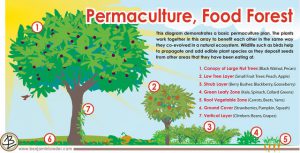
Sample of a Full System
NOTE: The diagram below is actually for a similar guild for Zone 9a/b, but the concept of placement and repetition is similar for a Midwest planting


 Once you have created a few different drawings of your layout, I would recommend sitting on it for a few days and then coming back to it later. Run the ideas by a friend and get their feedback. When I was initially planning my layout, I incorporated too many alkaline loving plants next to my blue berries, which do best with slightly acidic soils. I was so focused on the fruit and berries that I liked, and the way they would look together, that I missed a pretty big piece of the puzzle. The result would have been an environment where likely neither would have thrived, so I was relieved to have the insight from another permaculture eye.