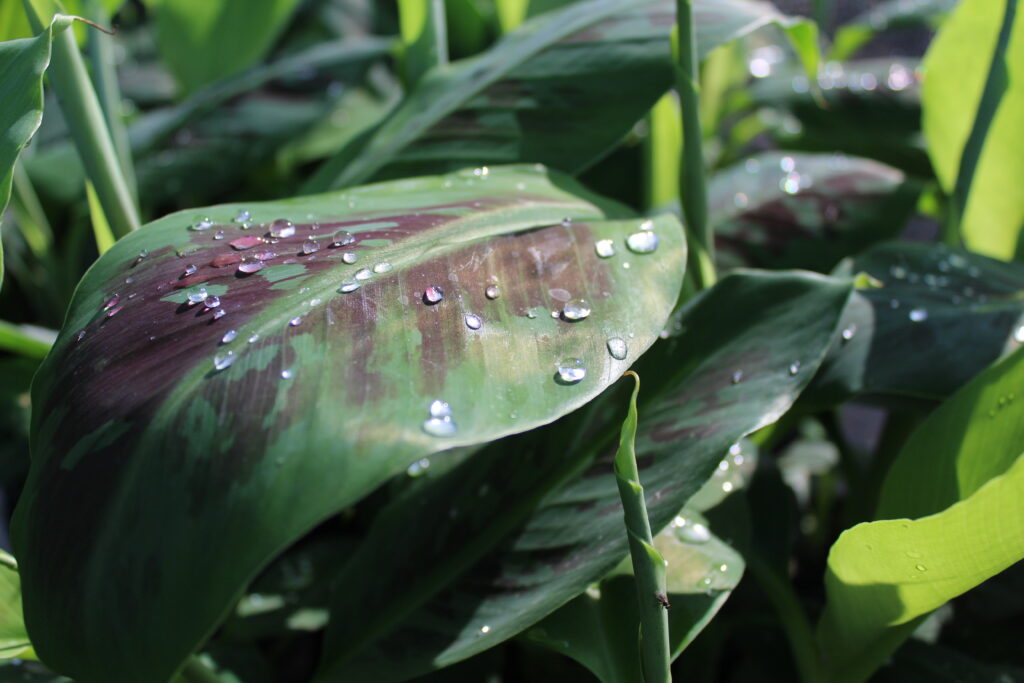

One of the most challenging trees to grow under in much of the US is the walnut tree. The black walnut tree produces a substance called juglone, which prevents many species from growing under the tree canopy. If you have one in your yard, you may have noticed that grass is nearly impossible to grow under it. After living in the Midwest for 15 years, I am well acquainted with this struggle, but also have a few keys on how to be productive in the midst of the challenges of juglone. The highest concentrations are in the shell and hull of the nuts, and the highest concentration in the soil is often found around 15-20 feet from the tree. The toxins can be found nearly 80 feet from the center of the tree on older species. Because of this substance, it is important to not only identify what can grow around the tree, but also what will create a beneficial, symbiotic relationship with the tree to improve the system. Which is why we have created this list of what to plant under a walnut tree.
Adaptations of this guild can be used in other regions as well with species that are slightly more suitable for your area.
Permaculture Meets Fitness!?
This particular walnut guild has been designed specifically to benefit the local ecosystem, but with the purpose in mind of serving those who are into a fitness based lifestyle. This guild was originally installed at a K-12 school as a way to help benefit their gym class and sports programs. These plants have high density nutrients and multiple levels of application for fitness recovery and active lifestyles.
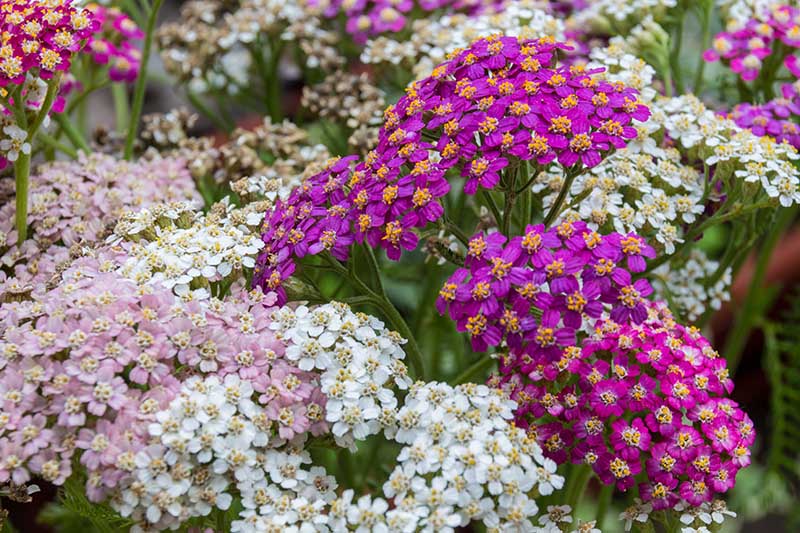
Just imagine, if you can tailor a garden to compliment a fitness center – what other possibilities are out there! Consider a women’s garden with plants like yarrow (helps with pain) or black cohash (hormonal balancing). Imagine companion planting a garden in front of a restaurant to highlight their style of food, exploring planting guilds near a children’s recess area, for a bird sanctuary, a learning garden for kids to capture insects, etc. The possibilities are endless.
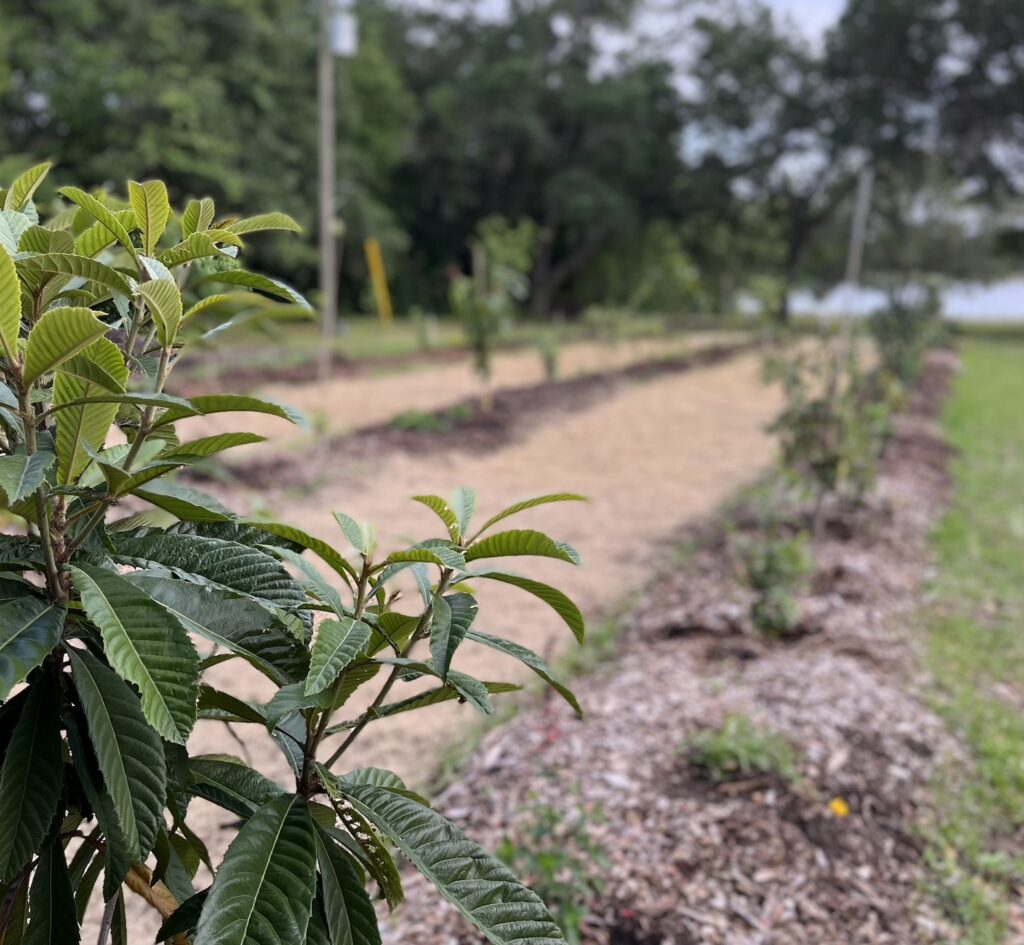
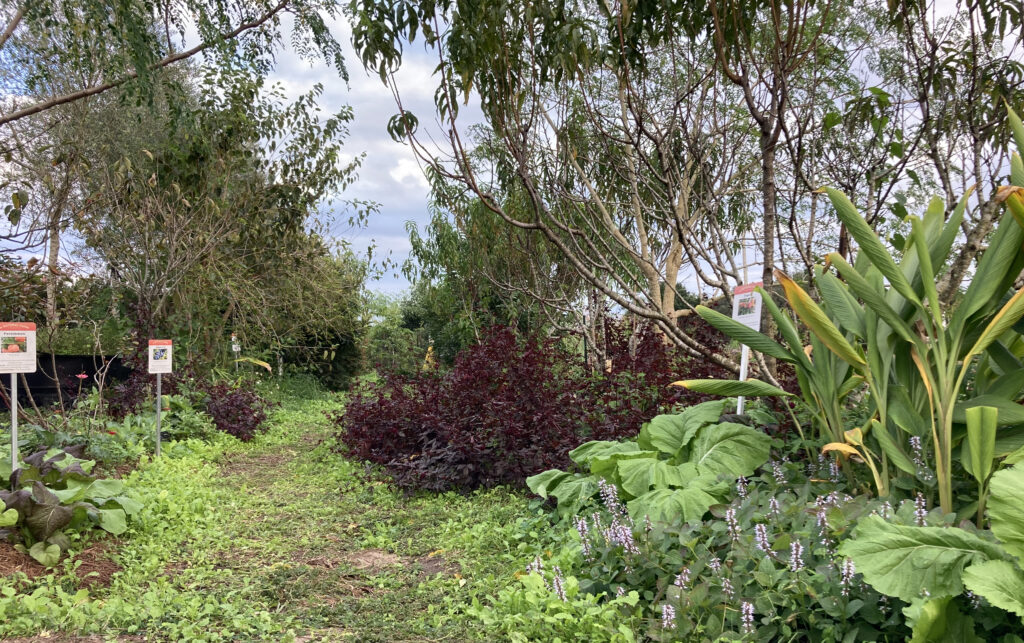
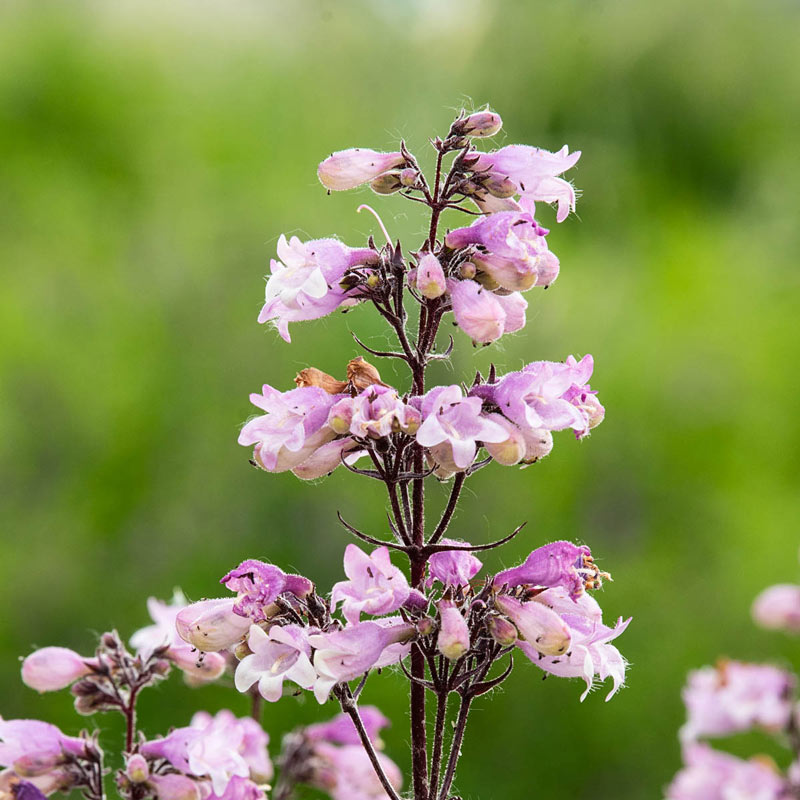
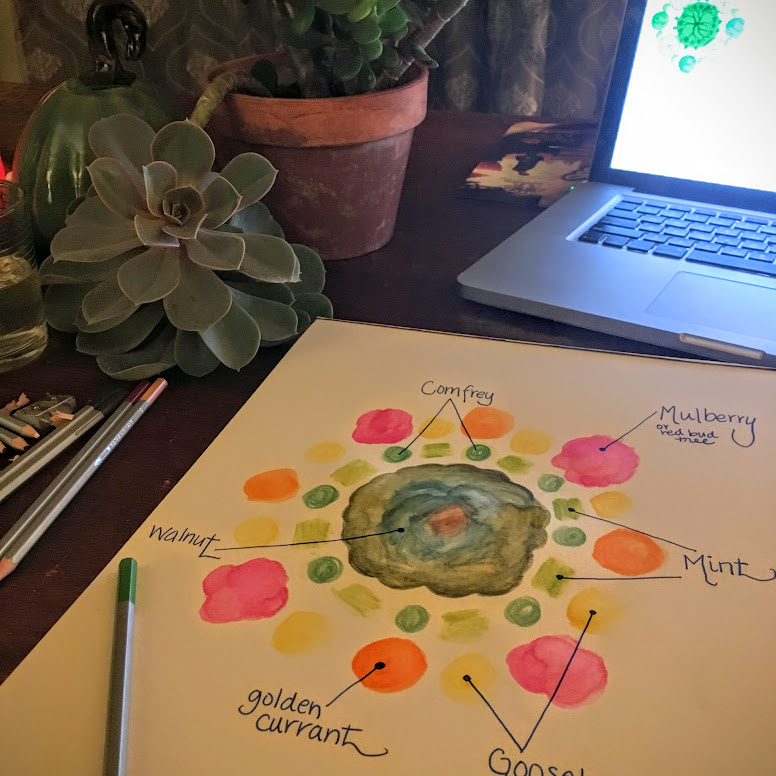
What to Plant Under a Walnut Tree
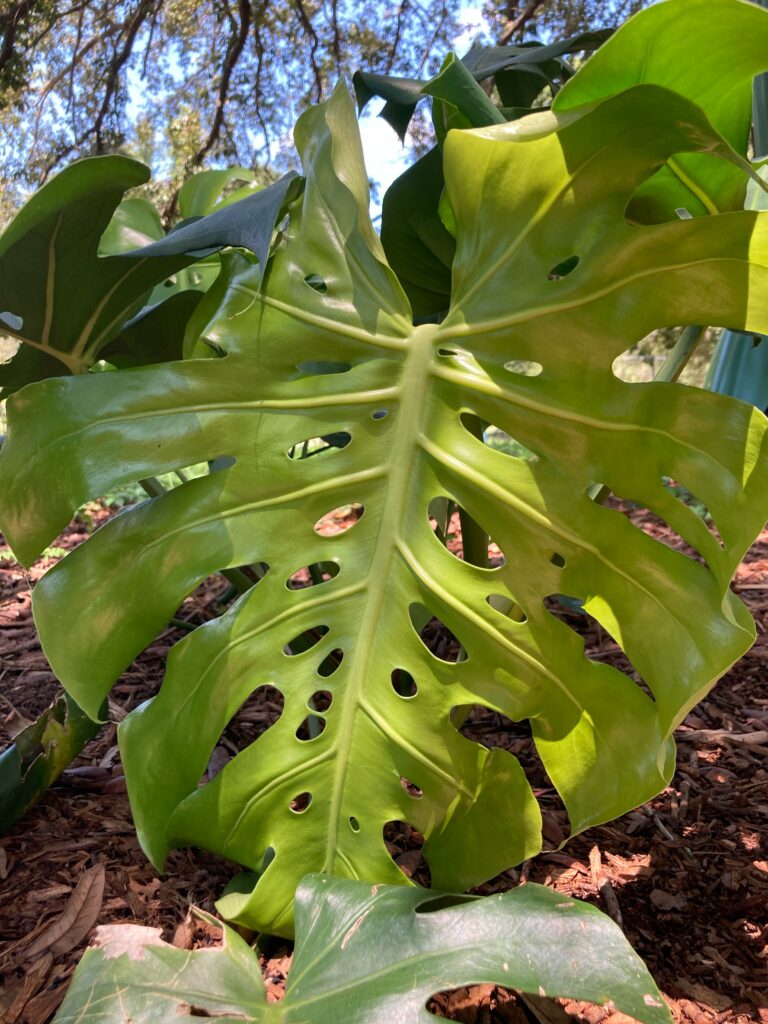
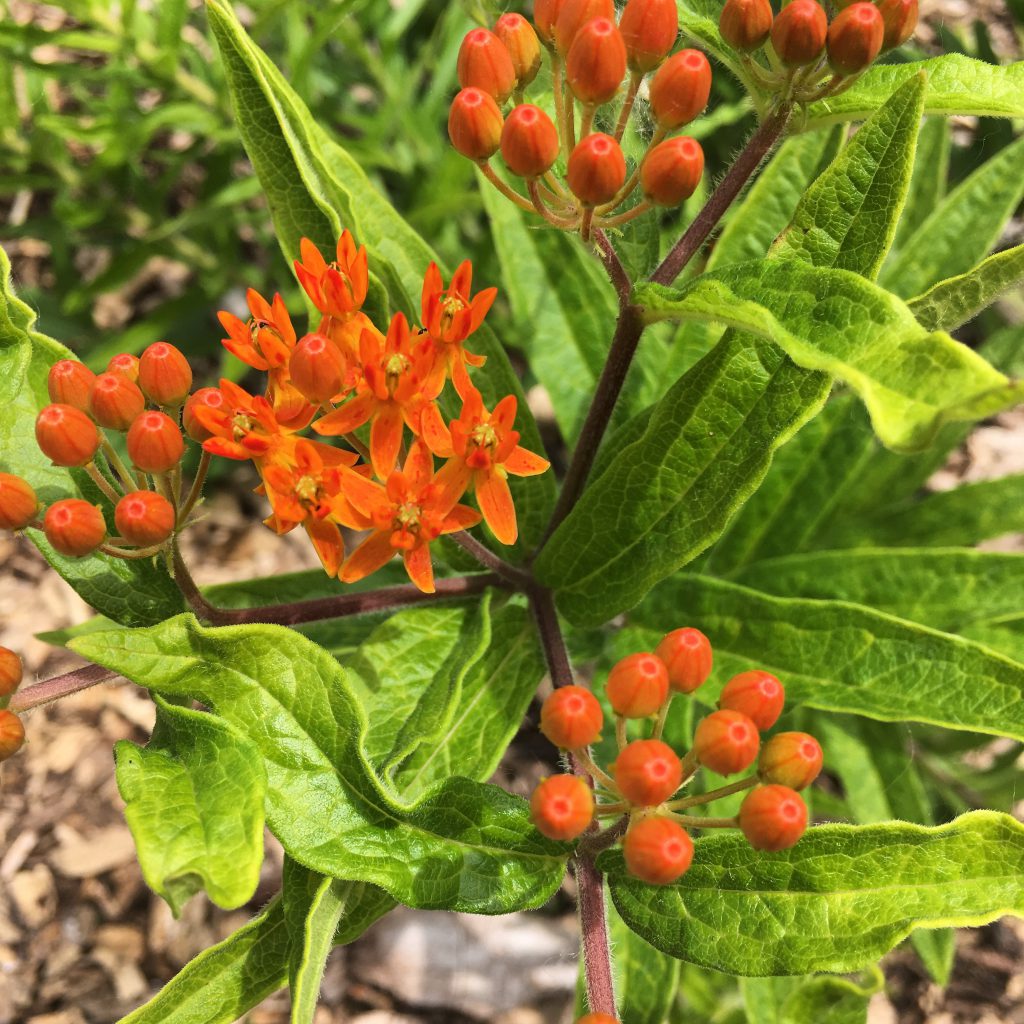
Walnut Tree: This is the centerpiece and canopy layer of the system. Generally with a walnut species, we don’t plant anything under the canopy itself, but you could add some spring bulbs like daffodils, crocus, or spring violets. Under a deep canopy, we recommend adding compost, chopped, leaves and/or grass clippings to add some biomass to the soil. Next, apply wood chip mulch 6″ deep to help create a healthy fungal network. We have noticed quite a wide species of mushrooms using this practice and that find this growing environment to be perfect for mushrooms. An advanced system could use this understory area for mushroom logs to grow shiitake or oyster mushrooms. The walnuts themselves though are the focal point and are excellent sources of protein, amino acids, and healthy fats. The hulls can be used to make tinctures, which are often taken by cancer patients treating their condition naturally.
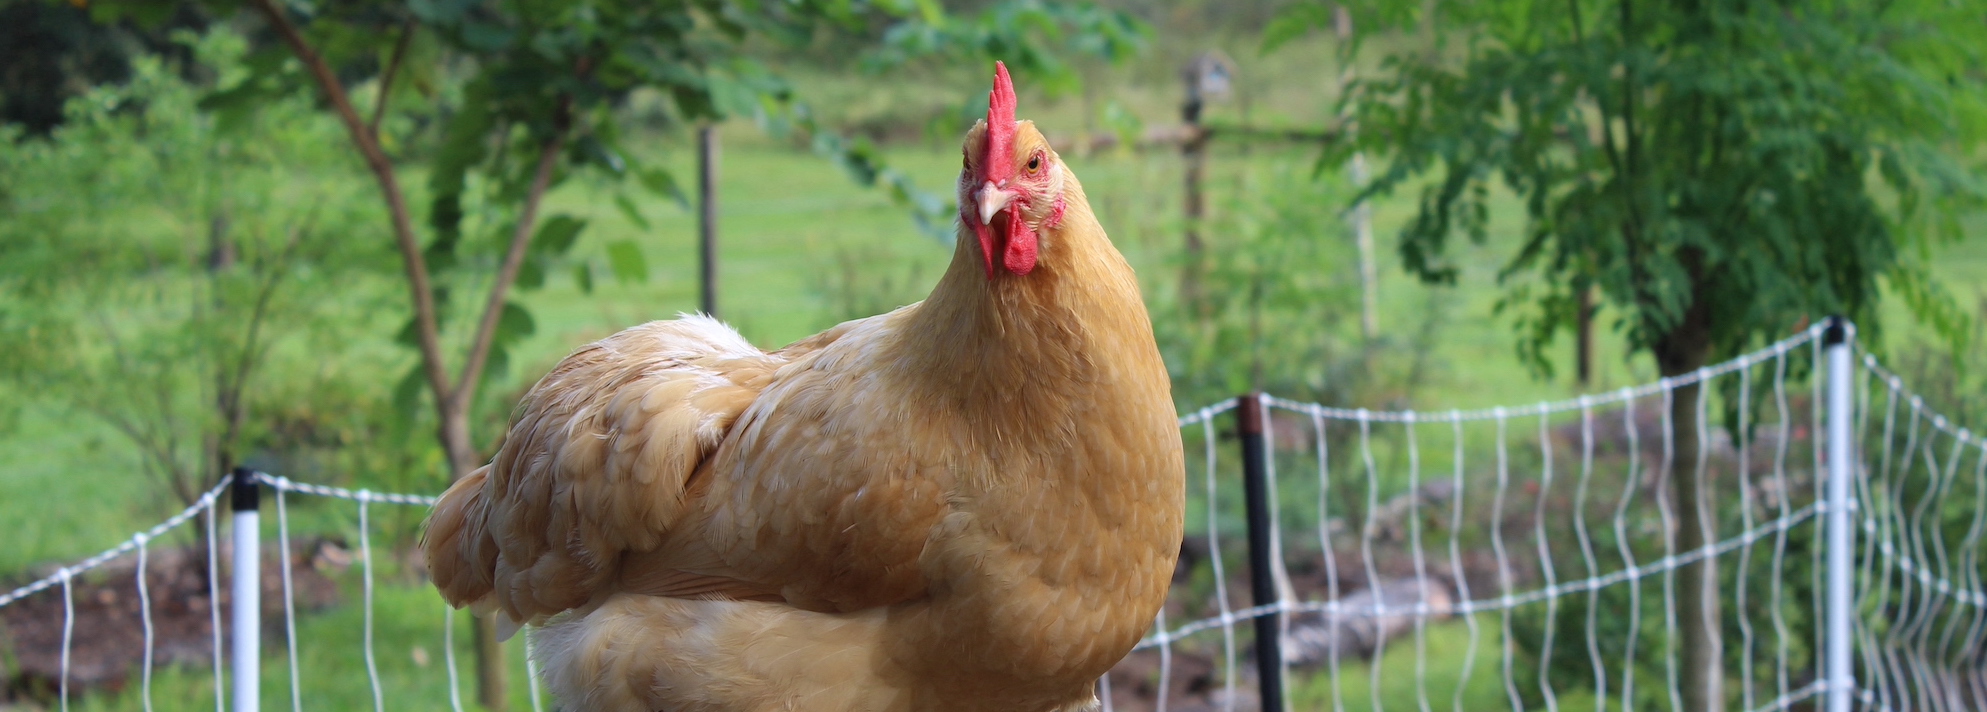
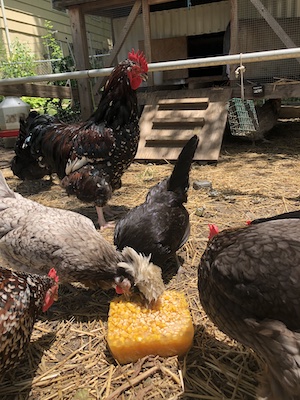
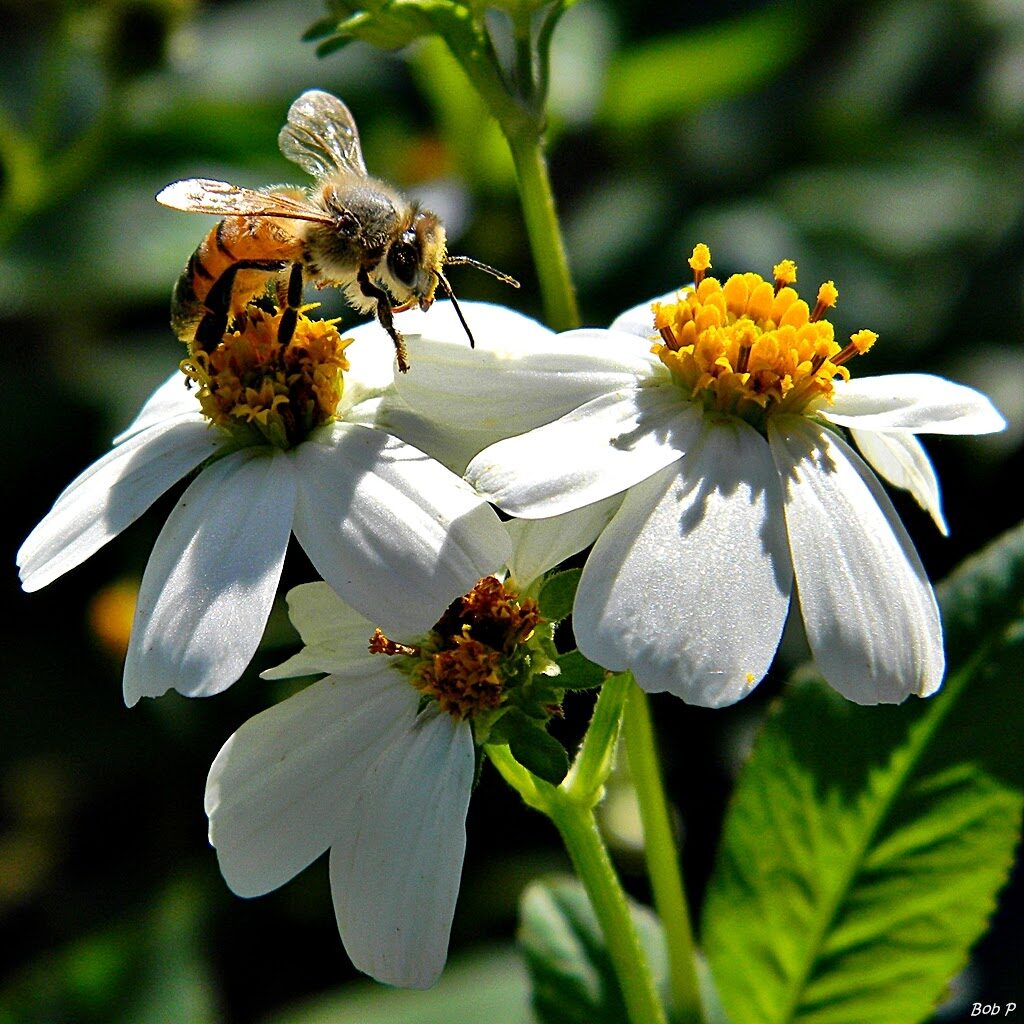
Comfrey: Around the drip line, we have two species of plants. The first is comfrey, which is a fantastic biodynamic accumulator. This plant is used to bring up minerals using its taproot and make them more bioavailable to the upper layers of soil. This plant can be used for multiple purposes. It can be chopped and dropped in place for creating organic biomass and weed suppression, and even used as a pollination source for insects. It can be applied as a poultice to speed the recovery of injured bones, ligaments, and joints. It is also a fantastic feed for chickens, goats, or cattle. My chickens go crazy over a handful of comfrey and it gives them a good boost of minerals, biotin, and vitamin B.
NOTE: I only use bocking 14 comfrey, because it does not spread by seed. Comfrey which propagates by seed can be extremely invasive and nearly impossible to get rid of down the road, unless you have pigs. It’s worth it to stick with bocking 14, which can be easily grown from root cuttings.
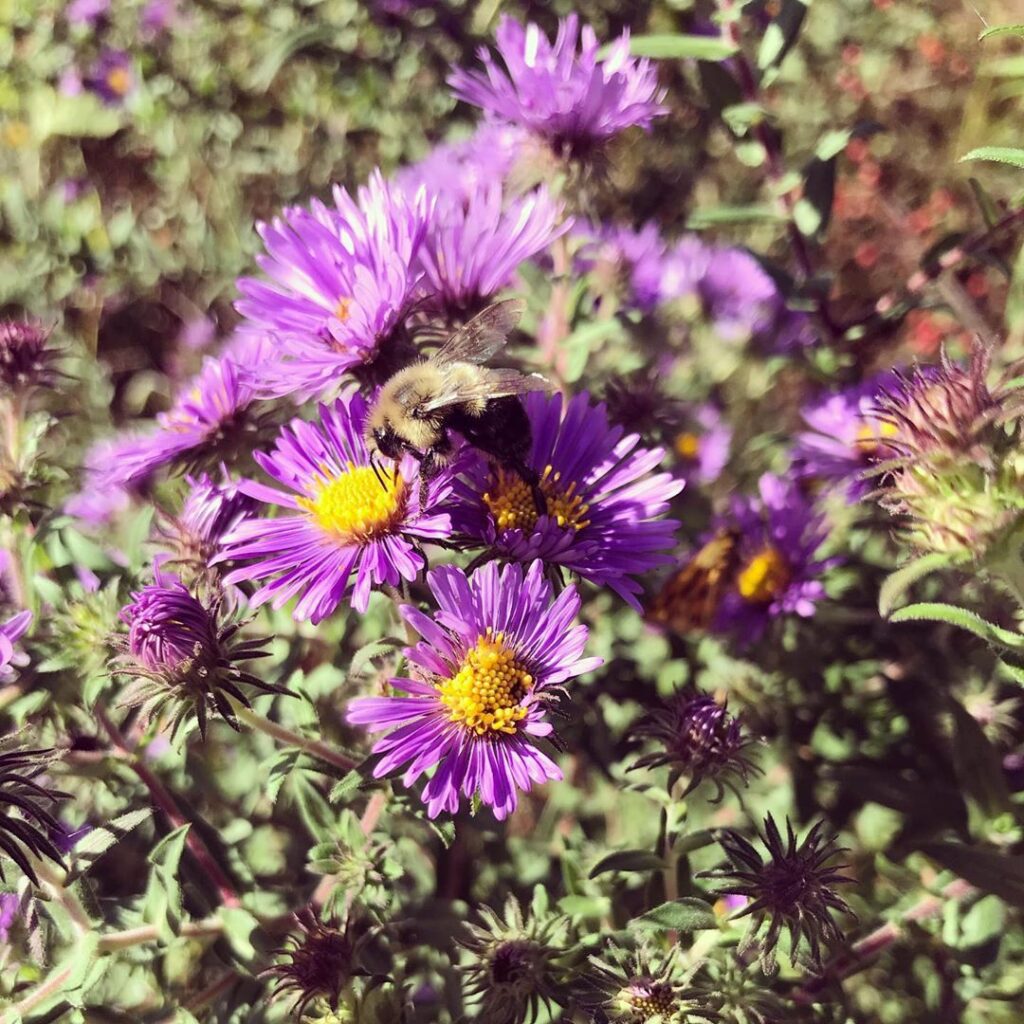
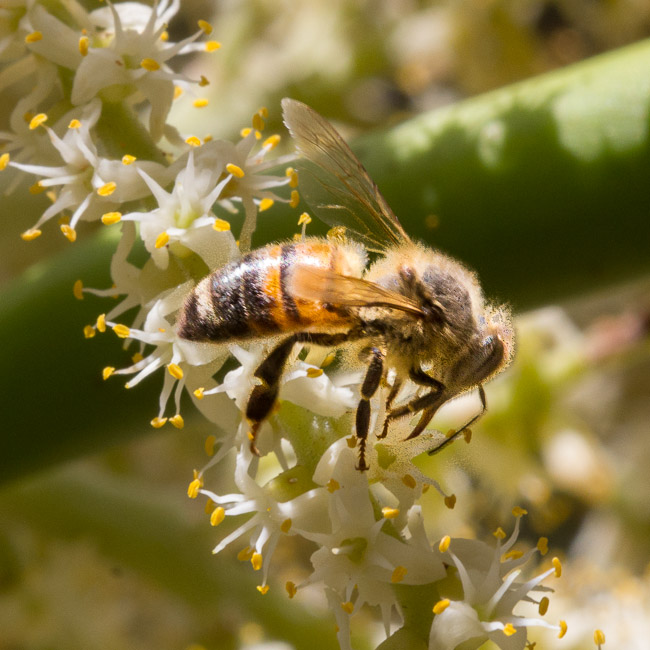
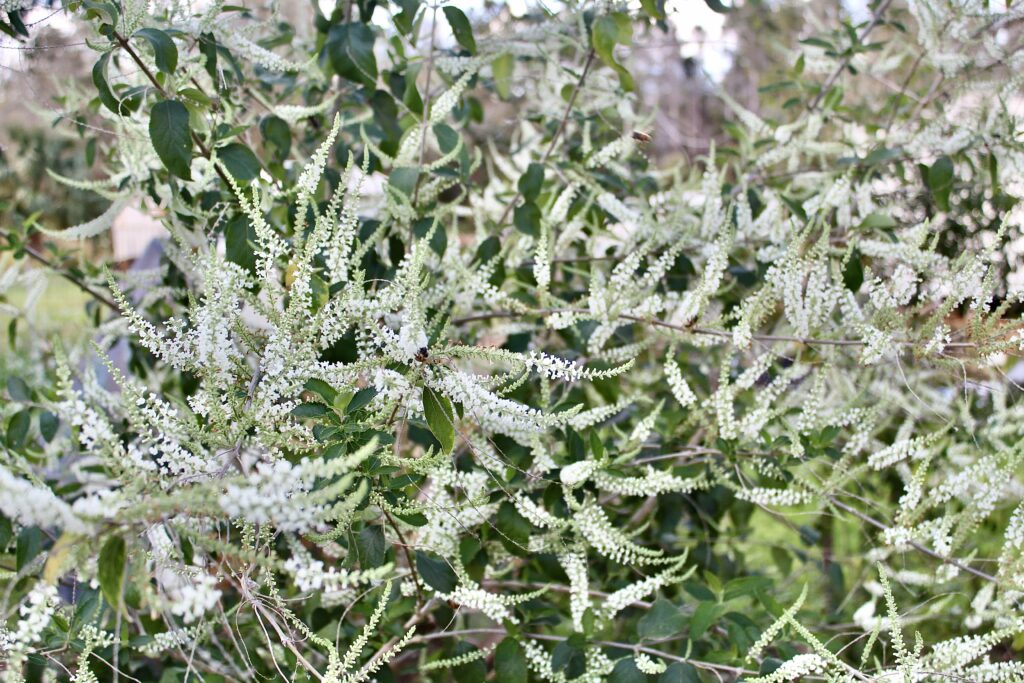
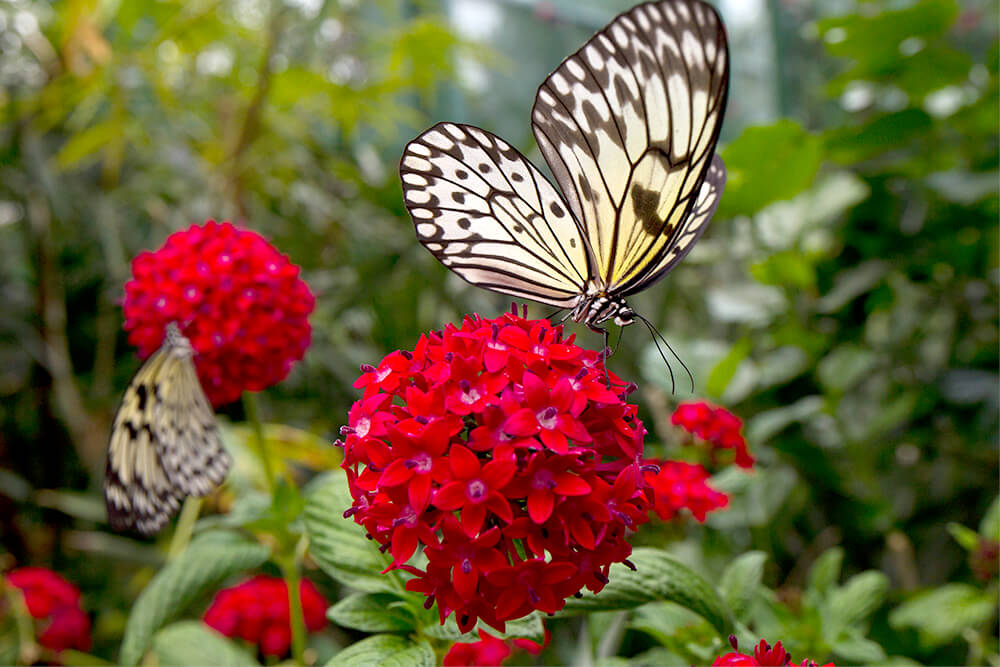
Mint / Lemon Balm: Between the comfrey plants, a mint species or lemon balm would work really well. This will help serve as both a ground cover and a source of continual pollination in the vegetative layer. This makes mint a great choice, because there are continuous flowers to serve as a support species, and the juglone in the soil will help control mint from spreading out of control. The leaves can be used in a tea to aid in digestion and relaxation, or can also be ground into a poultice for injured muscles. If using lemon balm, the leaves are also used as a tea for insomnia, stress and anxiety relief, and to help digestion. For those in fitness, both teas are extremely helpful in assisting in the repair and soothing of the muscular system.
Golden Currant: The next layer has golden currants. These spring and summer berries are excellent sources of antioxidants and do well in part sun. They are best planted on the South and West sides of the tree, but can be interspersed throughout the planting guild. The bright yellow flower clusters in the spring are satisfactory pollinators, but will be very showy and a source of color and beauty within the guild. The berries are extremely sweet and have high antioxidants. They are easily picked and eaten raw or can be used in smoothies.
Gooseberry: This plant is a great one to grow in the shade and is very tolerant of the juglone produced by the walnut. These can be planted on the North and East sides of the tree or interspersed around the planting. The slightly sour berries can be eaten raw, used in smoothies, or cooked down into a jelly or preserve. They are high in vitamin C, A, and manganese. As a berry, they also contain a surprising amount of minerals, including calcium and phosphorus.
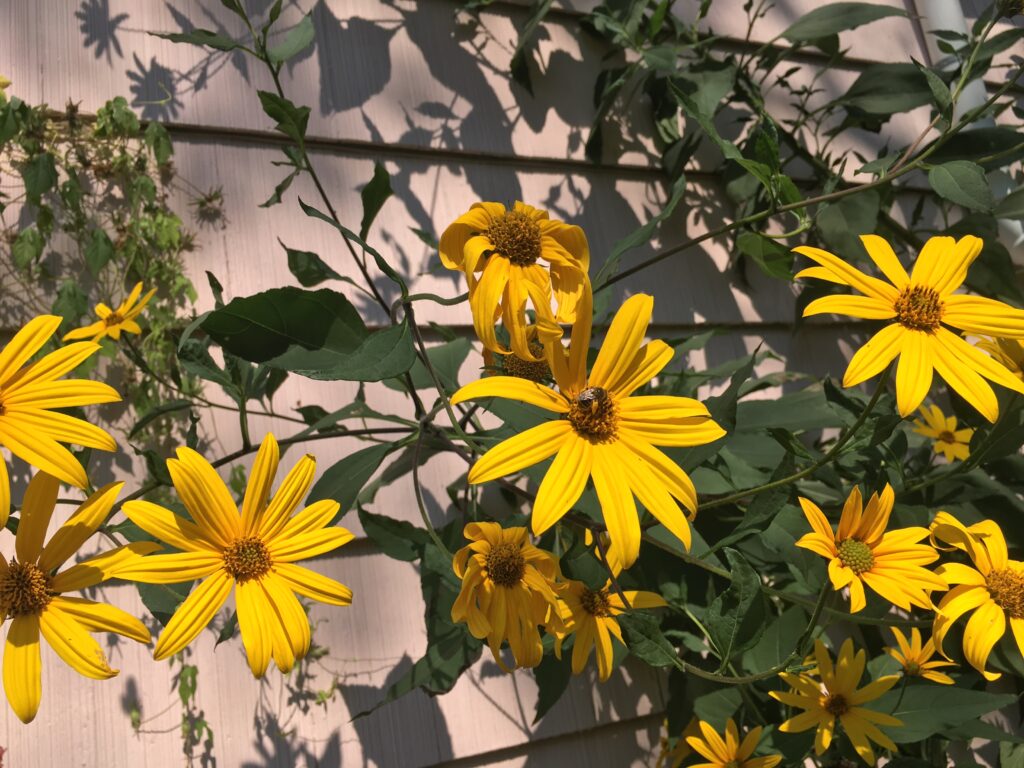
Mulberry / Redbud: In the final layer, it is a great place to put dwarf species that can either be food sources or nitrogen fixers. In our area, I prefer to use the nitrogen fixing Eastern Red Bud. The red bud tree produces pink / purple flowers in the springtime, which put on a great visual show. Later in the spring, they produce a pea like pod that can be cooked and eaten like a snap pea as a source of early season plant protein. The tree is a satisfactory legume tree, which has a root system producing nitrogen-fixing nodules to help rebuild the soil.
On the other hand, one could also plant a mulberry tree, though in this setting I would prune it to remain a bush for easier harvesting. Mulberries grown as a tree are often harder to harvest and just make a mess on the ground. The mulberries are excellent food sources for humans and wildlife. Mulberries contain riboflavin, vitamin C, K, iron, and potassium. They are also rich in antioxidants and contain alkaloids that activate macrophages to help build the immune system.
Other Growing Zones
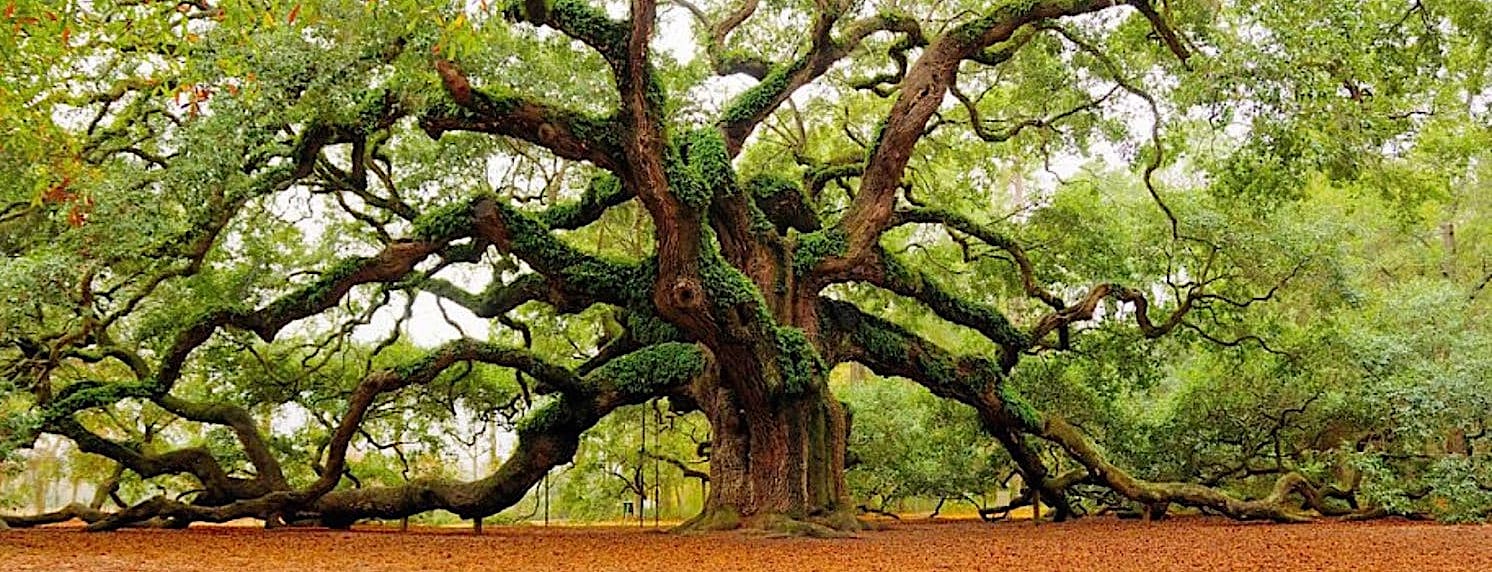
Regardless of where you live or what type of top story tree you are using as your centerpiece, there are likely many species that will thrive under and at the edge of the canopy. For those living in southern states, one particular tree that is challenging to grow under is the southern Live Oak. CLICK HERE TO READ ABOUT LIVE OAK COMPANION PLANTS. However, there are still many plants that can be easily grown on the edge and even in the deep shade of the canopy.
So go find a tree on your land and start planning your next gardening area for the deep shade! Abundance awaits – I’ll see you in the garden.
– Kristofer Edler | PermacultureFX Founder